


Versatile Pallet Plaque With Mason Jar Hangers

10 Materials
$30
1 Hour
Medium
I love projects that are easy to make but are also versatile! This spin on the ever-so-popular pallet sign as well as the timeless Mason jars can be made to look shabby chic, rustic, nautical, or modern--whatever your taste is, this is the perfect addition to your home or garden.
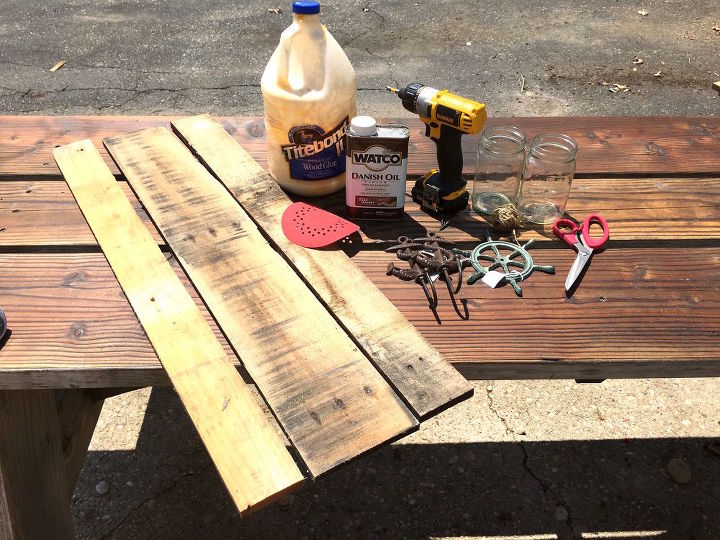
I had all of these materials and supplies on hand so it didn't cost me anything to make (ok if you want to consider the hooks, those cost me about $10.50) but if I had to estimate the cost for someone who didn't have any of the materials, I would say this project would be about $30 (possibly more if you don't have any necessary tools).
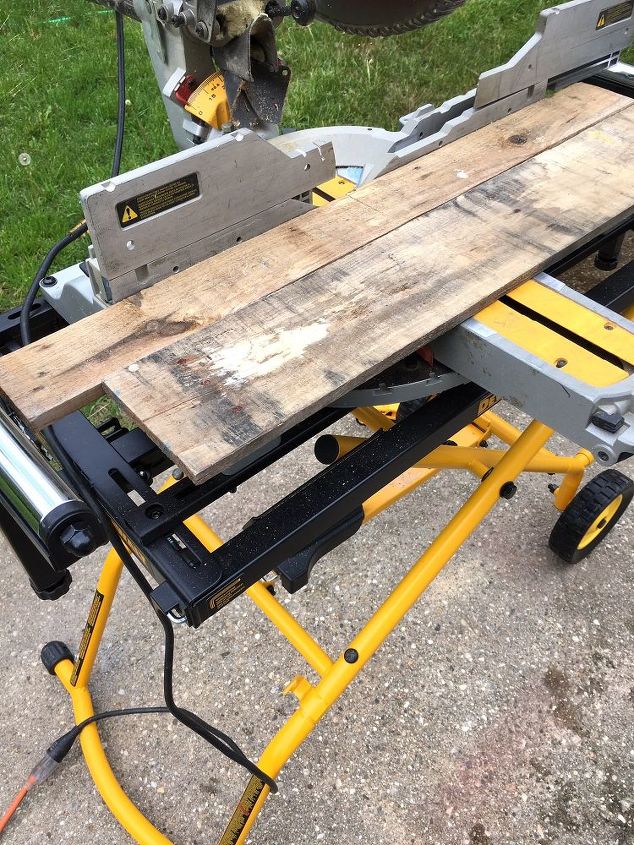
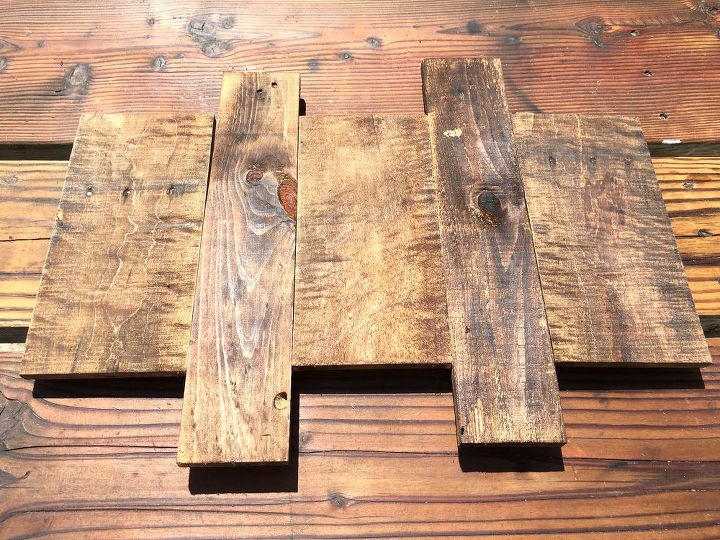
First thing is first: you'll need to cut your pallet boards. Thankfully, there is a local business where I live that breaks down pallets so you don't have to deal with disassembling them, cutting the nails, etc. so for me, I just started with two pallet boards that were different widths (note: most pallet boards are approximately 32-33" long so I only had to use one board of each width for this project in addition to one other board to use for backing).
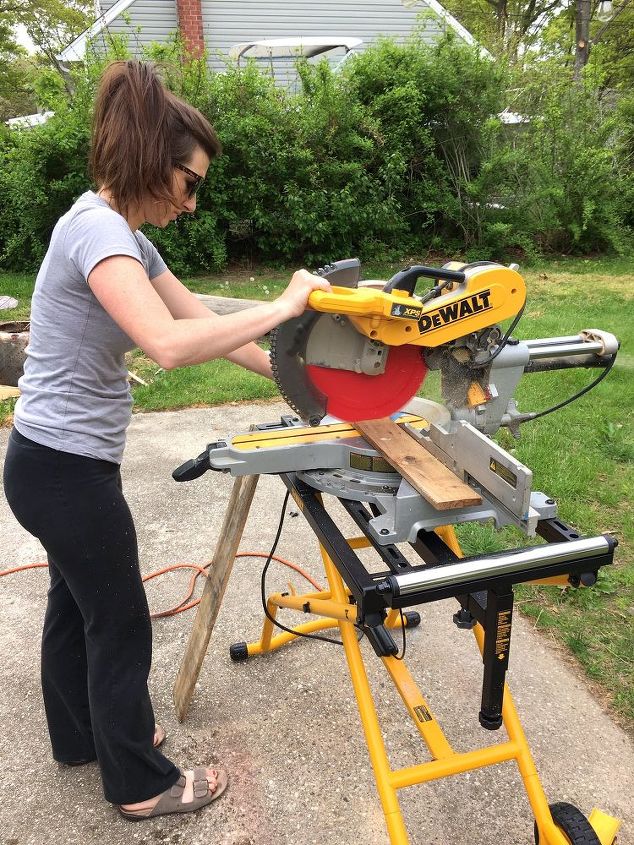
Yes--this is me handling my husband's chop saw! Don't let the little 'ole sweet southern class fool you, I have some sass in my blood too. ;)
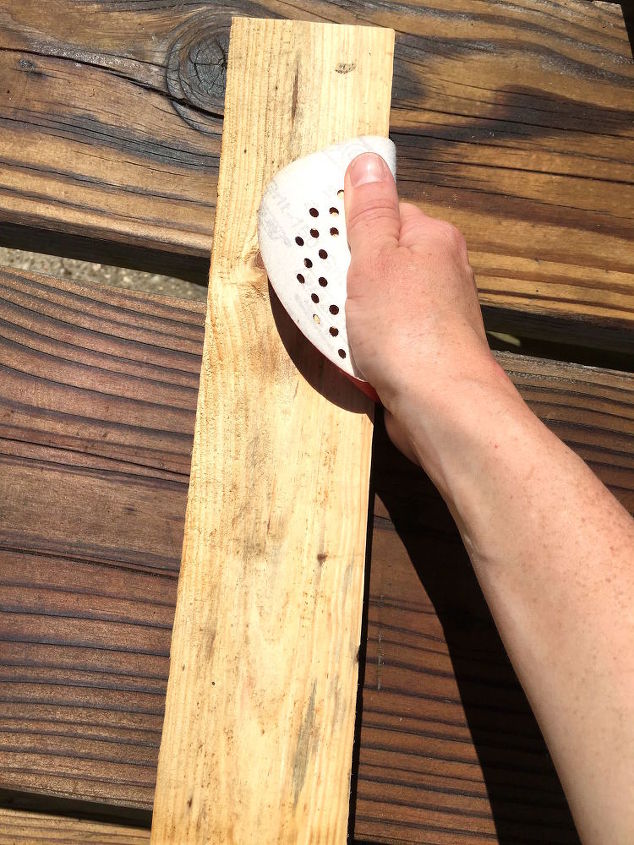
Once I got my boards cut, I used a piece of sandpaper to smooth out the edges a little bit and get rid of any splinters that were sticking out. You don't have to do this step but I find that whatever you coat your boards with will go on a little smoother if you've knocked off some of the rough edges.
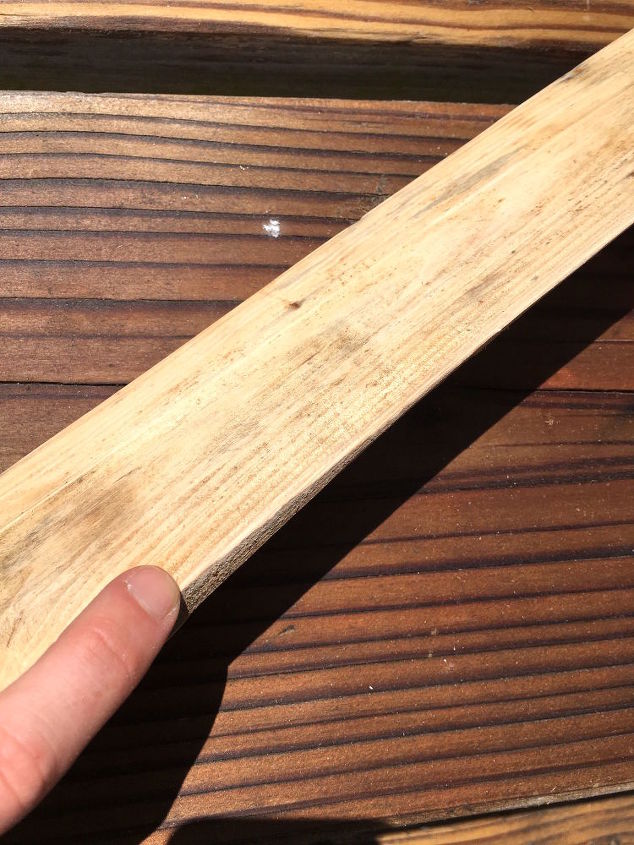
Here is what a little bit of sanding did to my edges. Again, I didn't go crazy with the sandpaper--just enough to make the boards a little smoother.
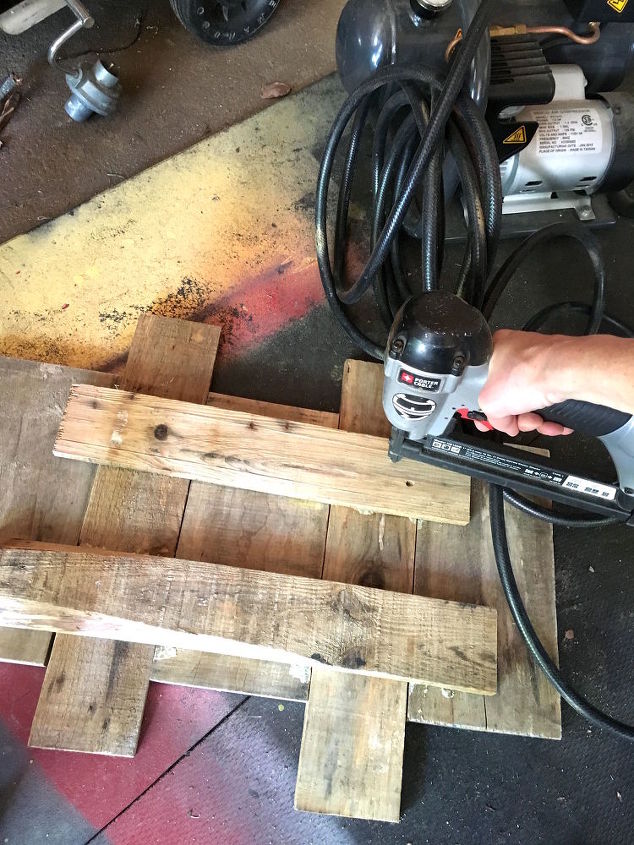
Next, I applied wood glue to two pieces of pallet board for my backing, then flipped them over and stapled them down.
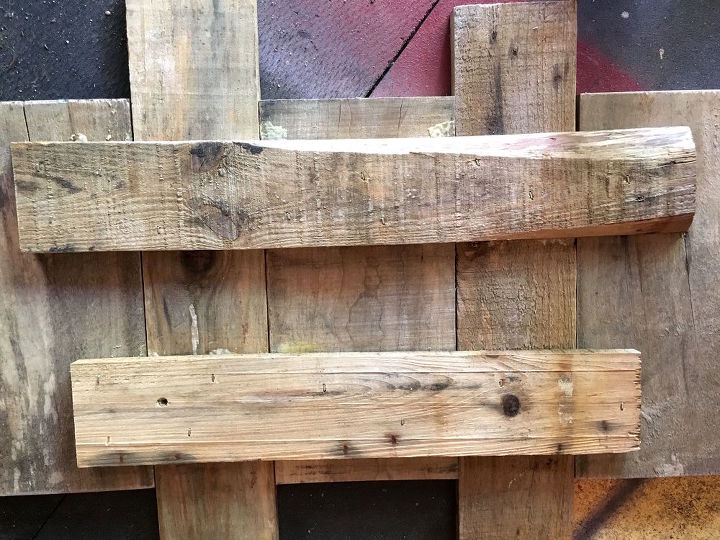
This is what the back of your assembled pallet plaque should look like.
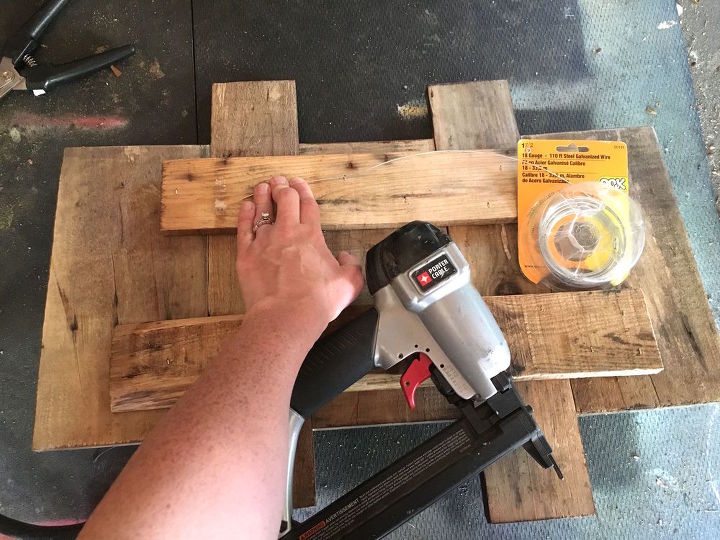
After your plaque is all assembled, you'll want attach something to the back in order to hang your plaque. I used 18 gauge wire from Home Depot and industrial staples. You could also purchase a pack of D-rings instead which requires a drill or screwdriver, or you could figure out how to use nails and a hammer. To me, staples and wire was the easiest and I already had the materials and tools on hand.

The next step is optional. You can leave your wood unfinished, white wash it, paint it, add some designs, or if you want a rustic look, you can coat your plaque with glaze, stain, or what I used was Danish Oil from Home Depot. I personally like using Danish Oil or glaze because it goes on smoother for me and accentuates the wood grain.
Here is my plaque with the Danish Oil. I love how it brings out the woodgrain!
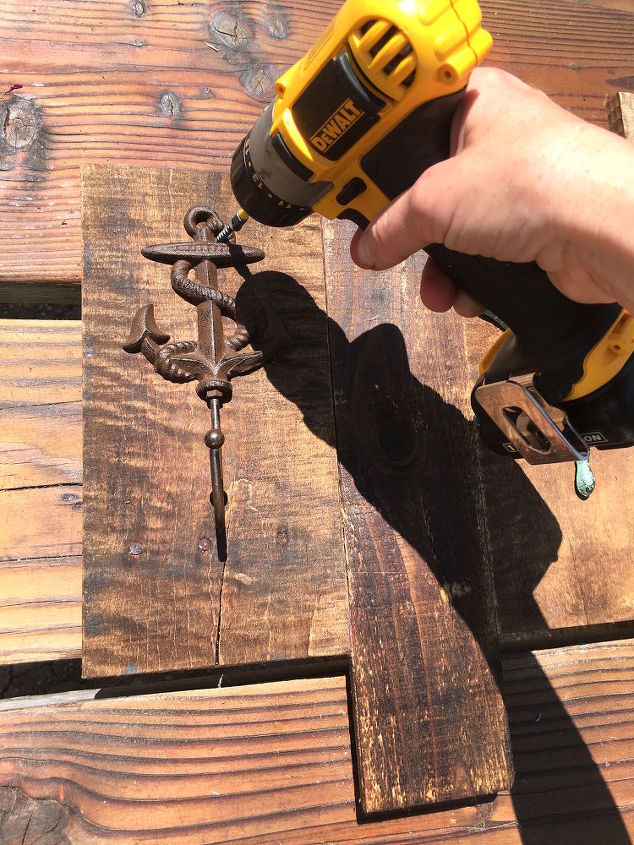
Next, you'll want to attach your hooks.
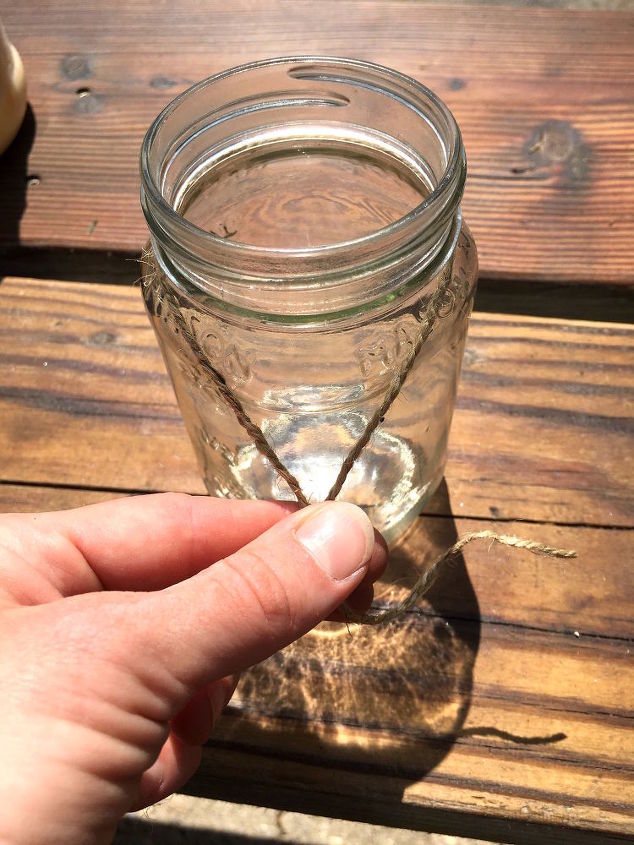
Then, tie your twine around the neck of your Mason jars.
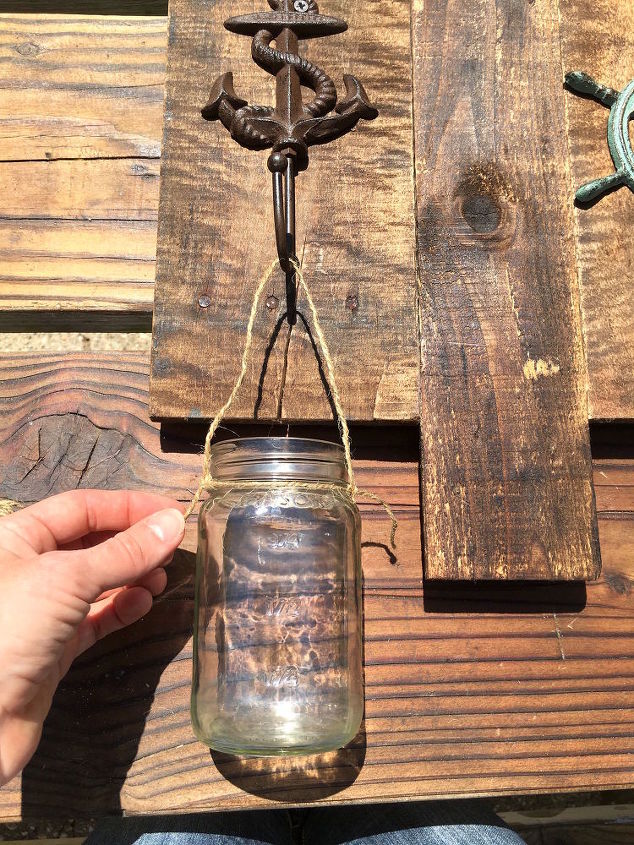
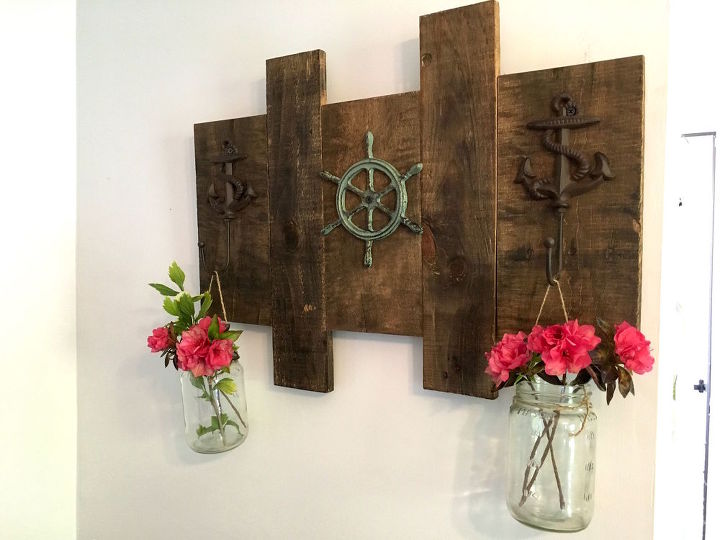
Finally, hang your finished masterpiece on your fence outside or in your home and display your freshly cut flowers! You can also use the Mason jars to hold toiletries in your bathroom, silverware in your kitchen, and so much more! The ideas are endless.
Comments
Join the conversation
3 of 53 comments
-
nice!
-
LOVE THIS!!! I'm re-vamping a guest bedroom to turn it into an art studio and this idea would look so great along one of the walls. Thank you so much for sharing! :)


Frequently asked questions
Have a question about this project?