


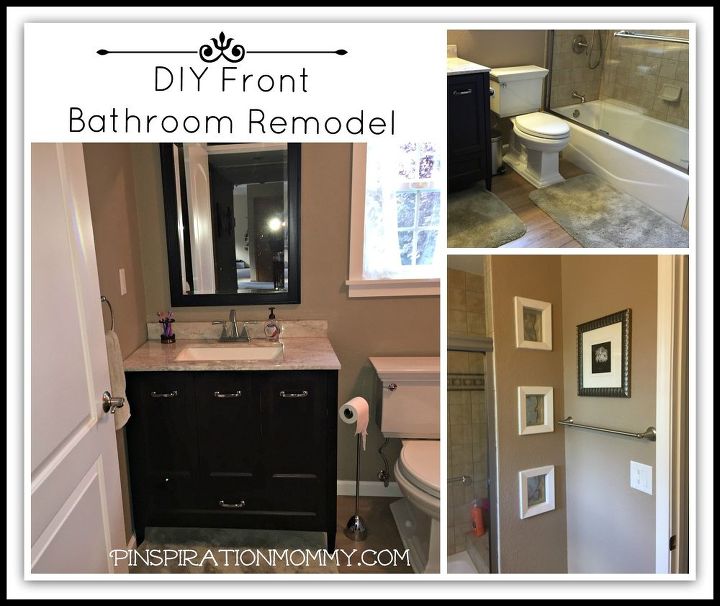
DIY Front Bathroom Remodel
$3500
A year after starting it, we finally finished our front bathroom remodel (no, you didn’t read that wrong, it did take us a YEAR!!!) Darn those full-time jobs, keep us from having time to work on the fun stuff! 😉 . We purchased our current home five and a half years ago. The home was in good condition, but was dated so we plan to remodel all the rooms, one by one. The front bathroom (which is also my daughter’s bathroom), was the first to be tackled.
Here is a shortened version of our bathroom remodel. For full details and more pictures, please visit my blog at the link at the bottom.
Here is a shortened version of our bathroom remodel. For full details and more pictures, please visit my blog at the link at the bottom.
There was a beautiful claw foot tub in the bathroom, which was great to take a bath in, but there was no shower. The bathroom also originally had linoleum tile floors, a very plain-Jane window with very plain molding, and a standard toilet, vanity and faux marble sink. There was some chair rail and tall baseboards to try and add some decor, but they were poorly installed and didn’t line up properly, it was a bit of a mess! Here is what the original bathroom looked like before the remodel:
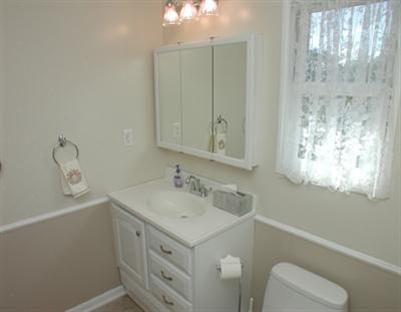
Before: Vanity and mirror
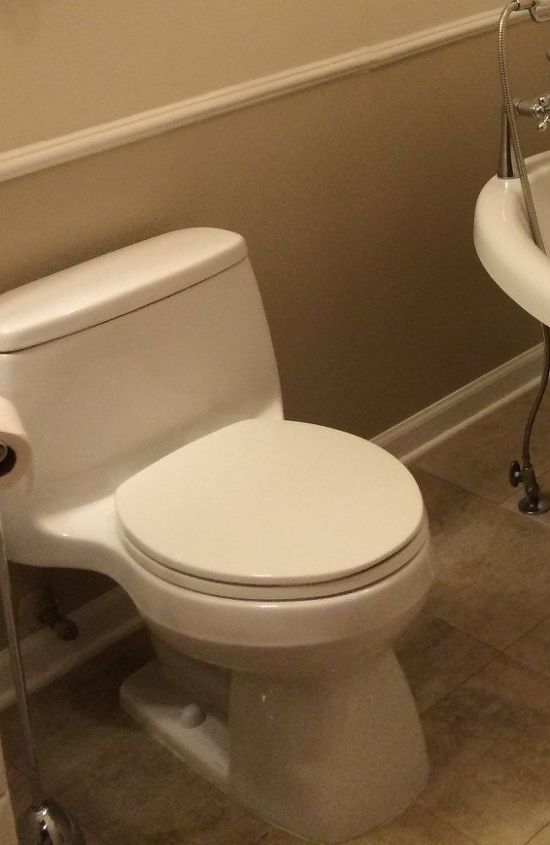
Before: Toilet
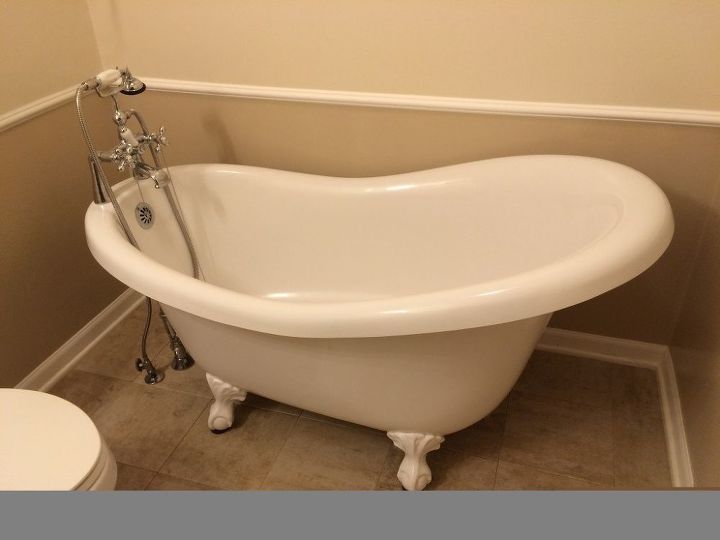
Before: Claw foot tub w/no shower
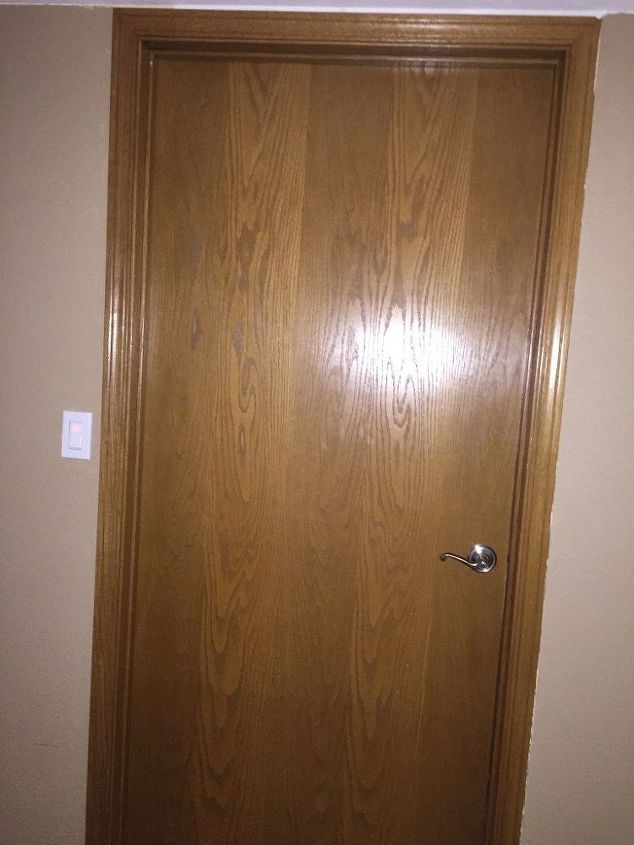
Before: Door
The first thing we did is gut the entire bathroom, including the linoleum floor tiles, all the molding, the door, light fixtures, outlet covers, and some of the drywall where we needed to add plumbing in the wall (since the bathroom had a claw foot tub, the pipes came up out of the floor).
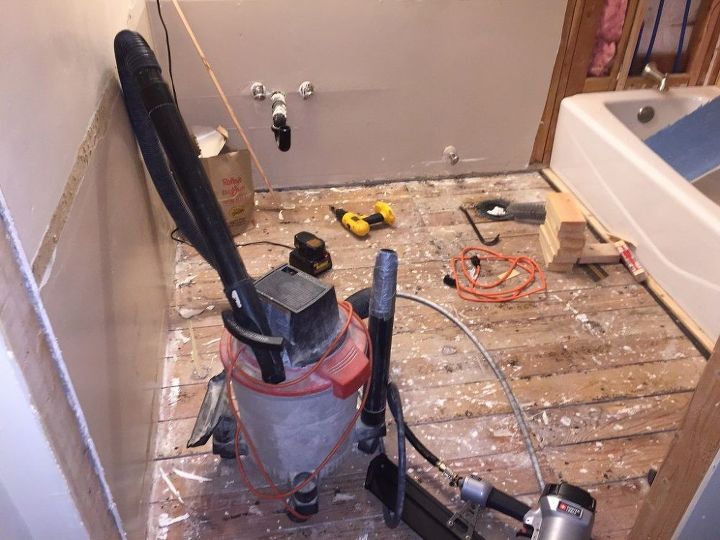
Gutted the bathroom
First we installed the tub and super-handy hubby moved all the plumbing into the wall (it originally was in the floor for the claw foot tub).
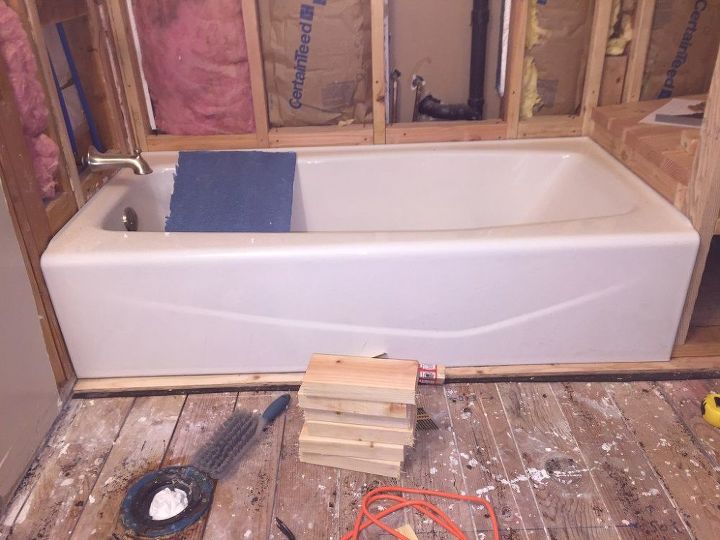
Installed tub and moved plumbing
Then, since the bathroom was wider than the tub, we had to build a shelf and wall area to fill the space, so hubby framed that in (he also framed sections in the wall to put in some glass blocks for decor and to allow more light through to the shelf area we were adding at the back of the tub).
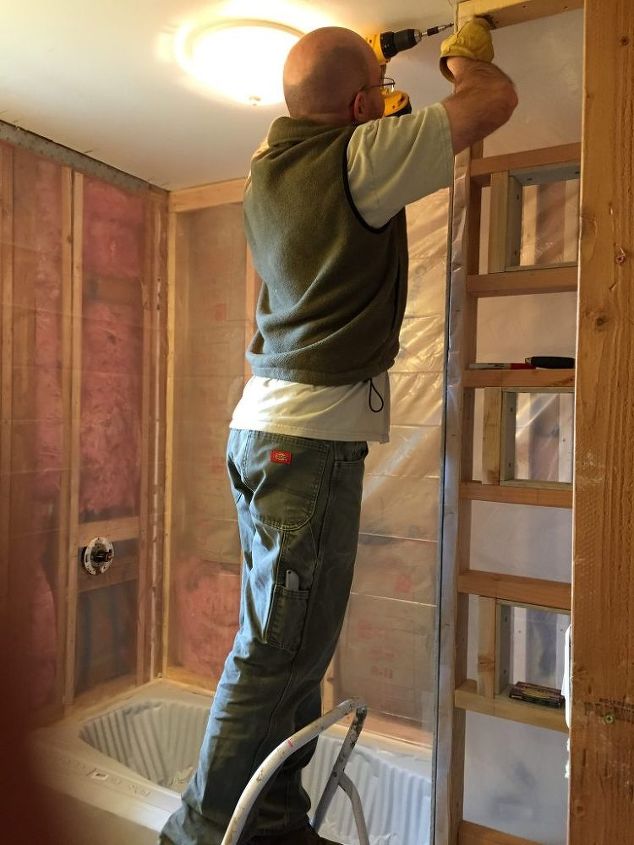
Super-handy hubby framing up wall and shelf
We replaced the window with a much prettier one, and we added plastic sheeting over the framing above the tub as our first line of water defense. Pics and more descriptions of those can be found on the blog.
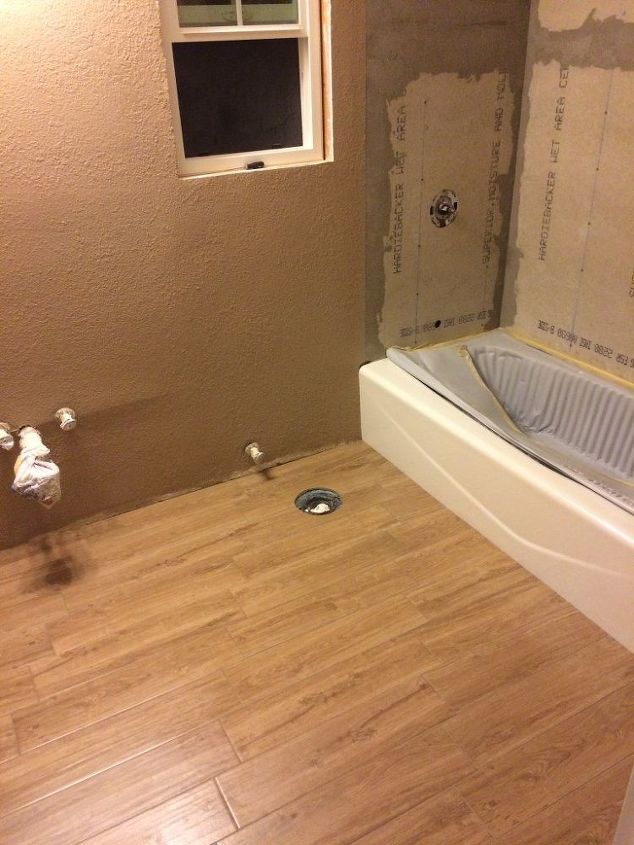
Tile floor and painted walls
We installed a new window and trim.
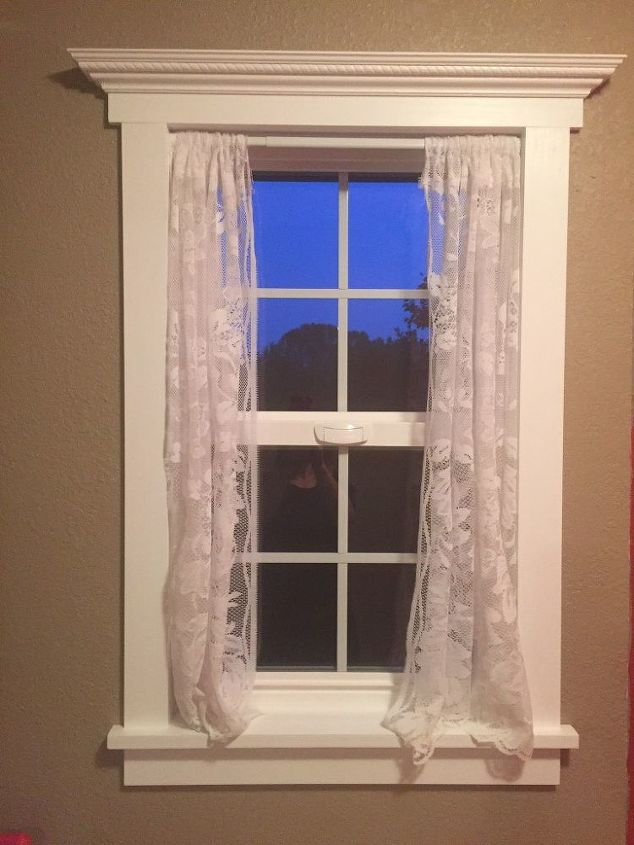
New window and trim
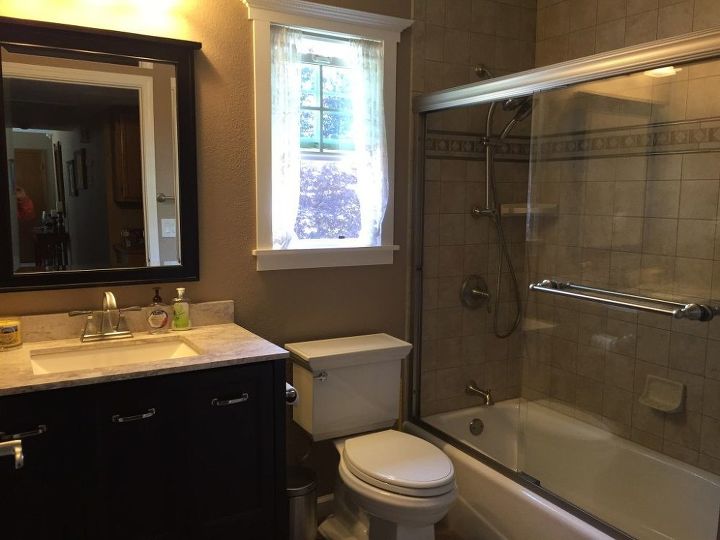
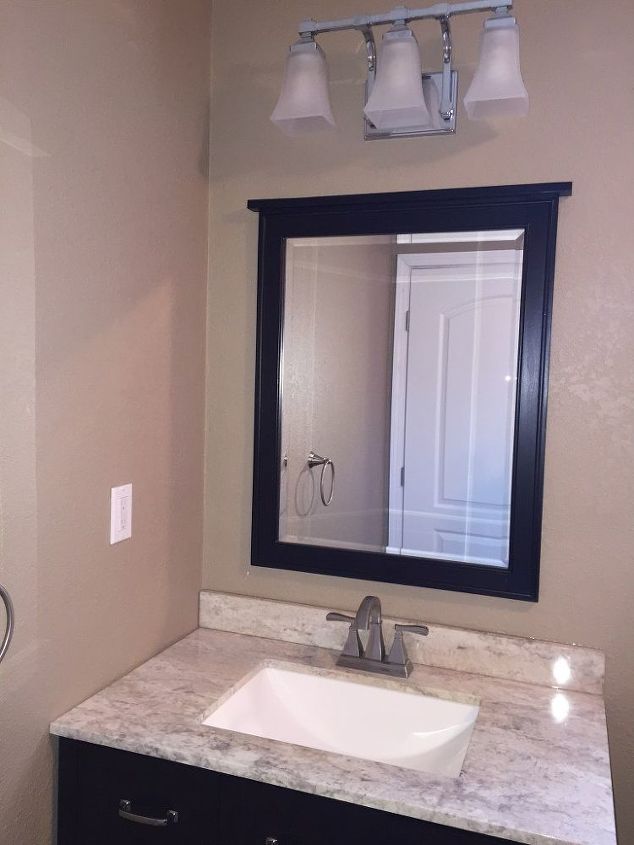
Next came the new toilet, vanity, mirror, and light fixture. Then we tiled the shower and installed the fixtures and shower doors. Here are some of the pics of the completed bathroom. The rest can be found on the blog.
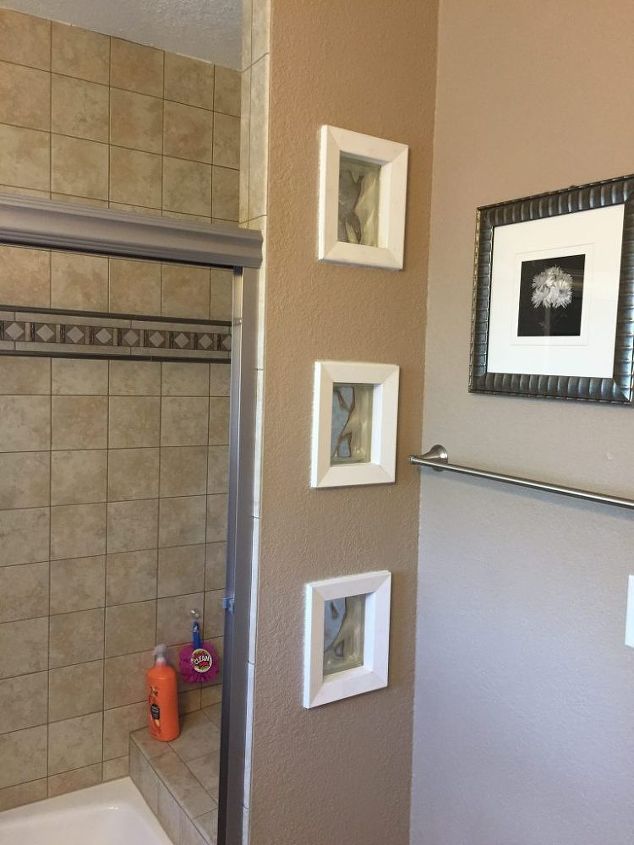
New wall with glass blocks

Want more details about this and other DIY projects? Check out my blog post!
Comments
Join the conversation
3 comments
-
I love old claw foot bathtubs! Did you do anything fun with yours? The bathroom must be truly appreciated by your lucky daughter as it came out very nice. I'm sure you also added lots of value to your home!
-
Very nice and modern!


Frequently asked questions
Have a question about this project?