


DIY Decal Dresser
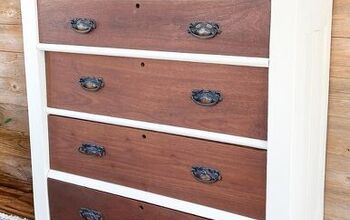
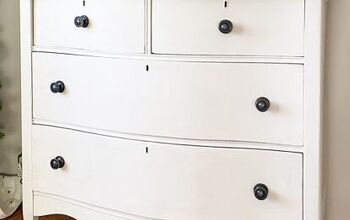
Looking for a cheap and easy way to update an old dresser? Consider wall decals! This dated-looking dresser was still in great condition, so I gave it a fresh, interesting, and low-cost upgrade with some paint, fresh hardware, and floral decals!
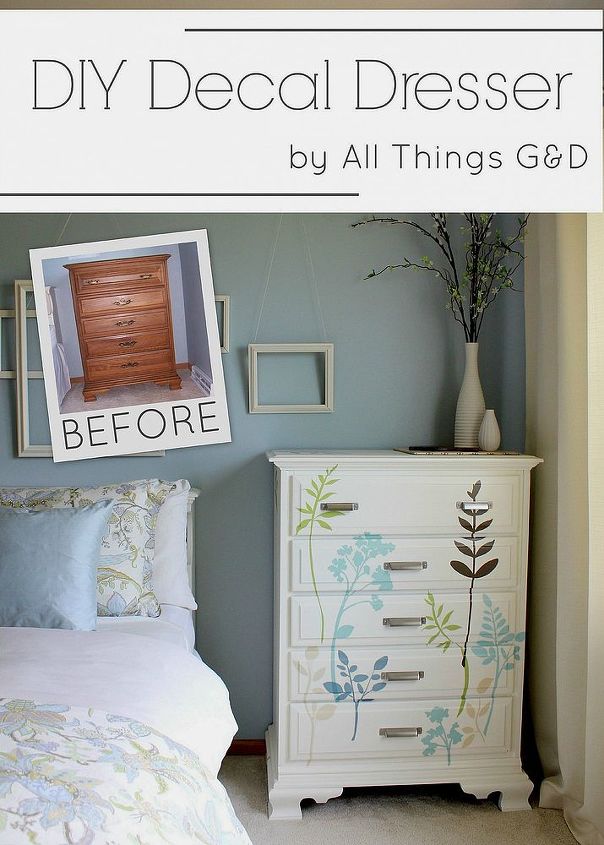
This dated dresser gets an upgrade with some leftover paint, new pulls, and a $15 package of floral decals.

Before and after - updating this dresser by decades with just a few dollars!

Our Guest Room
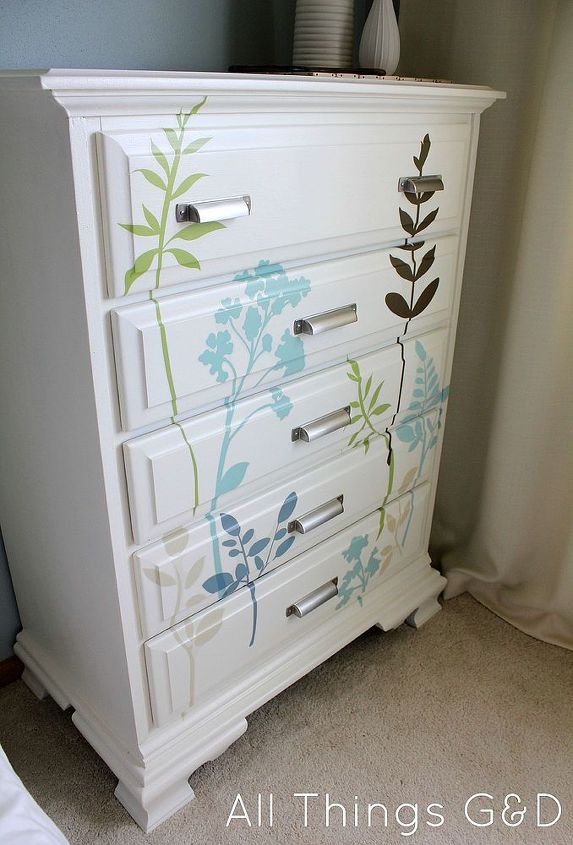
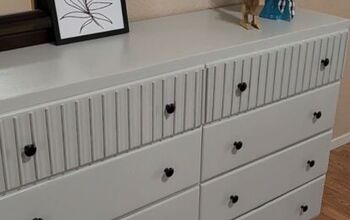
The whole process was really quite easy! First, I cut out each decal individually (keeping its backing on at this point) and taped them to the dresser to decide where I wanted each one placed. Then I peeled the decals off from their backing and starting from the top, applied them to the dresser. I worked top down, one decal at a time, using scissors to cut the decal once I came to the start or end of a drawer. (You don’t want to decal your drawers closed!) Once my cut was made I lined the remainder of the decal design up so it’d be in line with the piece I had just cut. My goal was that looking at the dresser straight-on you wouldn’t see a break in the decal design.
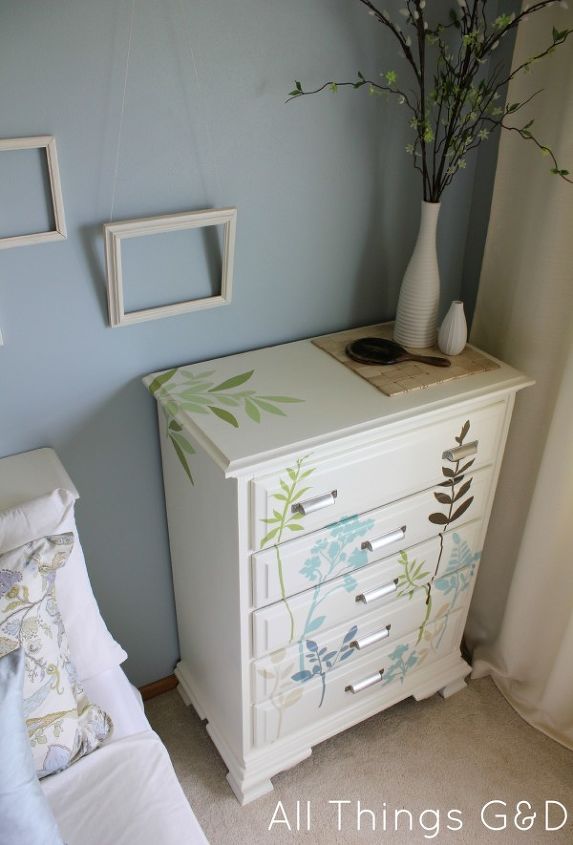
I’m usually a “less is more” kinda gal, but I really like how the leafy accent on the top brings a little more green into the room and adds interest from different angles.
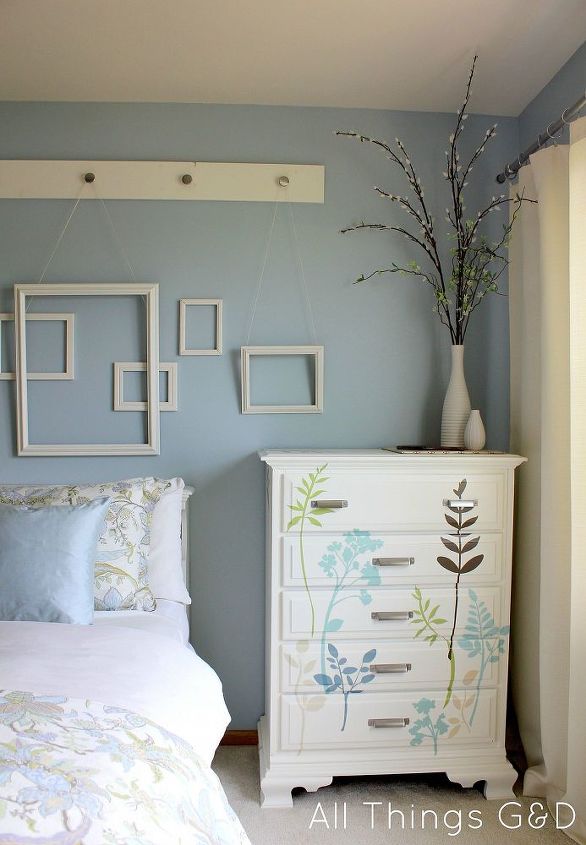
For only $15, it was a quick and low-cost way to add some color and interest to this corner of the room. And the best part? If I ever decide I want a different look, they’re easily removable without causing any damage to my dresser!

Want more details about this and other DIY projects? Check out my blog post!
Comments
Join the conversation
2 of 30 comments
-
Way to go!
-
Thanks for sharing, I will try it.


Frequently asked questions
Have a question about this project?