


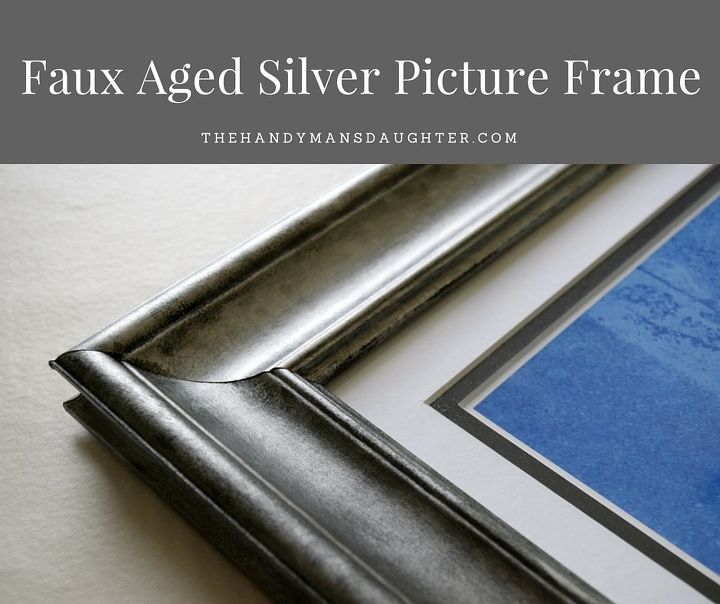
Faux Aged Silver Picture Frame
2 Materials
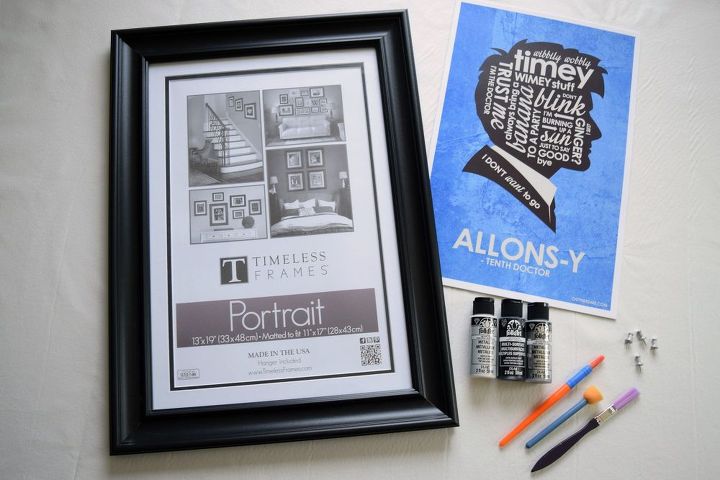
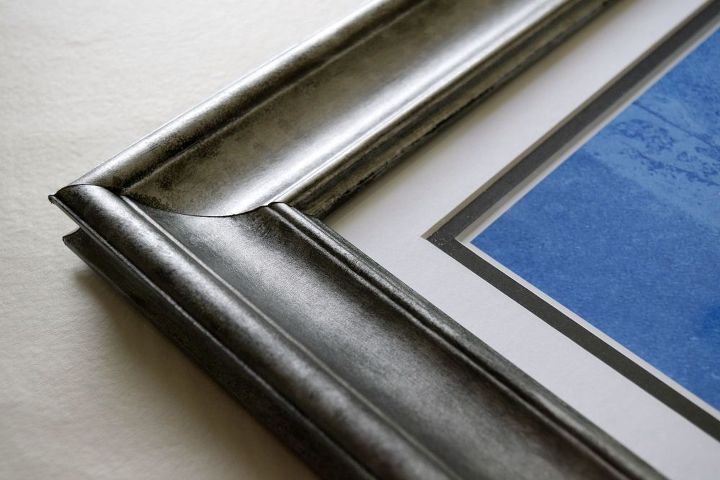
Our friends gave us a Doctor Who print to hang in our geeky basement media room, but finding a frame for it was a challenge. The print is 11" x 17" and frames of that size are hard to find, and interesting ones are nonexistent. I decided to create my own custom faux aged silver finish on a standard black frame with craft paint.
In order to create this finish, you need to start with a black frame. If the frame you are painting isn't black, a quick spray with black spray paint should take care of that. I used three different craft paint colors and a variety of brushes.
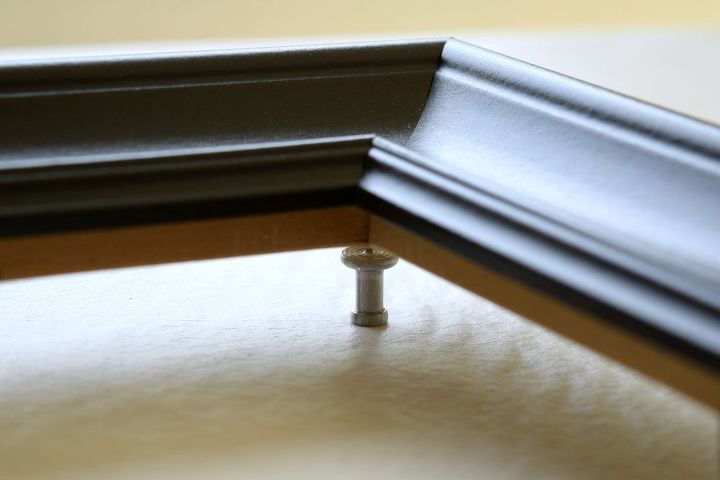
First, I removed the glass and propped up my frame with flat head thumb tacks. This elevates your frame off the work surface and lets you get all the way to the edges.
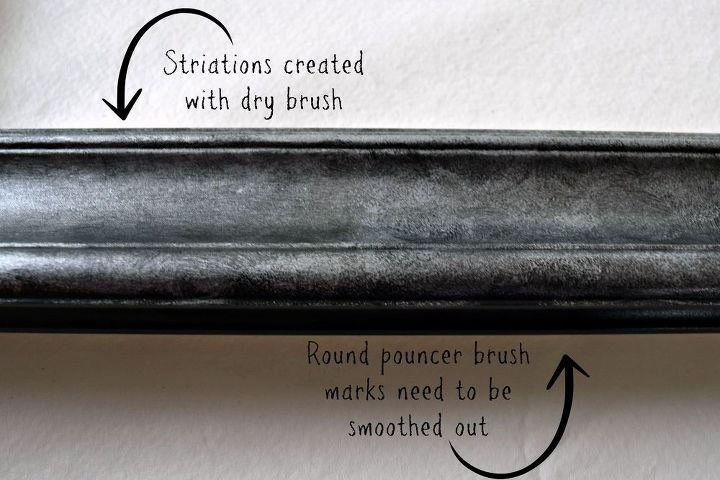
I began with sterling silver paint and a small round bristle brush. Get a very small amount of paint on the tip of the brush, then dab it on randomly, allowing some of the black to show through. I used the small brush on the inside edges, then moved to the foam pouncer brush for the flat areas. Play around with different brushes and techniques to create a random effect.
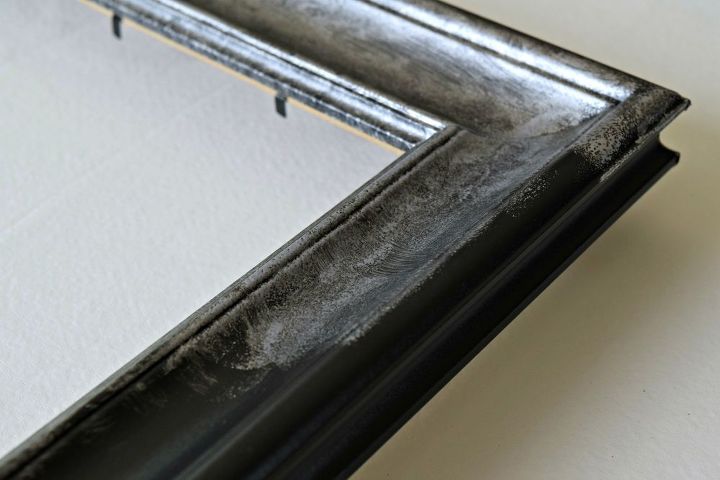
I created striations or metal grain marks by running a dry brush very lightly over the paint when it was almost dry. This also helped to smooth out any places where the brush strokes and pouncer marks were obvious.
To see the rest of the technique, and more pictures of the final product, please visit my blog at The Handyman's Daughter or click on the link below.

Want more details about this and other DIY projects? Check out my blog post!
Comments
Join the conversation
1 comment
-
Great Idea! Love DR. WHO! Thanks for sharing!


Frequently asked questions
Have a question about this project?