


DIY Photography Light Box

by
Megan Aubrey
When I take pictures of smaller items you should see me shop around the house for neat backgrounds. Sometimes it worked, sometimes it didn't. It was frustrating getting random backrooms in pictures. Sometimes you just want a nice clean background that allows the featured item to shine. So I decided to make my own photography light box. The best part? It was basically free!
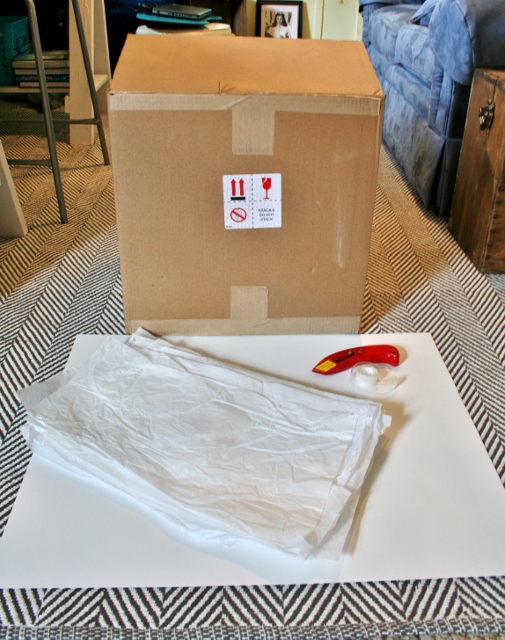
Gather a big cardboard box, tissue paper, poster board, box cutter, and tape.
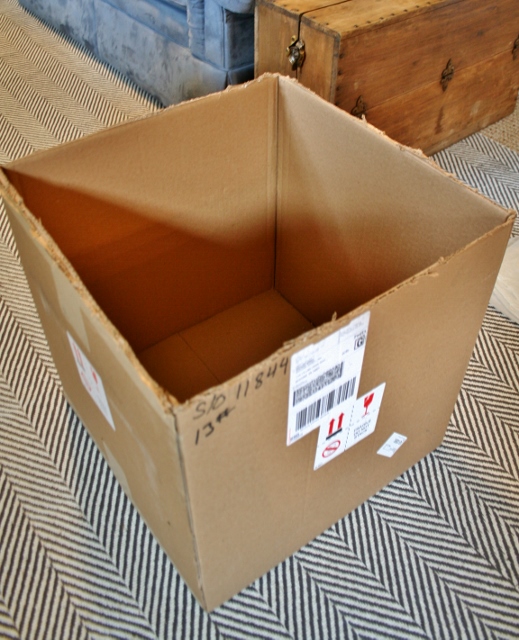
Cut the flaps off the box.
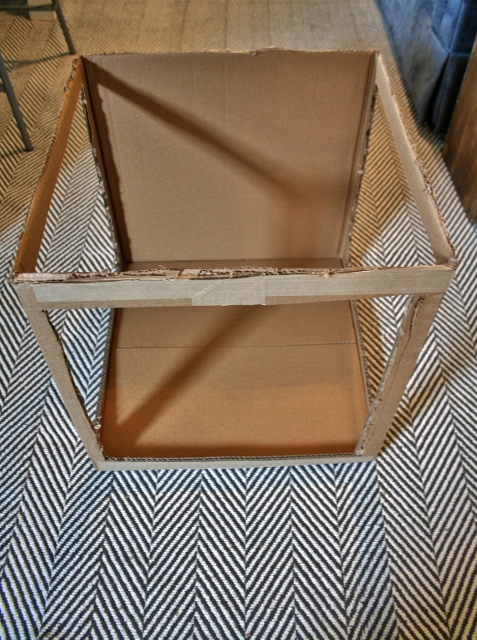
Cut a big square hole in three sides of the box.
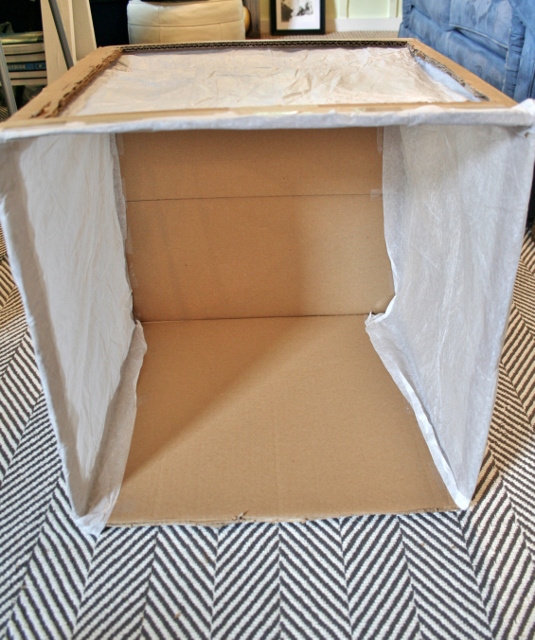
Cover the cut out sides with tissue paper.
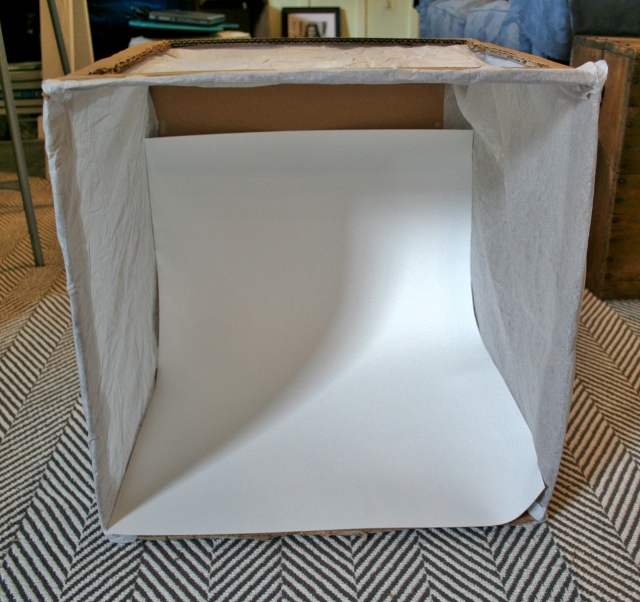
Cut the poster board to fit in the uncut box sides.
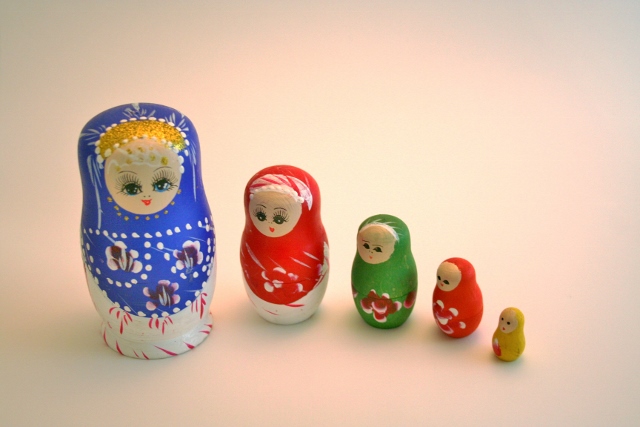
Pick an item and photograph away!
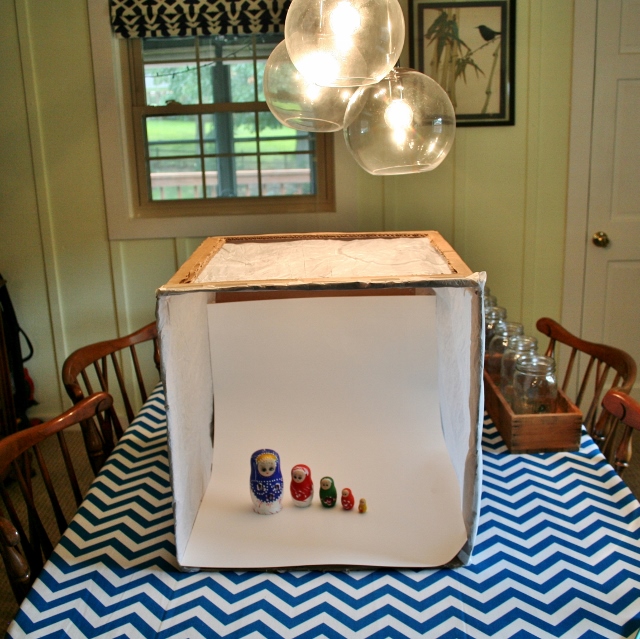
Try to find a space with lots of light - both natural and artificial.
Want more details about this and other DIY projects? Check out my blog post!
Comments
Join the conversation
5 of 9 comments
-
Fantastic soft box on a budget! Free to 1.99$ instead of hundreds of dollars!
Remember to slightly over expose your images when you are inside.
They will help to keep your background white and require less color editing afterwards!
- See 1 previous
-
wow really so amazing idea. I love it 😍


Frequently asked questions
Have a question about this project?