


Transforming 3 Ruined End Tables

by
Jasmin
6 Materials
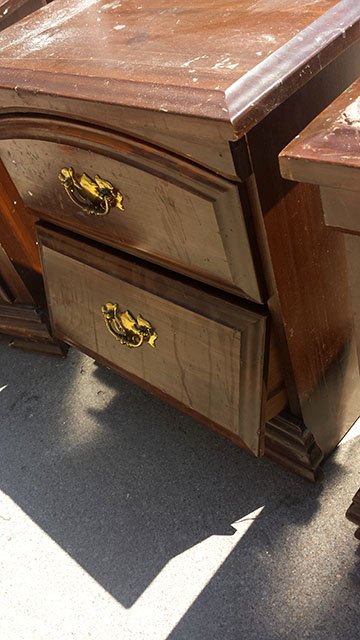
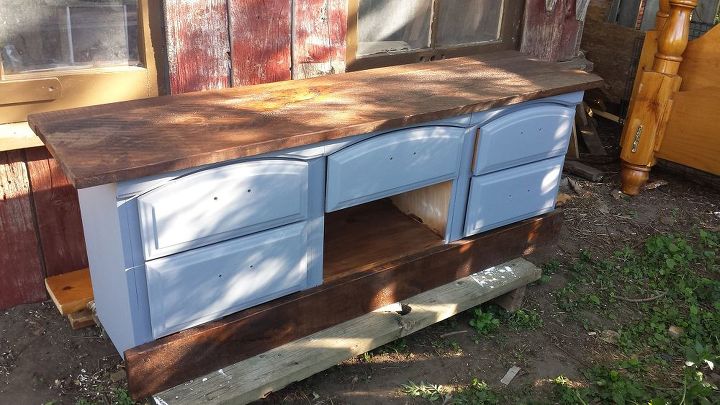
Three end tables were heading to the dump! I got the call to come and try and save them! I ended up with 3 truckloads of items to play with! Almost all of it was in rough shape.
This transformation was a doozy of a project. I'll add a few pictures here, but honestly, the blog in the link is far more in depth and will hopefully answer questions if you have any.
I love these projects! They really get the mind racing with ideas! I could have done a million things with them, but opted for this route since I have a wee bit of an obsession with trunks, benches and storage!
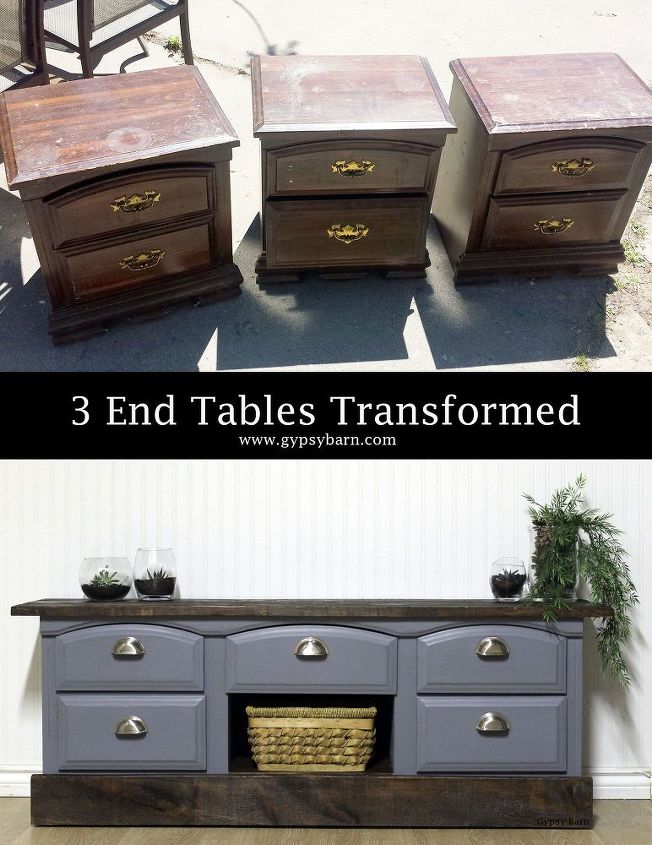
The before and after.
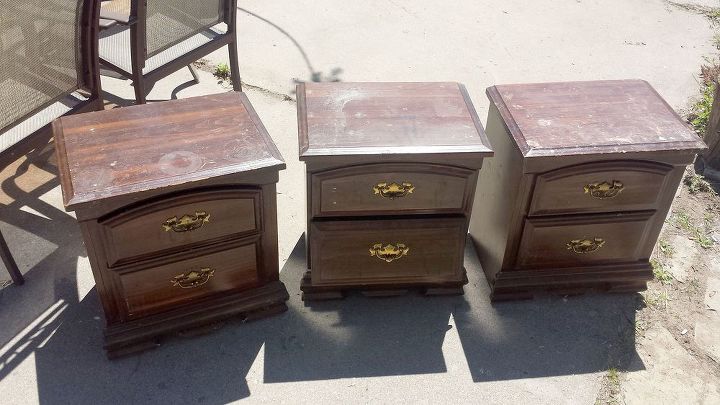
The before photo. Ouch!
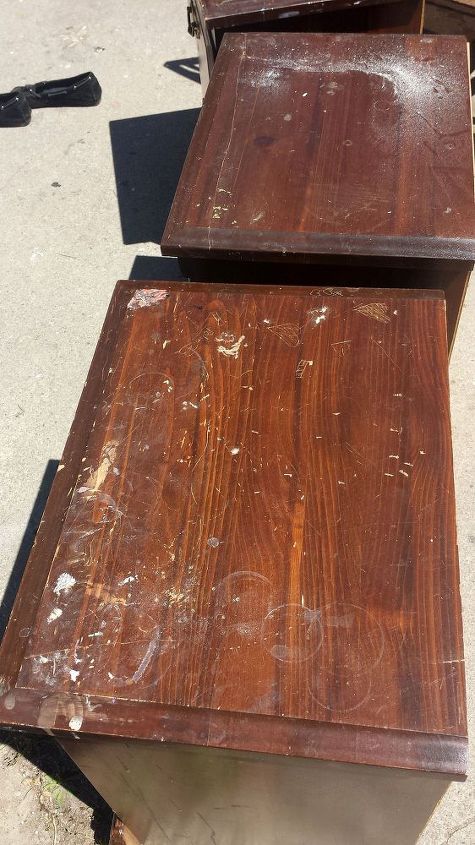
close up of the top
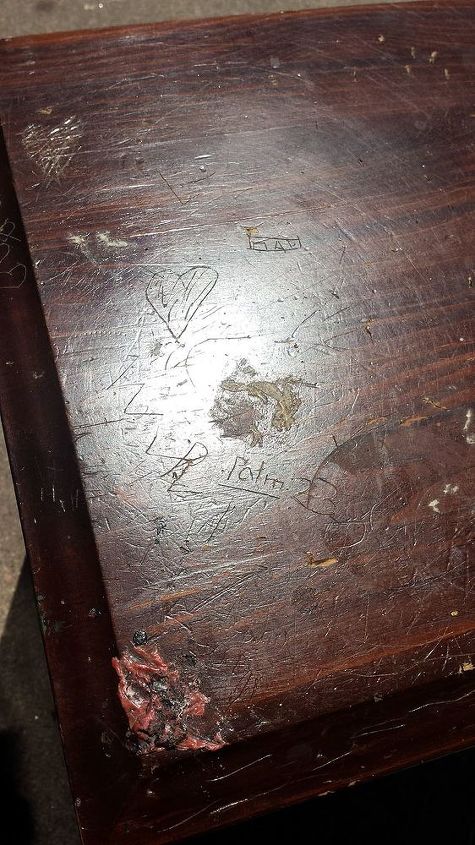
pretty much ruined
drawers were held in by plastic runners that had been snapped off leaving small chunks of plastic inside the inner walls.
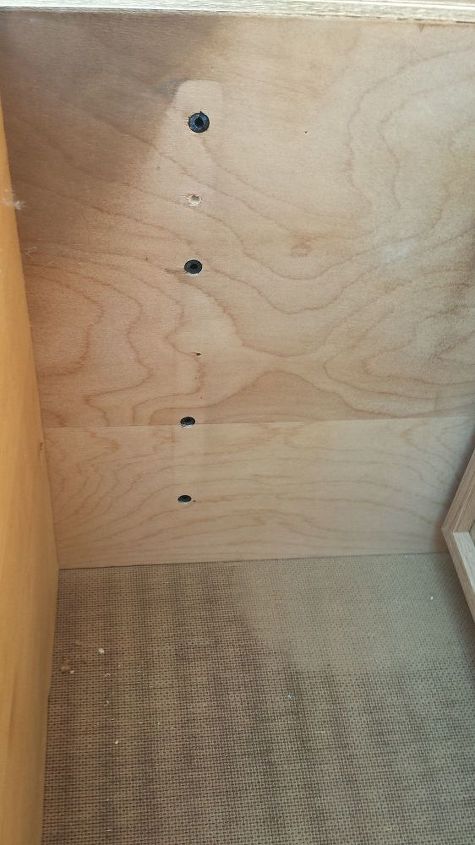
as you can see here.
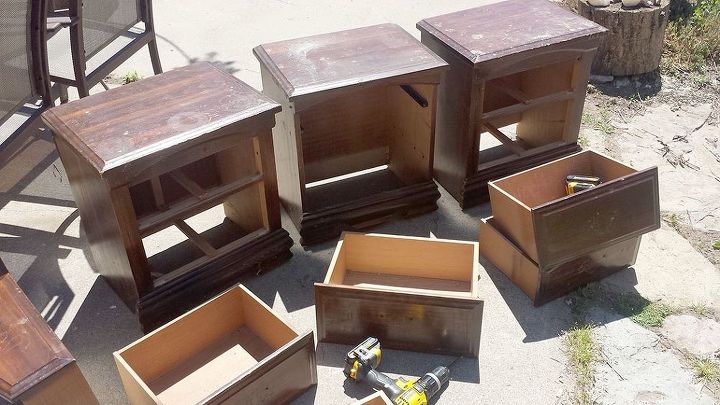
Remove hardware then wash, degrease, and sand the finish off. There really isn't much need to do more when you know a piece is going to get painted, and let's face it, this needs paint.....and a LOT of wood fill.
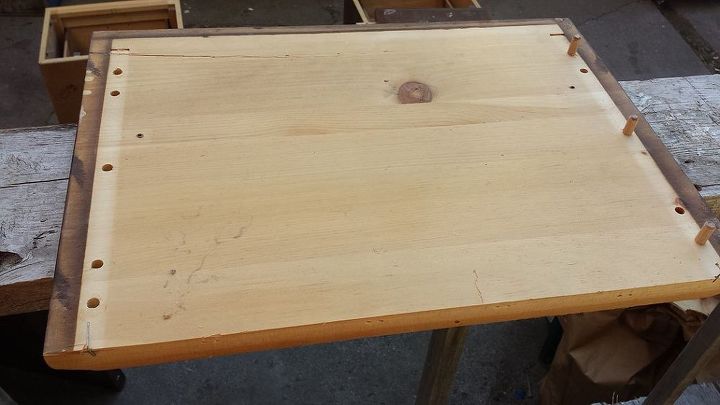
Thankfully, the tops on these pieces are real wood.
trim off the excess from the tops.
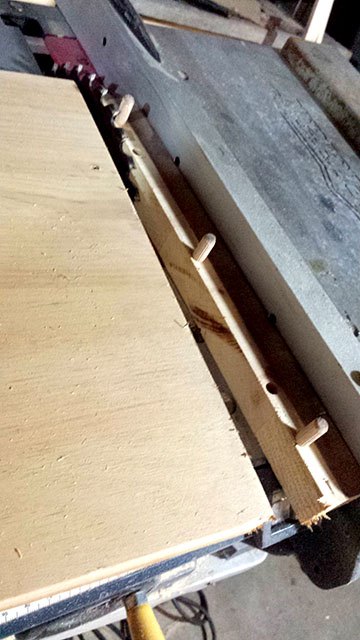
Next up - attaching the three end tables together.
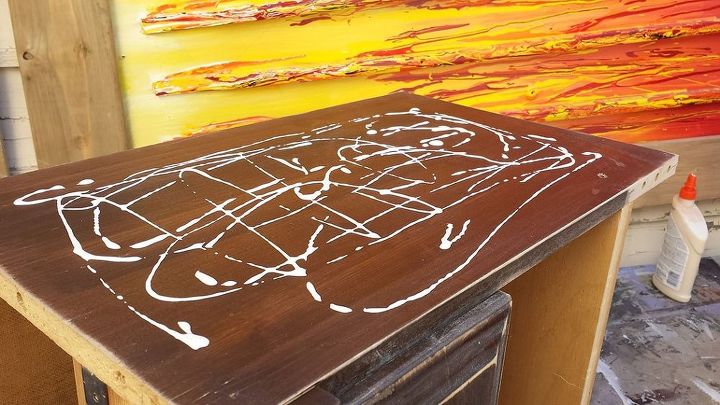
once attached, find something that works or the top. I opted to "make my own barnboard" faux barnboard. There is a how to in the blog for this.
I can't tell you what colour this is because I tend to just mix up my own colours.
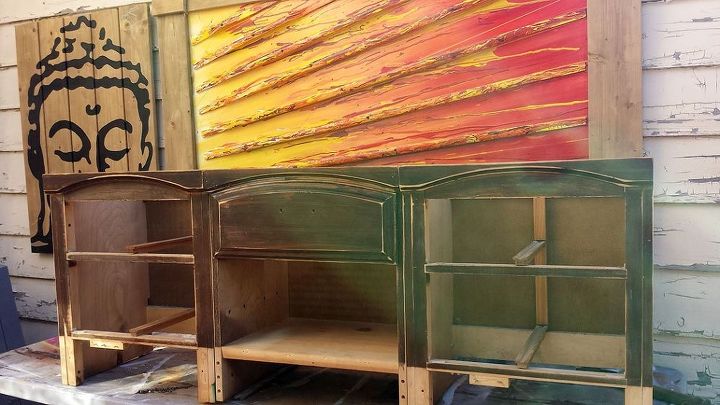
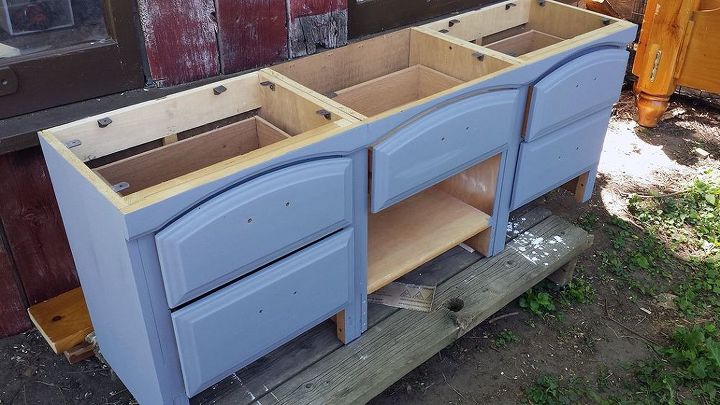
almost done! A few more small things to do then off to hunt for hardware
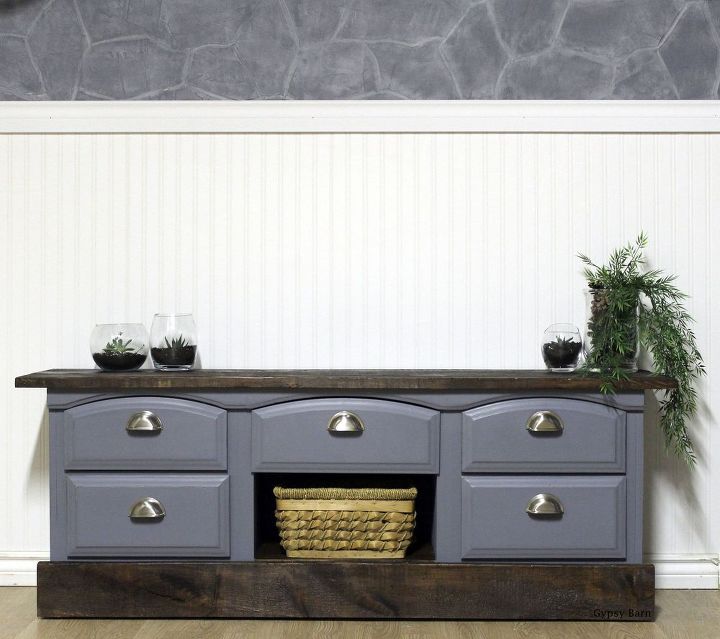
The final look!
Comments
Join the conversation
3 of 304 comments
-
Amazing! I have JUST the place for something like this! LOL. Great save :-)
-
Great save. I love how you repurposed 3 ugly old things to make 1 beautiful new thing. However, I don't like the bottom skirting board. It looks heavy and ill proportioned. Maybe a smaller one would have drawn less attention to itself, perhaps even painting it the color of the front of the piece. Great inspiration though.


Frequently asked questions
Have a question about this project?
magnificent how did you join the night stands
Hi, I would appreciate it if you could advise me how best to fill the gap of
about 3 mm between 2 pieces of an extendable table top as the mechanism
under the table top is rusted and cannot be screwe’d.
Thank you for any help in solving my proble.
Did the front scroll design come off? I have a queen anne dresser from my mother that I would like to redo but really dislike the scroll work on the bottom