


A 10 Minute Father's Day Gift Dad Will Use Everyday

5 Materials
$12
10 Minutes
Easy
This year for Father's Day, I wanted to make my dad something he would actually use. I was waiting for inspiration to strike, when I spotted hubby's leather change bowl. He loves it and uses it daily, but it cost him quite a hefty price. Well, for some time now I've suspected I could make the same exact thing for way less money, and I decided it would be the perfect gift for dad. What I didn't expect, though, was just how easy it was to make!
{
"id": "3429783",
"alt": "",
"title": "",
"video_link": "https://www.youtube.com/embed/SpzbPKm2XsI",
"youtube_video_id": "SpzbPKm2XsI"
}
{
"width": 634,
"height": 357,
"showRelated": true
}
Step 1: Gather Your Materials
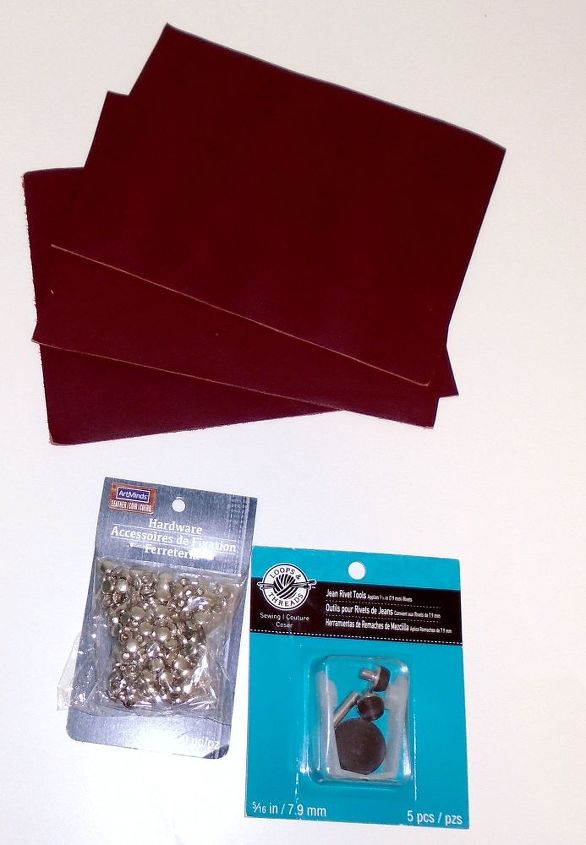
I found all the materials I used for this project at Michaels. After a quick trip I had leather sheets, a rivet tool kit, rivets, and measuring tape.
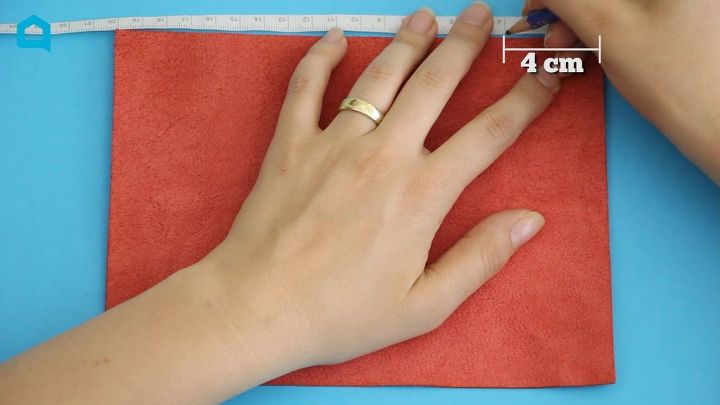
For this bowl, I measured 4cm from the corner and 1cm down. I laid my measuring tape over the leather and marked the points I needed with a pencil.
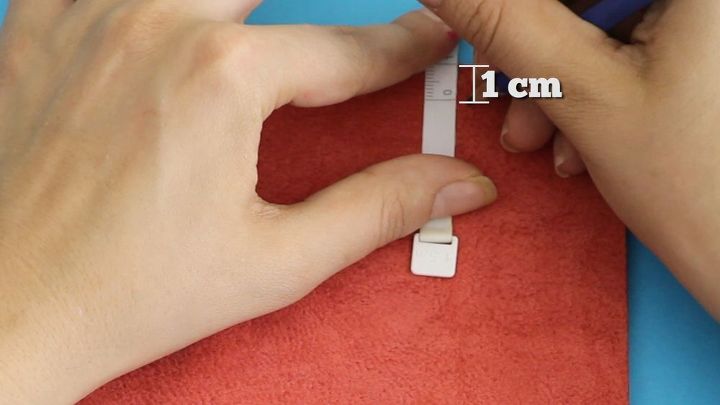
I had to measure two holes for every corner, for the top and bottom of the rivet, so I marked 4cm from each corner in both directions and then 1 cm down from that point.
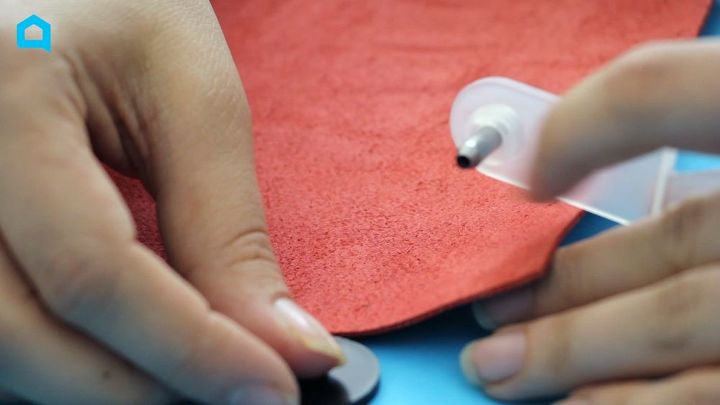
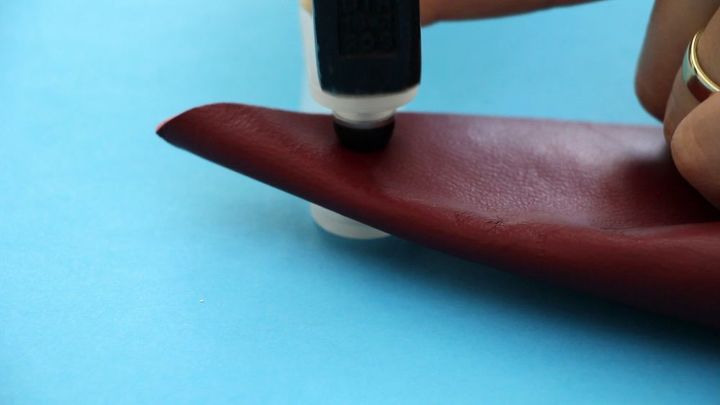
This tool kit really had everything I needed. The mini awl fit right inside the plastic tool, and there was a black piece to put under the leather (so I didn't damage my table).
A few quick taps with my hammer and the awl punched right through the leather.
Here you can see all eight holes in the leather (two for every corner). After this step, I was ready to turn this sheet into a bowl.
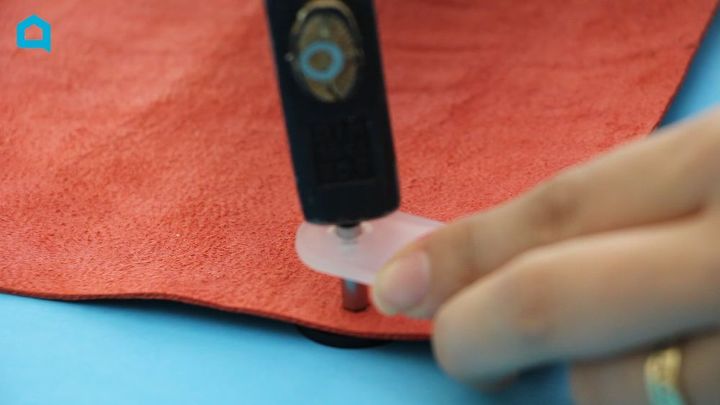
I took the awl out of the plastic tool and attached the dyes (the parts that go over on top and bottom of the rivet). The package on my tool kit had a great diagram that clearly showed me how to do this.
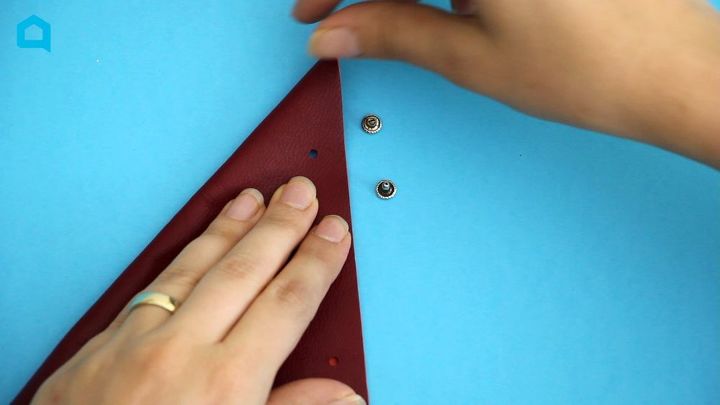
I then folded the corners together to line up my holes.

I slipped the rivet into the open holes from the top and put the other rivet end under the holes. Then, I pushed them together until I heard a little "click!" If you do not hear a "click!" your rivet ends will not attach to each other properly.
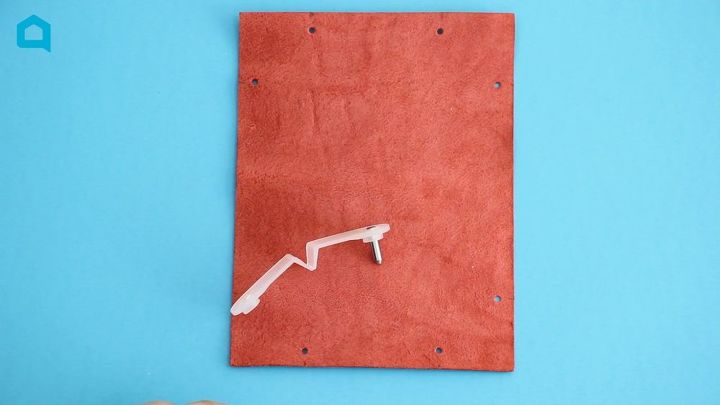
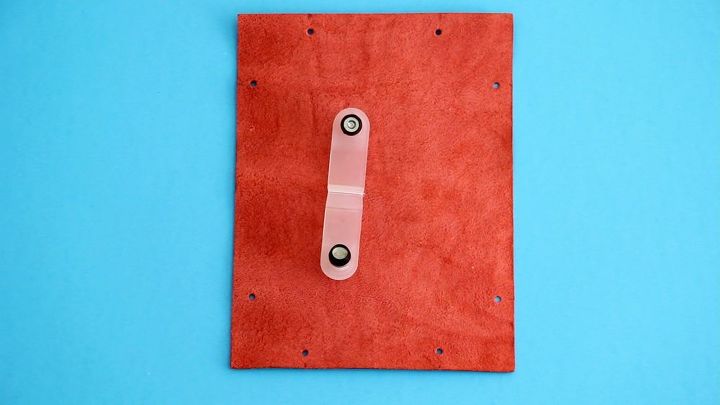
To secure the rivets, I put the dyes around each rivet and gave it a strong tap with my hammer. I did a second tap just to be extra sure.
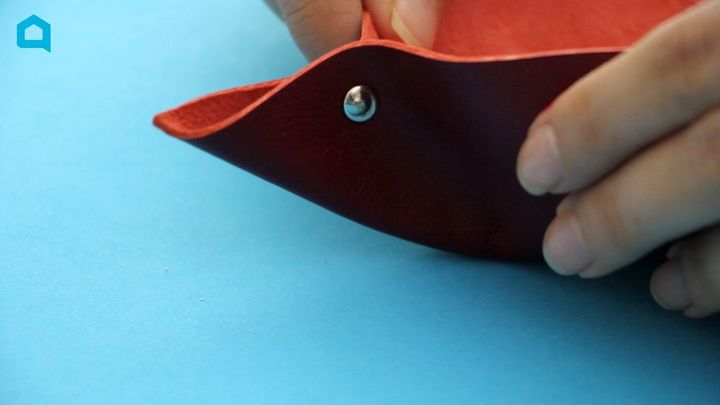
This is what a closed rivet looks like. I gave it a little tug to make sure it was secured. If it opens when you tug it, it was not closed properly. Add the rivets to all four corners in the same way.
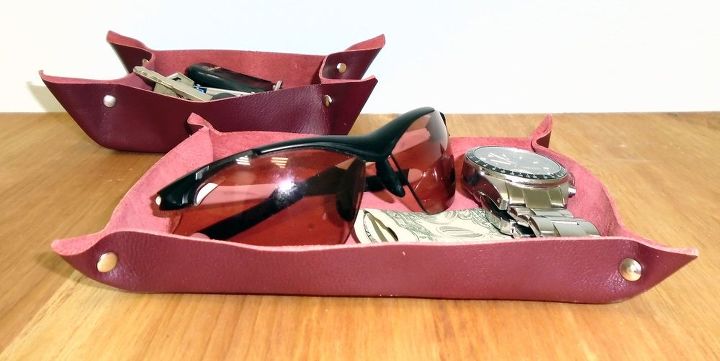
If you change the measurements, you can get bowls with all different depths and widths, or even craft a whole set of them.
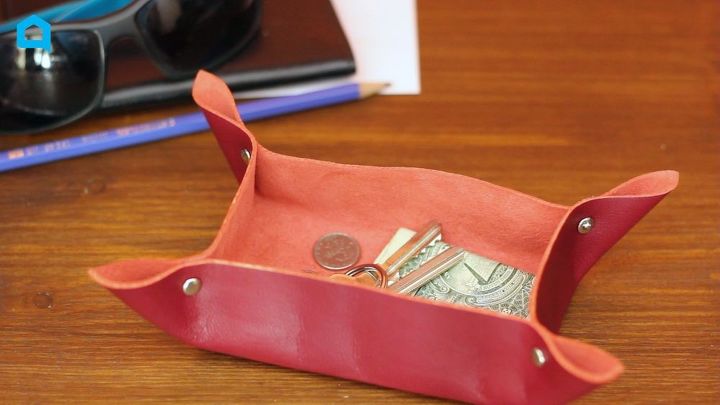
And that's it! It came out beautifully and I know my dad is going to find it so useful. I can't wait to give it to him!
Comments
Join the conversation
4 of 20 comments
-
Great idea for the kids to do!
-
Very nice and useful. I think I'll make my son this. Thank you for info on where to buy supplies.


Frequently asked questions
Have a question about this project?