


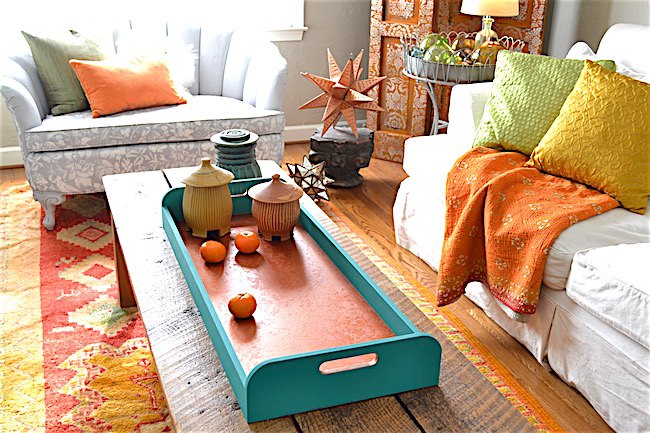
How-to Embellish A Tray With the Tone-On-Tone Metallic Tool Kit

This fabulous DIY project is by Debbie Hayes of My Patch of Blue Sky who shares how to turn an old, boring wooden tray into something special. Debbie used our new Tone-On-Tone tool kit along with our Metallic Paints and Matte Metallic Paints for a subtle, shimmery look that can add interest to your next project!
The Tone on Tone Metallic Application Tool Kit is designed to use with our Metallic Paint Collection and Matte Metallic Collection to create a pretty metallic paint treatment. Along with easy step-by-step instructions, you get the sea sponge roller, a smooth roller, a roller handle and a paint tray.
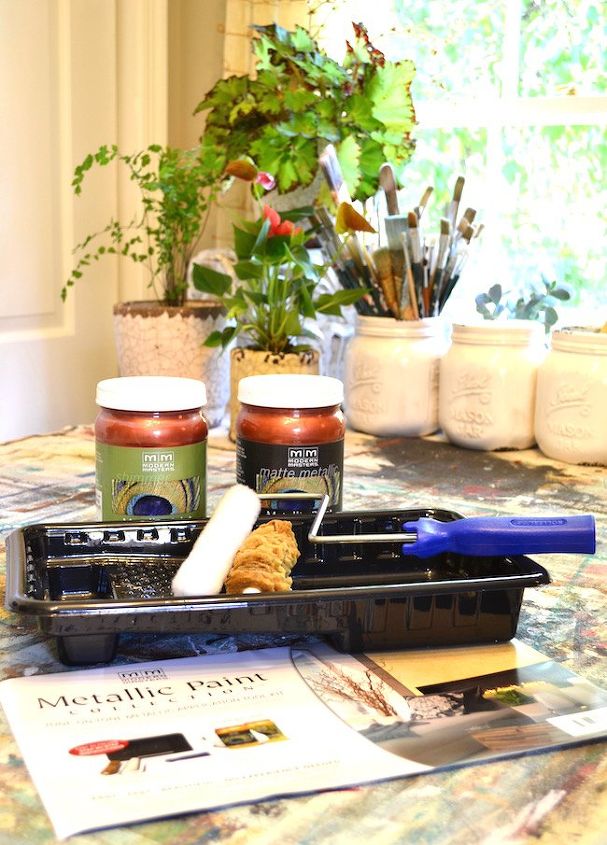
Next, simply choose a Matte Metallic color for your base coat, and then choose the same color in the Metallic Paint Collection to create this Tone-on-Tone Metallic Finish. Debbie chose to go with the Copper Matte Metallic and the Copper Metallic Paint. Perfect for a summery, wild Boho look!
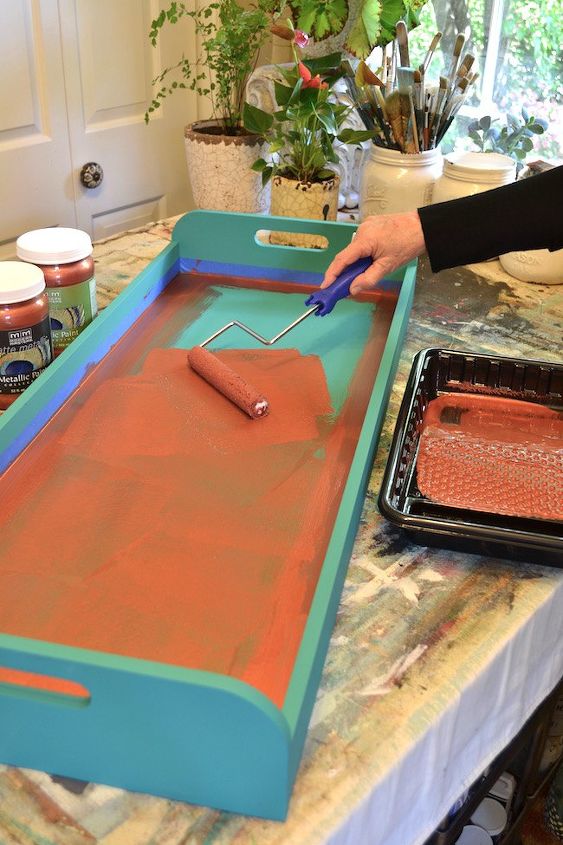
Now, with the texture of the sea sponge roller, roll on the Copper Metallic Paint (or your desired Metallic Paint color). Be sure to leave open spaces, in order to get a two-tone effect - Matte & Satin! Blot any excess paint areas with the cloth, if necessary. Let dry.
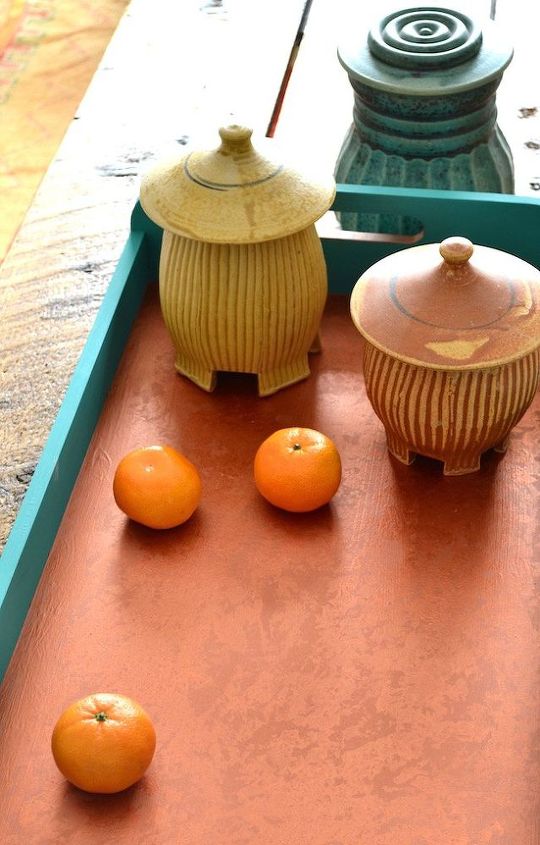
It’s like magic in a couple of simple steps. The contrast of the two sheens of paint, combined with the perfect tools, brings the look all together. Wondering about sealer? Since this piece will not be handled, Debbie opted to leave the matte Chalk Paint® as is. You could seal the metallic finish with Modern Masters’ MasterClear® Protective Clear Topcoat which is formulated to specifically protect the Metallic Paint Collection on items or areas that will receive lots of handling.
Comments
Join the conversation
2 comments
-
Love the colors!
-
Oh I love this so much! Beautifully done! I need to go find some of this copper paint.


Frequently asked questions
Have a question about this project?