


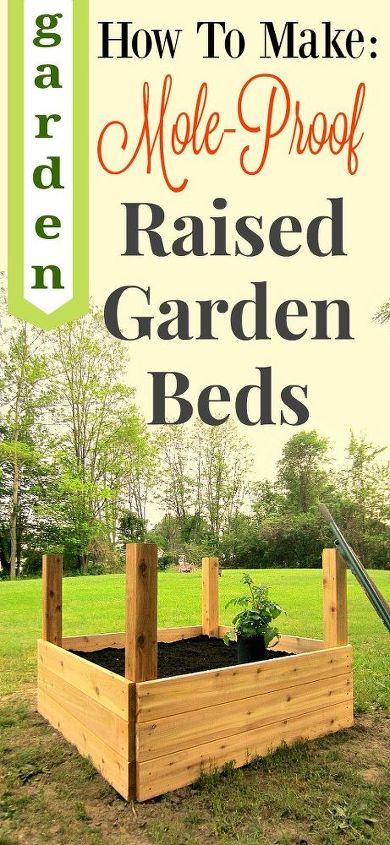
DIY a Mole-Proof, Raised Garden Bed

by
TwoPlusCute
$100
90 Minutes
Easy
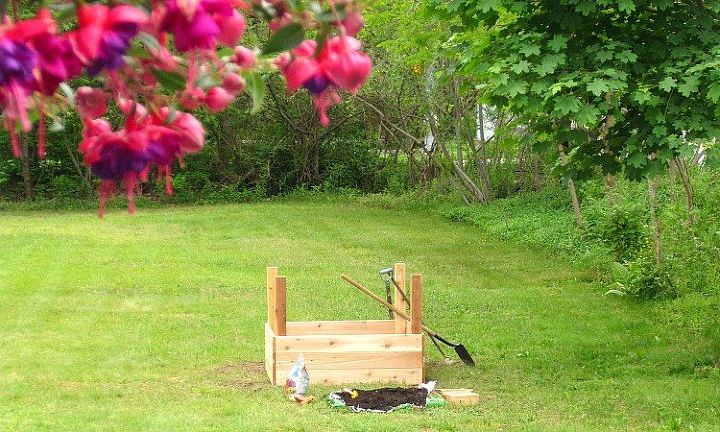
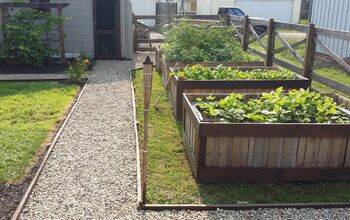
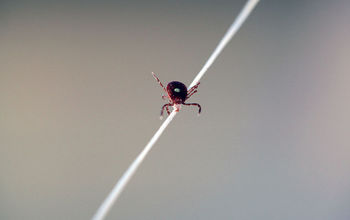
Our yard is a paradise. For...moles, that is.
So, when we decided to make our first raised garden bed, we had to find the right way to keep our produce safe from the little moles. This is how we DIYed our mole-proof raised garden bed.
Read how to make your own quickly!
So, when we decided to make our first raised garden bed, we had to find the right way to keep our produce safe from the little moles. This is how we DIYed our mole-proof raised garden bed.
Read how to make your own quickly!
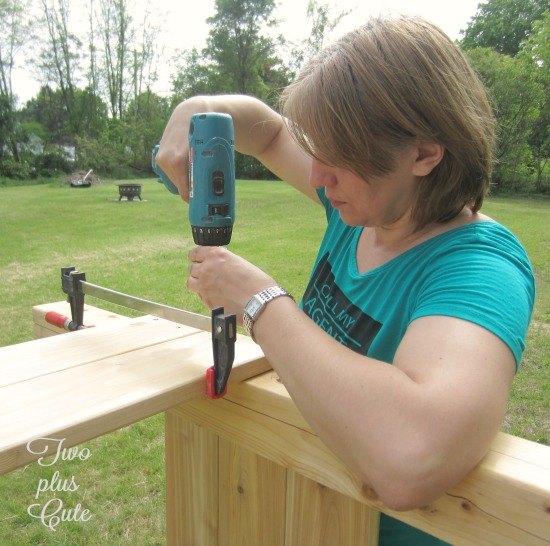
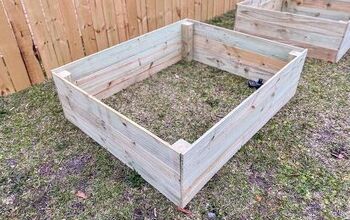
We used Cedar planks & beams as it is a pretty resistant wood - against humidity and wood-boring bugs.
Dimensions:
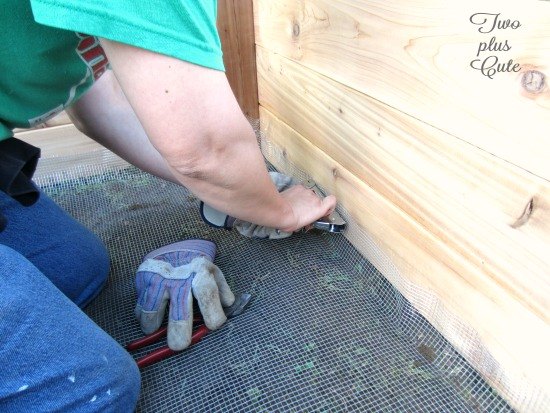
Then we placed hardware cloth (NOT chicken wire and NOT landscaping cloth - if you are curious, you can read why, at the blog) and I stapled it firmly into place, making sure the distance between the staples was small enough to stop any mole.
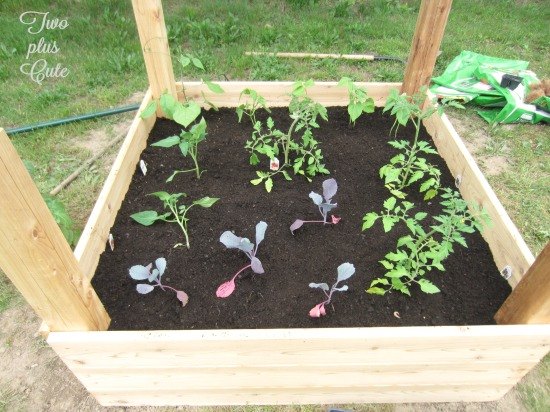
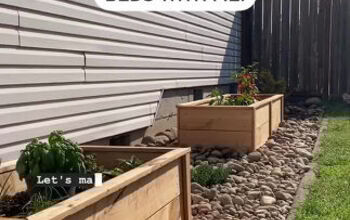
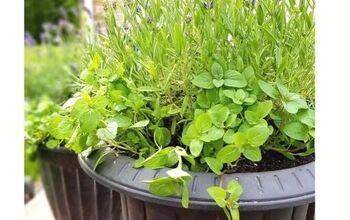
We finished by adding organic soil, amended with compost and planted our first plants (also organic).
Ready to make your own mole-proof raised garden bed?
Want more details about this and other DIY projects? Check out my blog post!
Comments
Join the conversation
2 comments
-
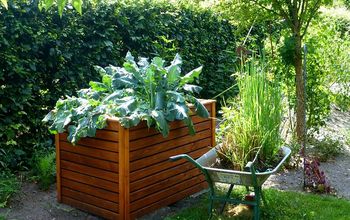
Oh we need one of these at home, the moles are taking over


Frequently asked questions
Have a question about this project?
Any way to get rid of moles?