


Crate Storage Idea

2 Materials
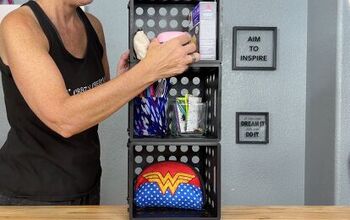
When Crates went on Sale at Michaels, I knew I had the perfect storage solution for my craft room.

When crates went on sale at Michael I just had to try a storage idea I saw on Pinterest. I purchased 4 of them.
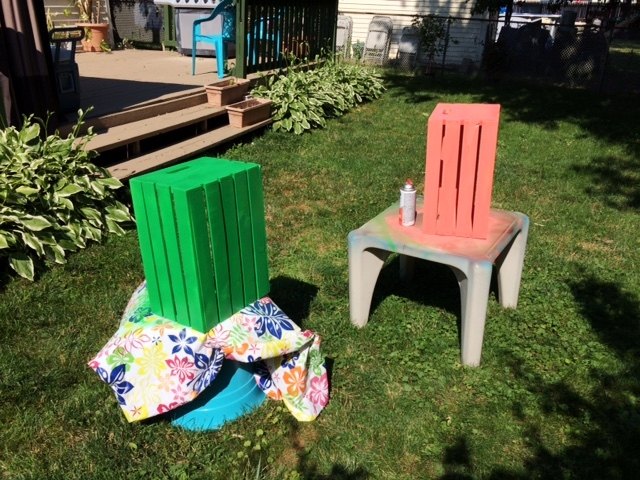
First I gave them a good sanding with medium sand paper to smooth out the wood and get rid of those little splinters. I paid special attention to the edges which were a little rough.
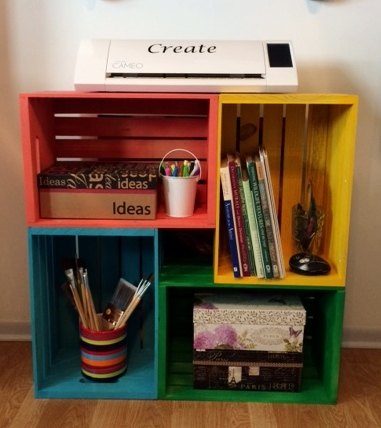
Then next day I tried stacking them different ways until I found a design I liked. My husband got out the electric drill/screw driver and used a counter sink to get the screws to go in and lay flat. The counter sink also kept the thin wood of the crate from splitting. Then he screwed them all together. A little touch up paint over the screws made them almost undetectable.
Comments
Join the conversation
2 of 97 comments
-
I've made it to a large book shelve and a pantry
-
IKEAS has better quality crates for 9.99 all the time


Frequently asked questions
Have a question about this project?
How much for the crates
Want to make for kitchen pantry. Sturdy enough for canned goods?
What is “counter sink”?