


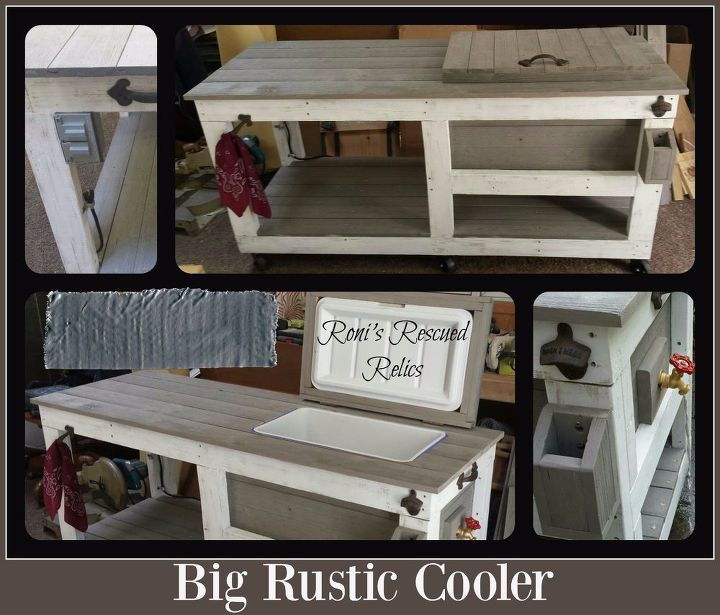
Big Rustic Style Cooler

by
Roni
$300
Medium
This is our 2nd cooler, we decided to make it bigger than the first one. The 1st rustic cooler can be found here on Hometalk: http://www.hometalk.com/diy/outdoor/furniture/our-version-of-a-rustic-cooler-16583641
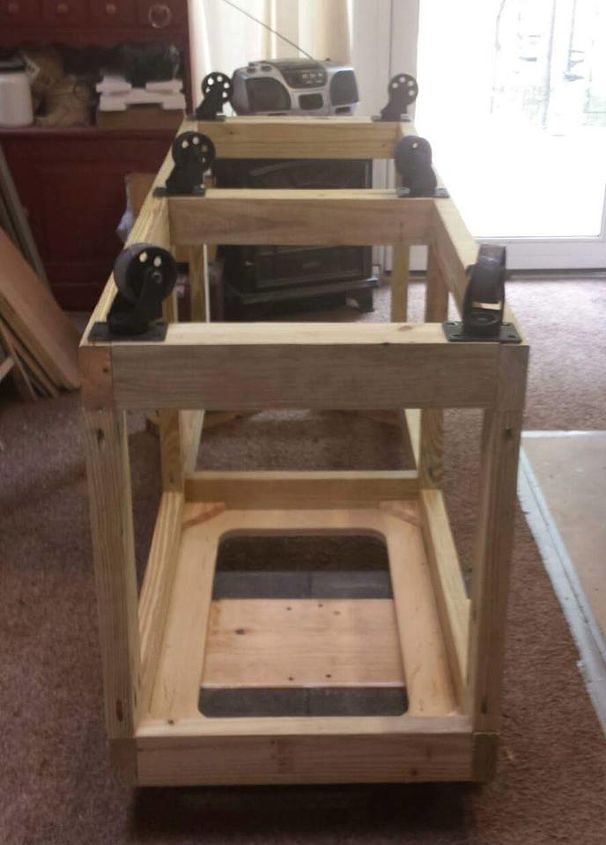
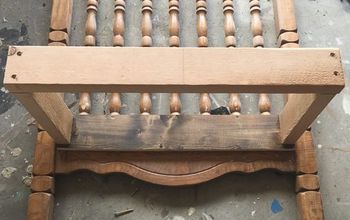
Hubby started it the same way as the last one...tracing the cooler onto plywood and cutting it out, then building the frame around it. We use pressure treated 2x4's for the framing material.
This cooler starts out the same way as the first...I'm sorry I forgot take the beginning photos on this one. :(
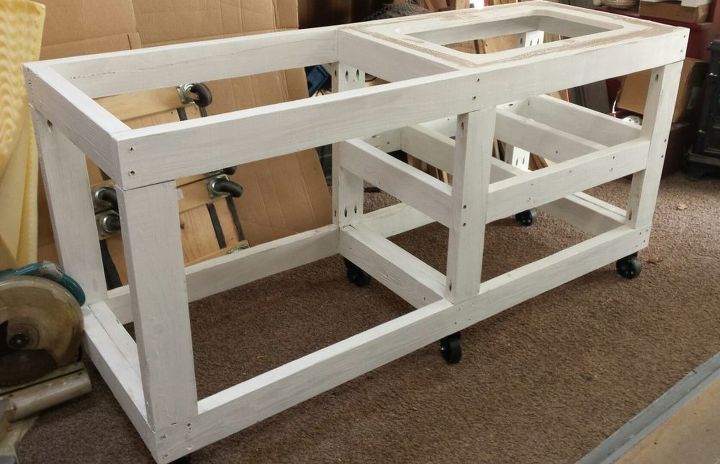
It's painted white and a couple more 2x4's were added that the cooler will sit on.
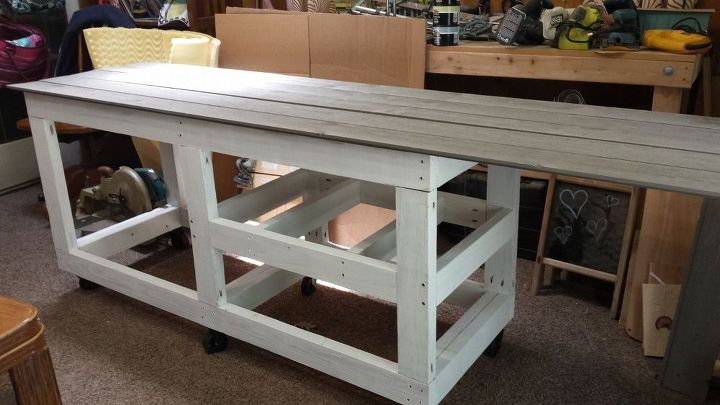
These are the boards that will be going on. They're like panels that fit together with a gray weathered finish.
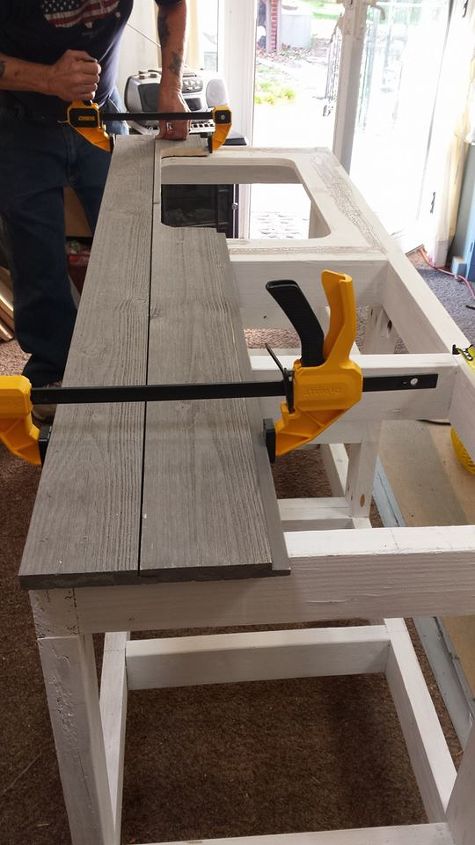
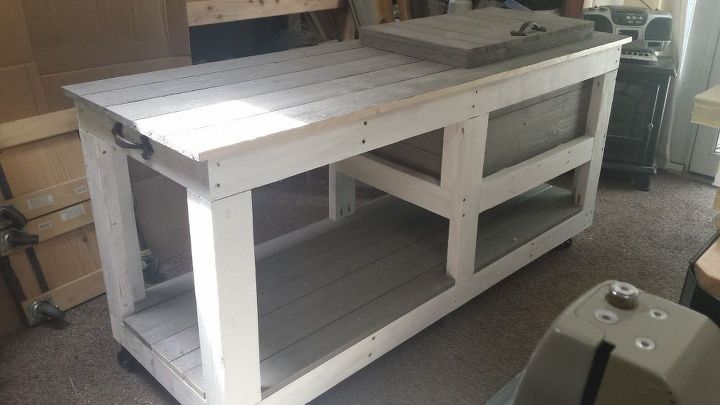
Boards are going on!
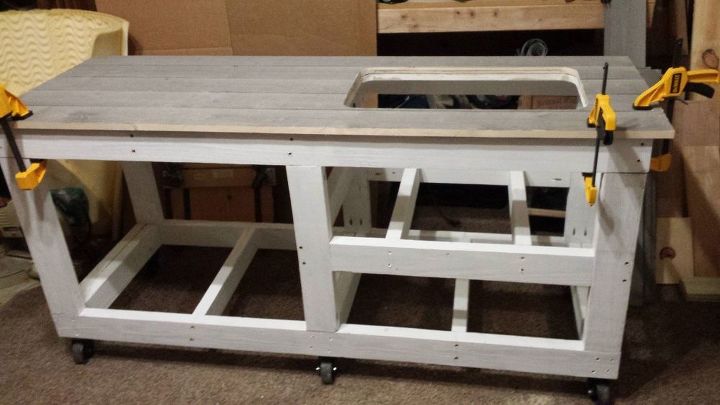
Love it! More braces were added to the bottom and painted for the bottom boards to go across. Now that the top is is complete next will be the lid for the cooler, then closing up underneath to hide the cooler, then the faucet for the drain, the bottom shelf, the handles, the bottle opener, cap catcher, and anything else I think of along the way! Lol
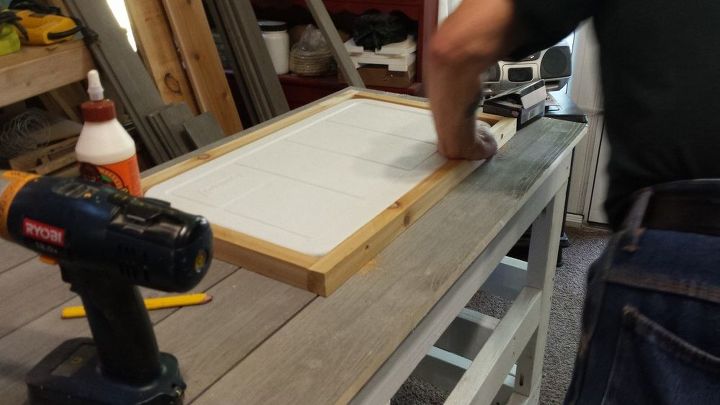
Hubby cut the wood to go around the cooler top and screwed it to the lid...
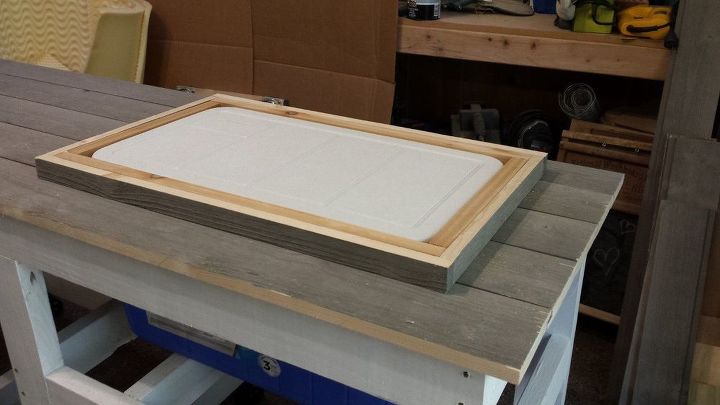
Then he trimmed it out again with the barnwood look wood to match... I need to stain all the cut edges when it's finished...like the front edge. :)
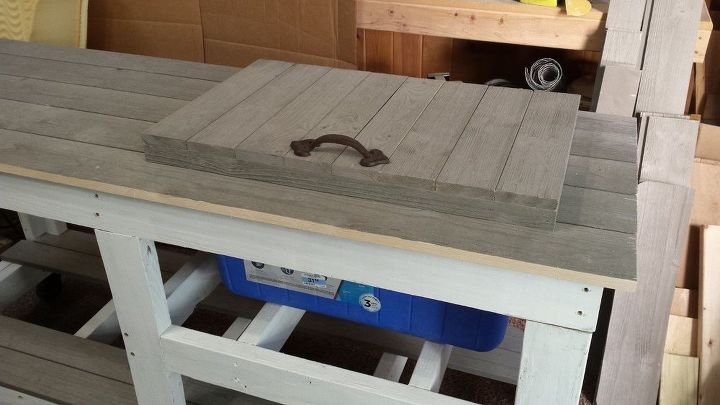
He added all the wood to the top using liquid nails in the center then nailed the edges to the frames with the nail gun. Added the hinges. Handle is on and it works perfectly!
All the wood was added to the bottom and cooler area filled in as well, also added the handles. Next up is the drain and faucet.
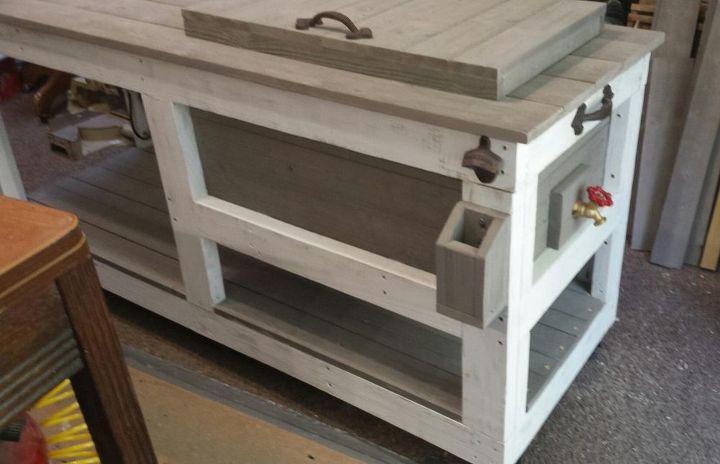
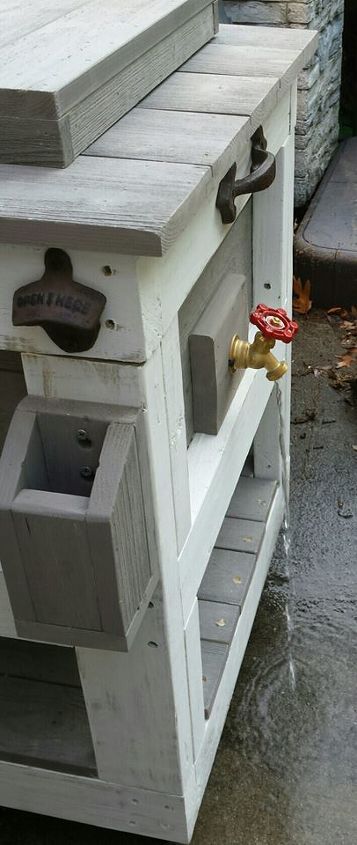
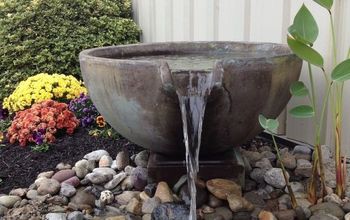
The faucet is done...the hubs used a 6" pipe that leads to the drain of the cooler and sealed around it so it doesn't leak. He also added a block to extend it out further so the water doesn't drain out all over the bottom shelf. He added the bottle opener and he made the cap catcher which can be removed to empty it.
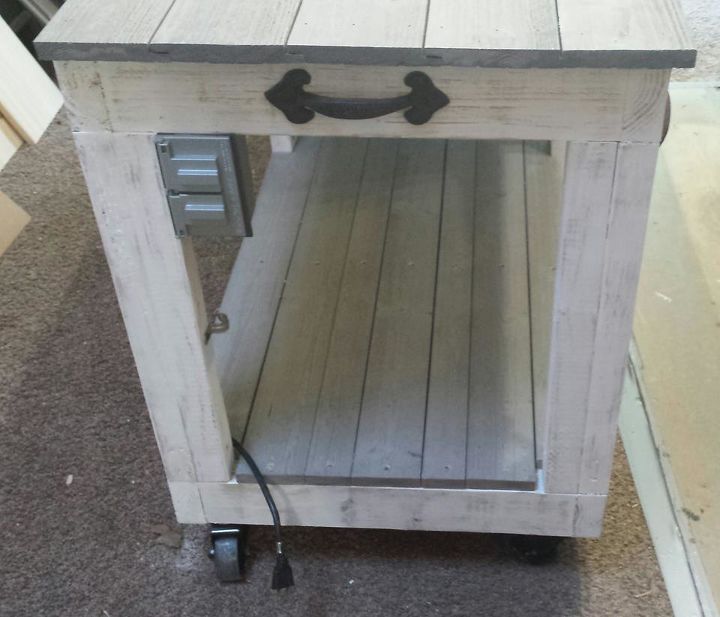
He added an outlet! I thought it be great for a blender to make those awesome frozen cocktails, a radio, whatever you need to plug in. You do need to run an outdoor heavy duty extension cord to it to get power to it.
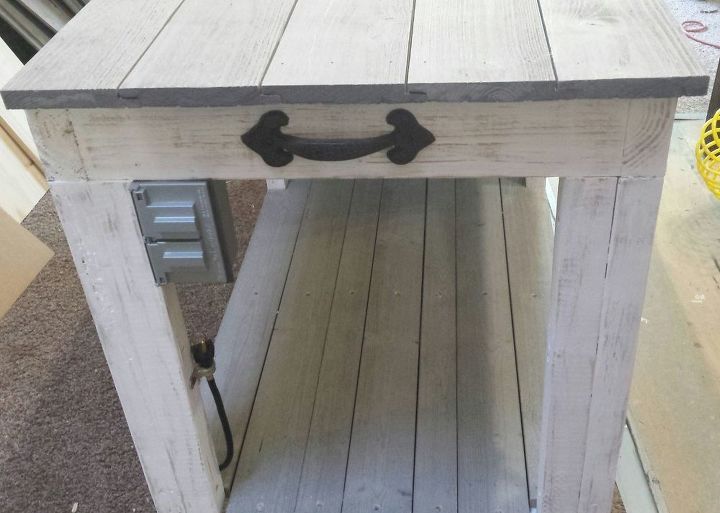
When not in use just put the plug up and out of the way with the hook.
Here's the faucet in action...works great and more importantly no leaks!
Comments
Join the conversation
4 of 69 comments
-
Wow love it,this will be my next project
-
I am so impressed, would love to have time to do that, you did such a good job!


Frequently asked questions
Have a question about this project?
I was so impressed with this cooler box, I decided to build my own. Can you tell me the type/size of the hinges used on the cooler top? Thx!