


How to Do Chalkboard Lettering
I did a few chalkboard signs for my brother and sister-in-law’s wedding and for a couple parties I’ve had here and there. I’ve always gotten a lot of questions on how I do the lettering – so I thought I’d share a tutorial!

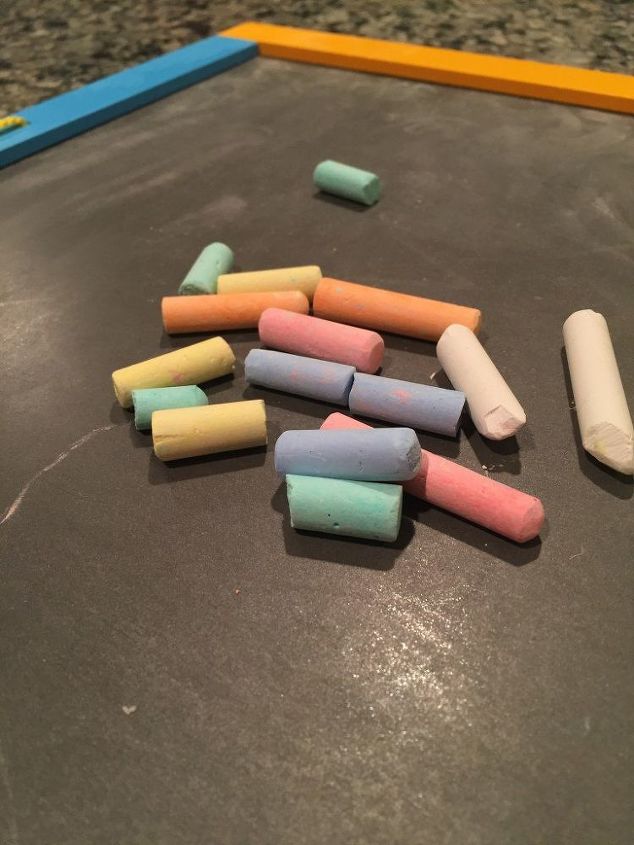
First, I grabbed one of my kids’ chalkboards and chalk and cleaned it up with water and a paper towel.
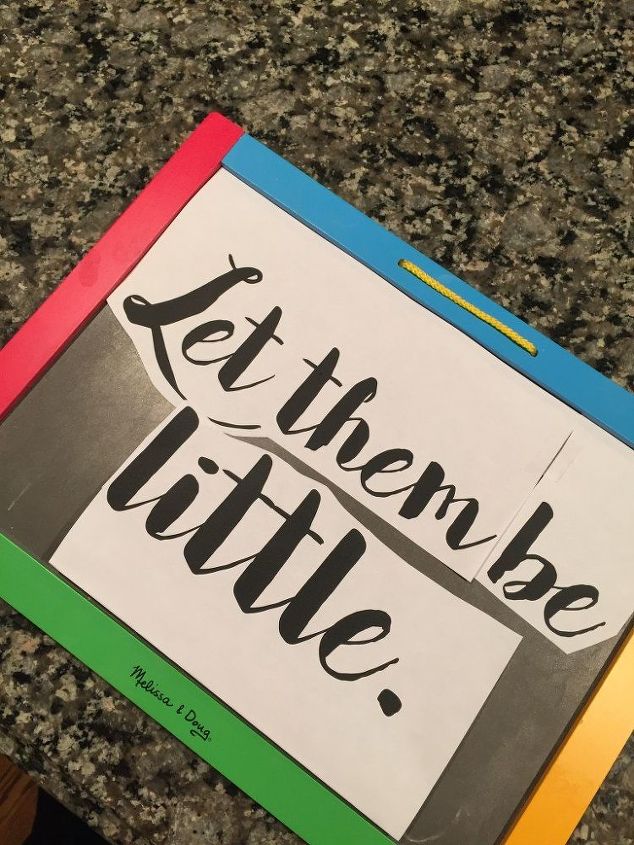
Next, I printed off the words I wanted, in the font I wanted, from my computer. I laid them out on the chalkboard and taped them together when I got them just the way I wanted them.
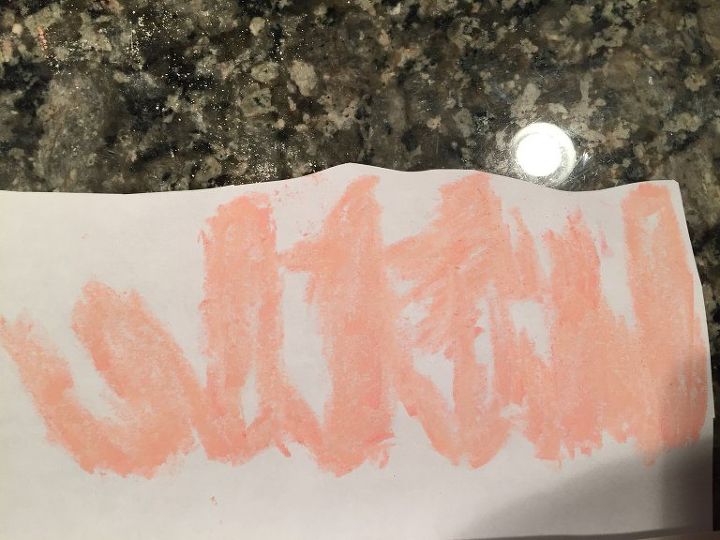
Then I flipped the paper over and colored the back with chalk over where the letters were. I made sure to get the chalk nice and thick on the back.
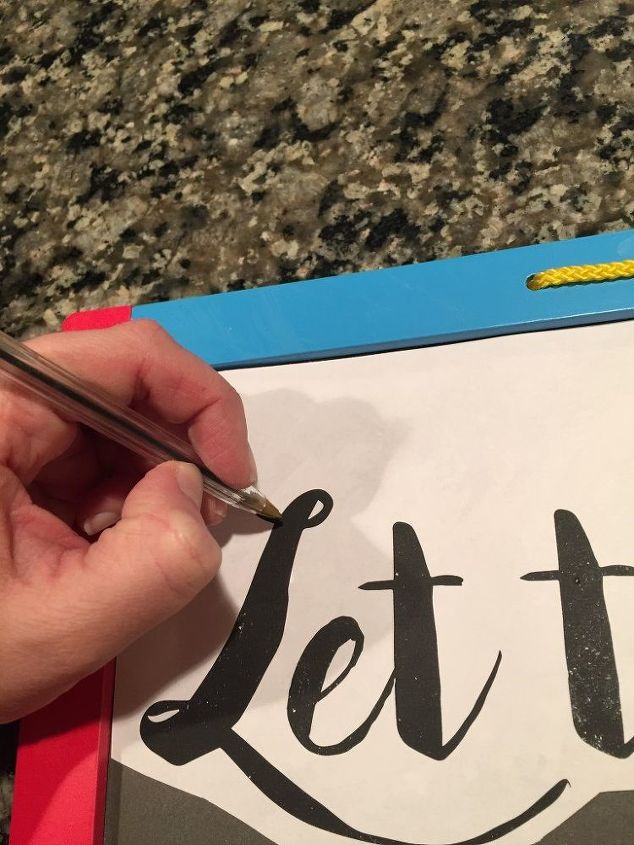
I put the paper back on the chalkboard and began to trace over the letters. You can use a pen or a pencil, just make sure you press hard while you’re tracing. The goal is to transfer the chalk that you colored on the back of the paper onto the chalkboard exactly where you trace.
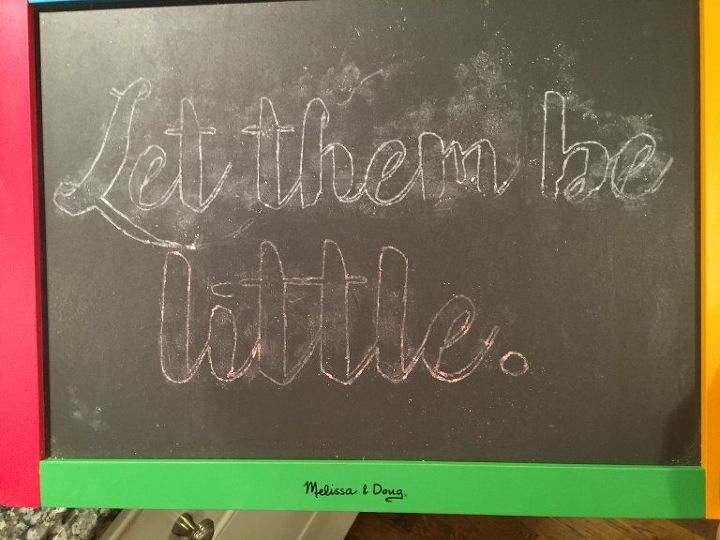
Ta-da!
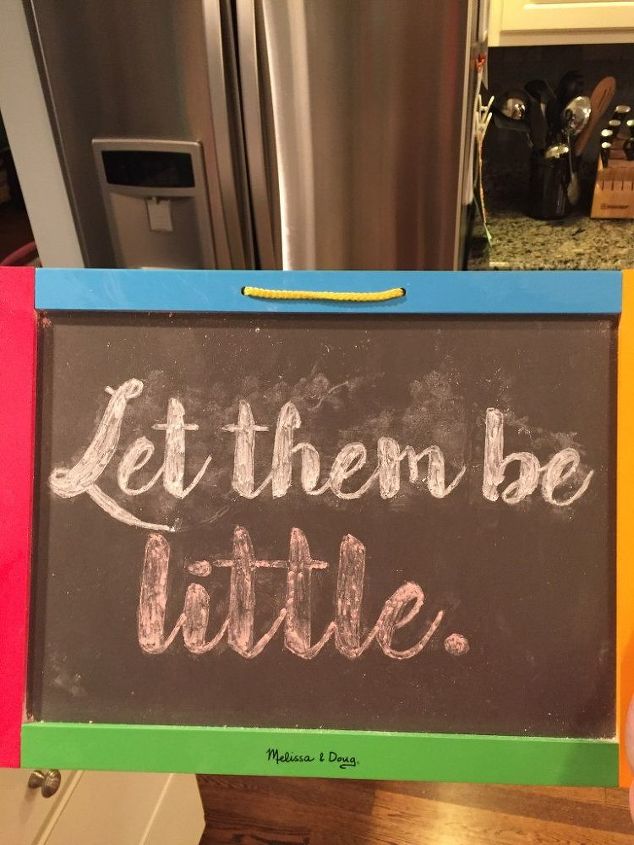
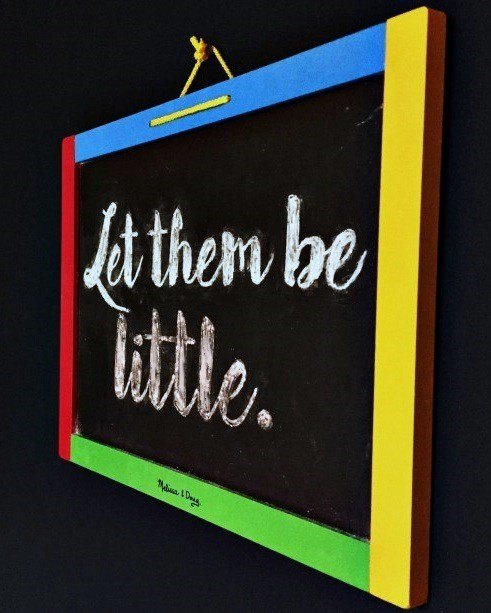
Then, I just filled in the letters with chalk.
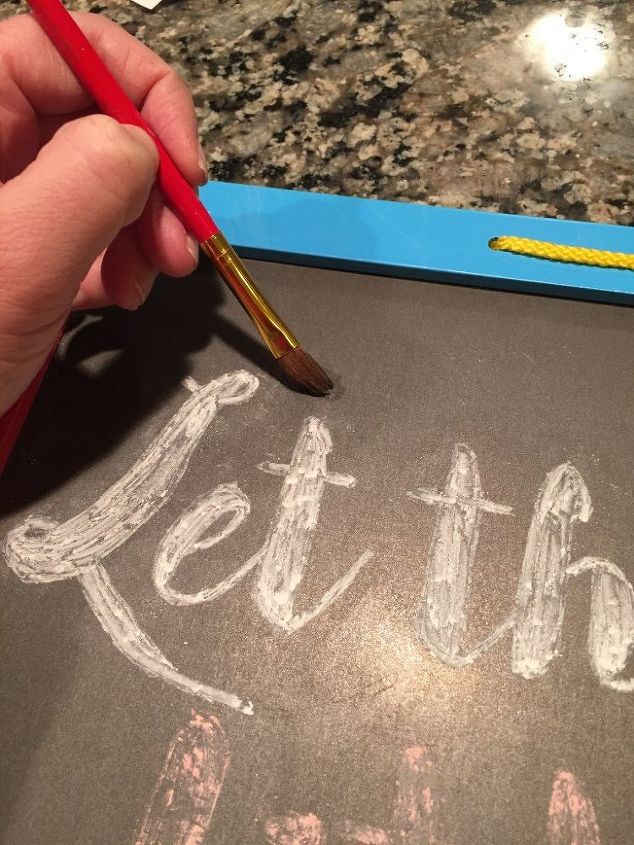
The outer parts of the letters get a little messy from the chalk on the back of the paper, so I took a paint brush and dipped it in water to clean up the edges.
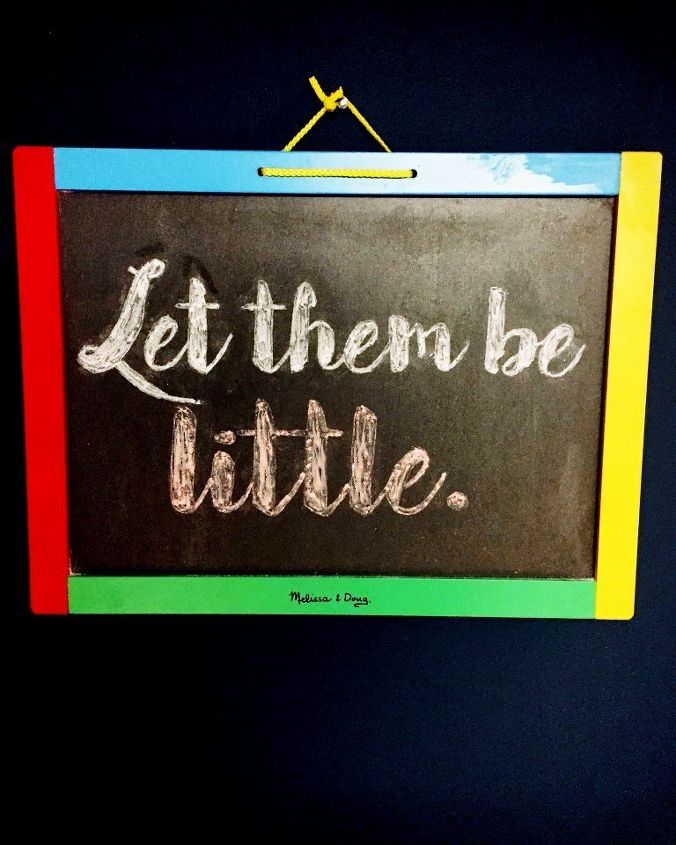
Then, it's ready to hang up!
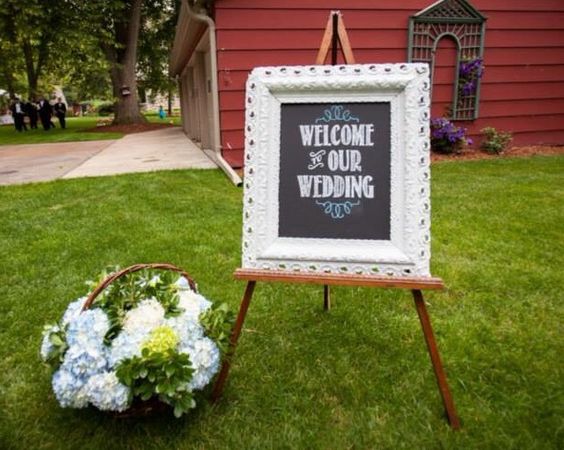
The chalkboard above I did for my brother's wedding. For this one I did the exact same process, but after the letters were transferred to the chalkboard, I used Chalk Markers to trace them and fill them in. This was a much cleaner look - perfect for a wedding! ;)

Want more details about this and other DIY projects? Check out my blog post!


Frequently asked questions
Have a question about this project?