


Storage Bin to Toy Box Makeover!
2 Hours
Easy
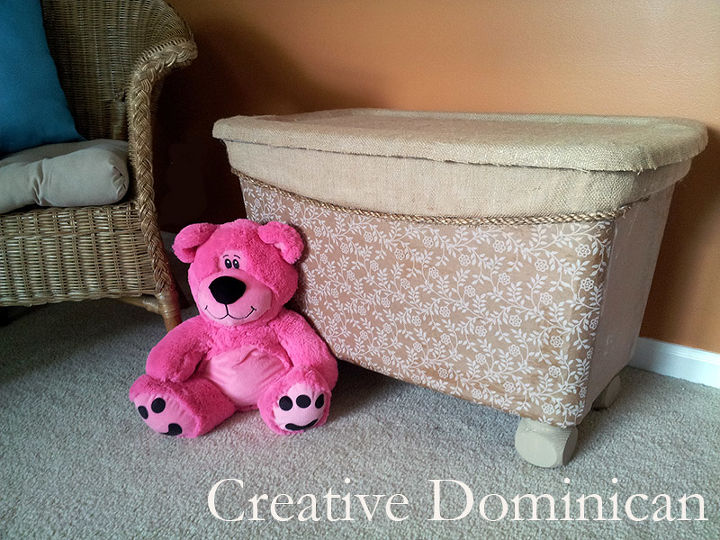
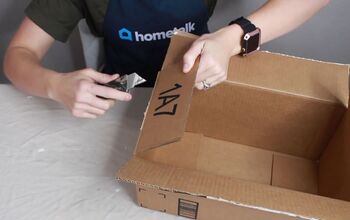
I was tired of looking at the ugly plastic bin I’ve been using as a toy box, but I didn’t want to spend money on an actual toy box. I decided to just give the bin a little makeover. It just took some wrapping paper, burlap, rope and fence post caps to go from boring to cute and still functional.

Ugly plastic bin transformed with some wrapping paper, rope, burlap and fence post caps!
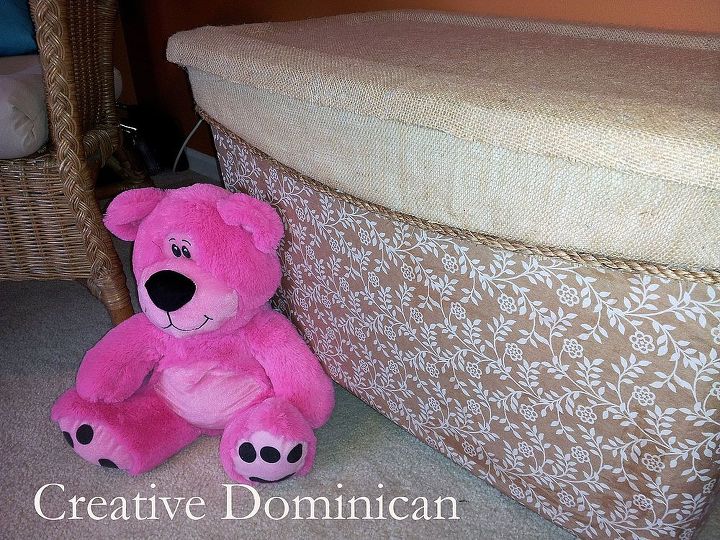
A simple and cute update to an ugly bin.
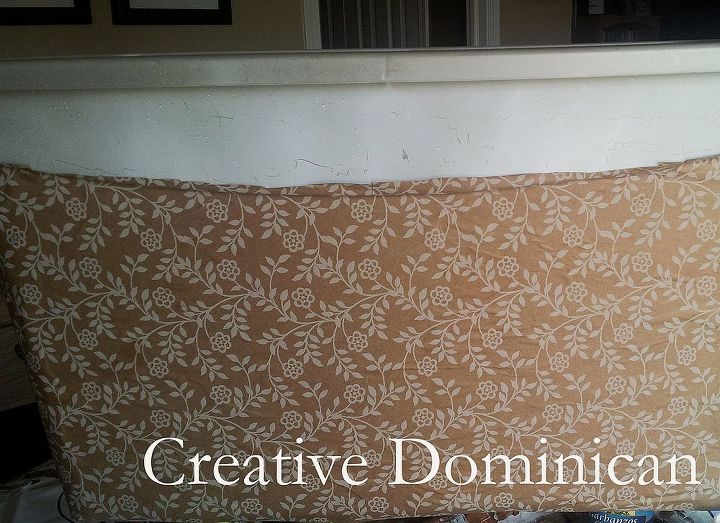
Mod Podge wrapping paper to the bin and then hot glue some burlap to the lid and top part of bin.
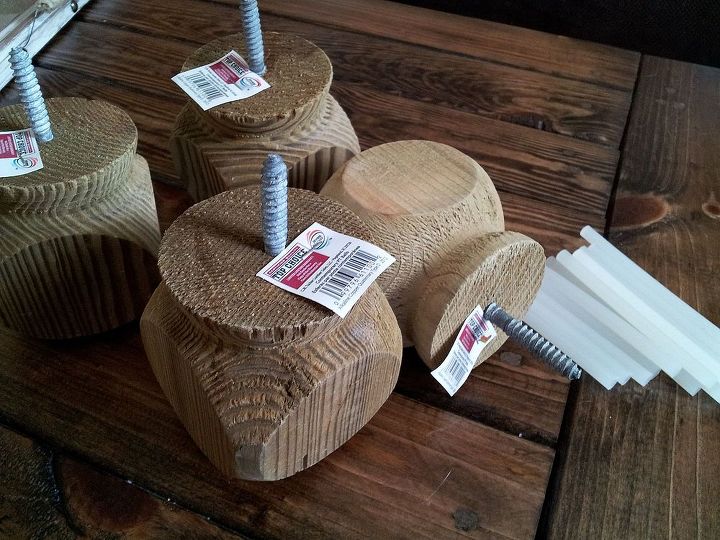
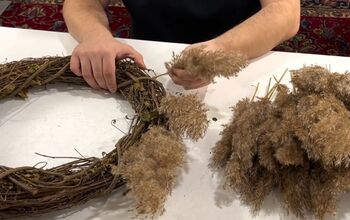
$3 fence post caps where painted and screwed in to the bottom as legs.
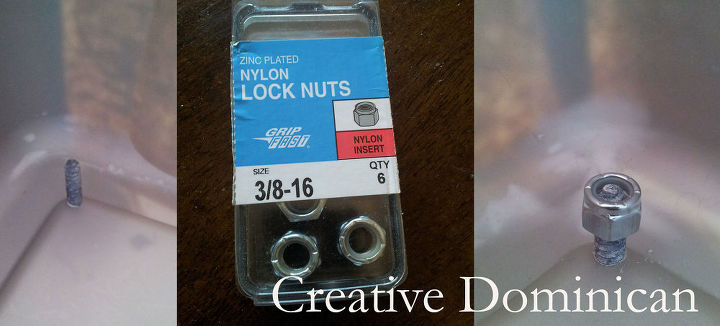
I added Lock Nuts to the inside to cover up the screws from the posts.
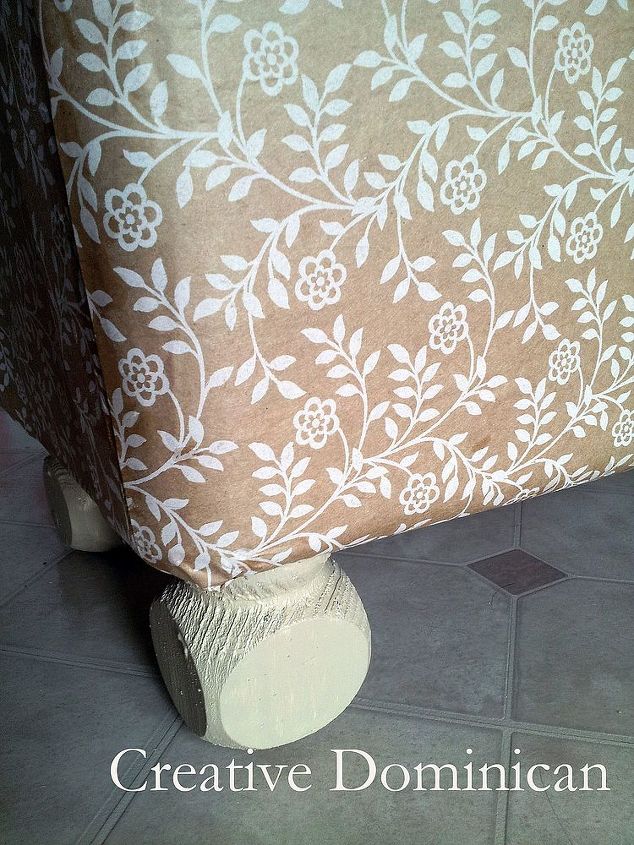
Painted fence post caps attached as legs.

Want more details about this and other DIY projects? Check out my blog post!
Comments
Join the conversation
2 of 414 comments
-
I don’t think I like the screws in the box, But the outside is cute
-
I might remove the screws and just glue the feet or rolling feet to the bottom corners of the box.


Frequently asked questions
Have a question about this project?