


Build Your Own Outdoor Playset
After living in Japan for six years with only an itty-bitty concrete front porch, a good-sized backyard was one of our requirements when we were searching for a new house.
We wanted a private place to entertain {which led to our DIY pergola} and a fenced yard to conveniently let Kona out to do her business and play. She loves to chase the ball.

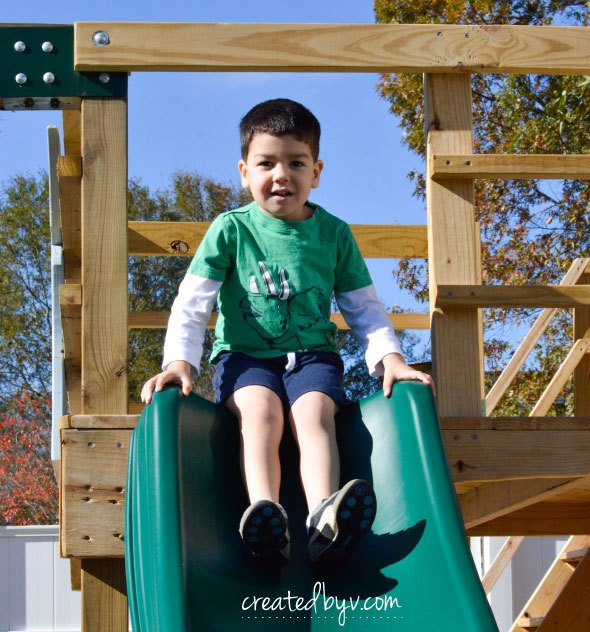
It was also to provide a safe, enclosed space for our kids to play. I think children thrive when they play outdoors — swinging to their hearts' content, running in the green grass, feeling the sun on their skin. That's how I remember my childhood. My littles are still quite young, so they also require a watchful eye. A playground in our own backyard was a perfect solution.
We priced out a few pre-fab playsets and didn't see one for less than a grand after taxes. And that was just for parts!
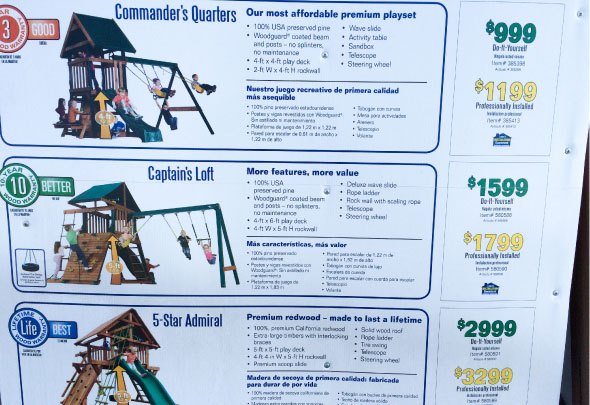
We also didn't see one we couldn't build ourselves, and so, in our usual fashion, we set out to DIY a better playground for a lot less.
So, here's what we did:
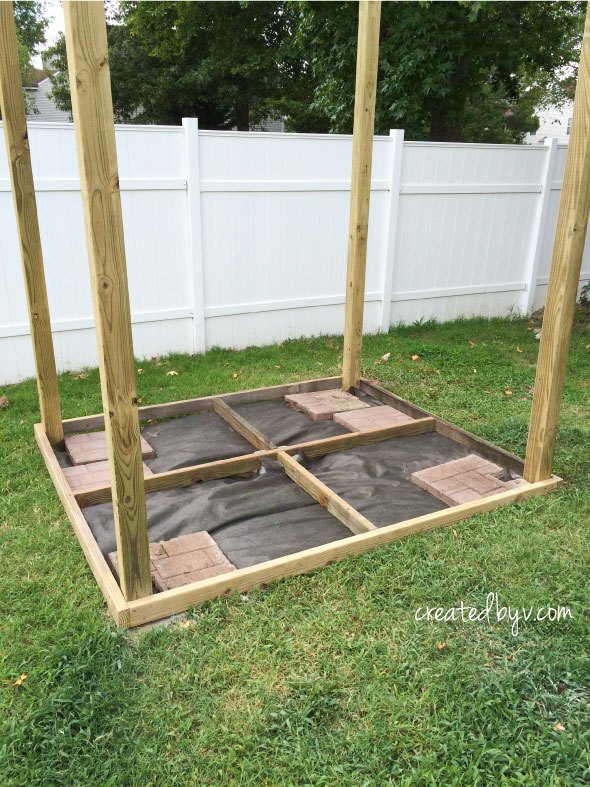
1. We dug holes for the posts and cemented them in for the frame.
2. We constructed two platforms using pressure treated deck boards.
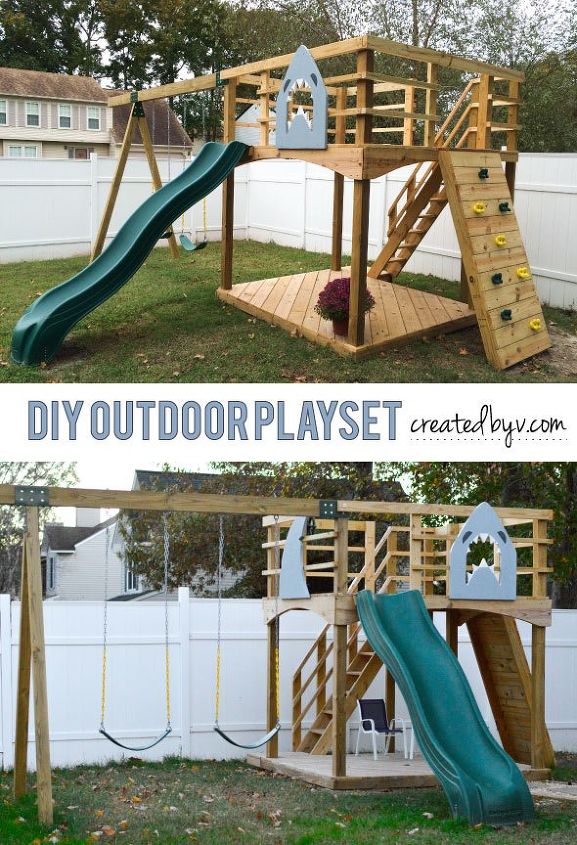
3. We added a rock wall and a set of stairs. {But the slide is the fastest — and most fun — way off!}
4. We ordered and installed heavy-duty swings, climbing rocks, a steering wheel and slide as finishing touches.
All in all, we saved over $1,000 for a comparable pre-fab set, and we got to customize it to our liking with diagonal decking, archways and horizontal railings.
My son has affectionally named it the "Colossus Octopod Shark" from his obsession with sharks {the documentary series, Air Jaws, in particular} and the cartoon, Octonauts. We added a few woodwork pieces to capture this name.
Now on those days when we’ve stayed indoors watching too much TV or the kids get bored, I can easily say to them, “Let’s go play!”
Those three words are always greeted with smiles and cheers and quick feet out the door, and I don’t have to load up the car or leave the house. So thankful. This surely beats any show on television any day!

Please click the link below to view the construction process on the blog. Questions regarding this project will be fielded ONLY on the blog in an effort to consolidate FAQs and other useful information for readers. Thanks so much! -- v.
update: Check out the technical improvements and fun upgrades we made a year later, and find a materials and tools list as a resource for fellow DIYers out there! Be sure to subscribe to the newsletter for more DIY projects and tutorials.

Want more details about this and other DIY projects? Check out my blog post!
Comments
Join the conversation
2 of 8 comments
-
Wonderful!
-
Thanks, Suzanne! :)


Frequently asked questions
Have a question about this project?