


Art Made Easy: Paper Butterflies That Almost Fly

by
Gabi Ralea
5 Materials
2 Hours
Easy
We learn how to make these butterflies in early grades, then we completely forgot about them.
But I revived this old technique, and improved it to paint the most wonderful critters and flowers that you could DIY in minutes.
Use them to decorate your house, the gift boxes or the flower pots!
But I revived this old technique, and improved it to paint the most wonderful critters and flowers that you could DIY in minutes.
Use them to decorate your house, the gift boxes or the flower pots!
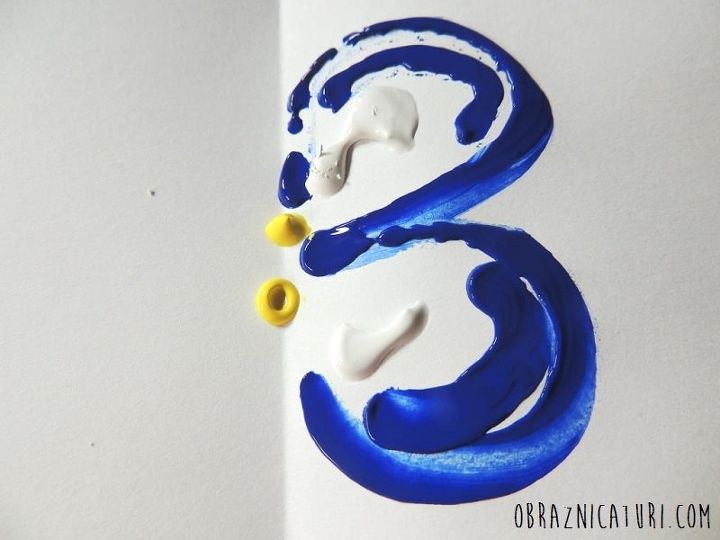
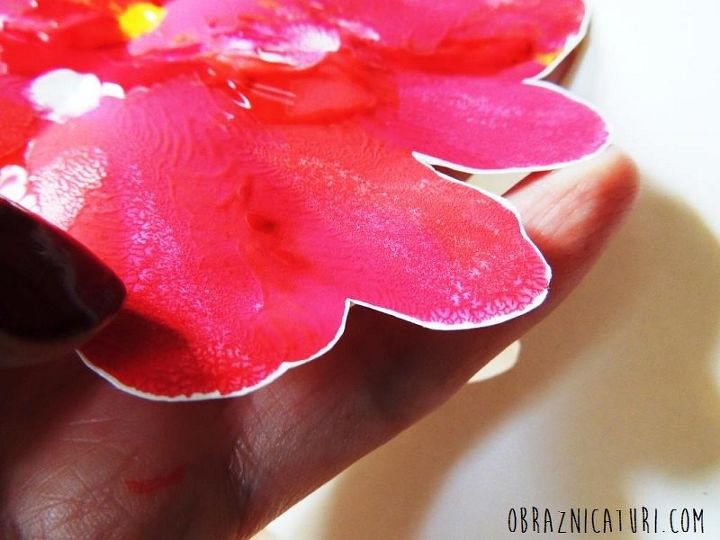
Take a piece of paper and fold it in half. Unfold the paper and place small amounts of watercolor paint on one of its sides, in form of a small butterfly or a flower.
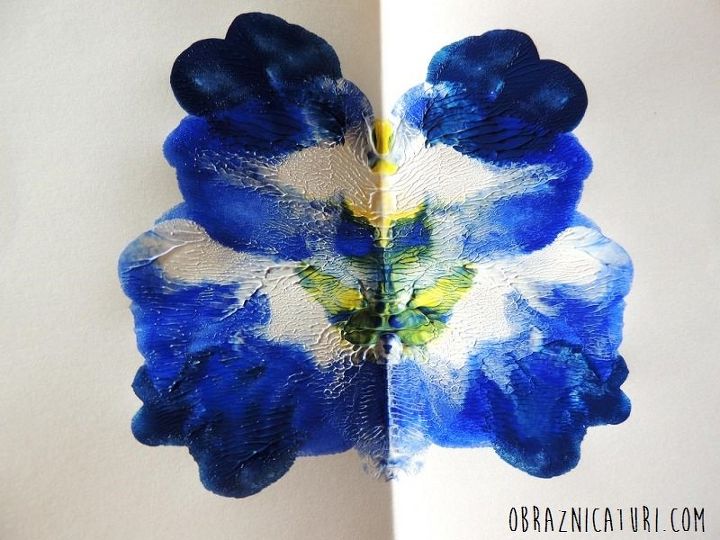
Fold back the paper and press on it in different directions so the paint would spread an mix. Gently unfold the paper, and what you will have is a wonderful mix of watercolor.
If you are aiming for an butterfly instead of a flower, pour some black paint on the folding line of the paper to paint the body and the head of the critter.
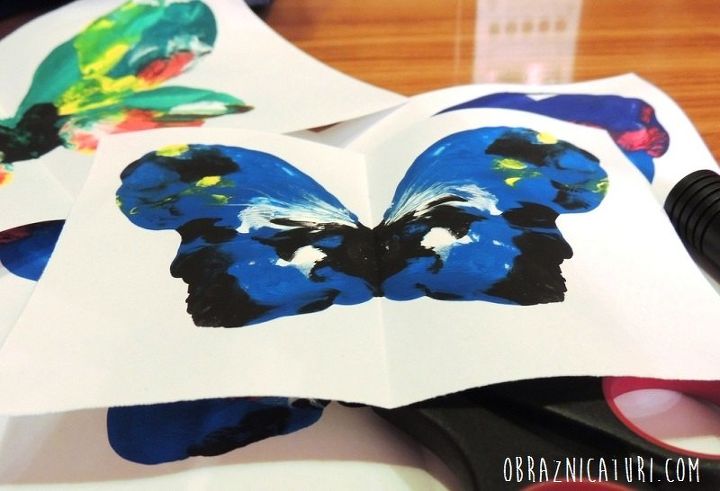
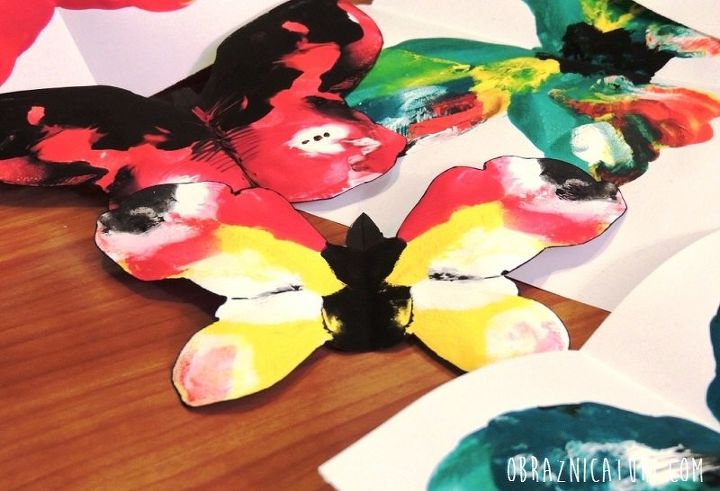
Let the painting dry, then cut them out leaving a couple of millimeters of white paper around them. You will need this small space later on in your project.
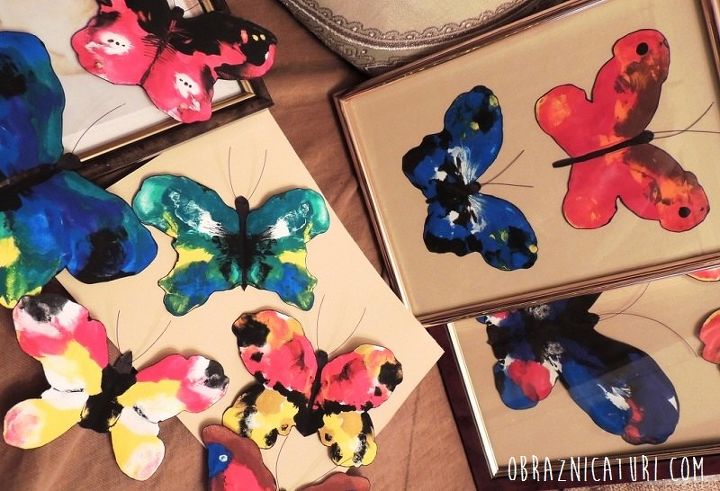
Use a black Sharpie to color that small white space you left around your painted butterflies when you cut them out. This is how they get a nice finished look.
Use a small piece of black fishing wire (4-4.5 inches for each butterfly) to build antennas, and glue them with glue tape on the back of their head, for a natural look.
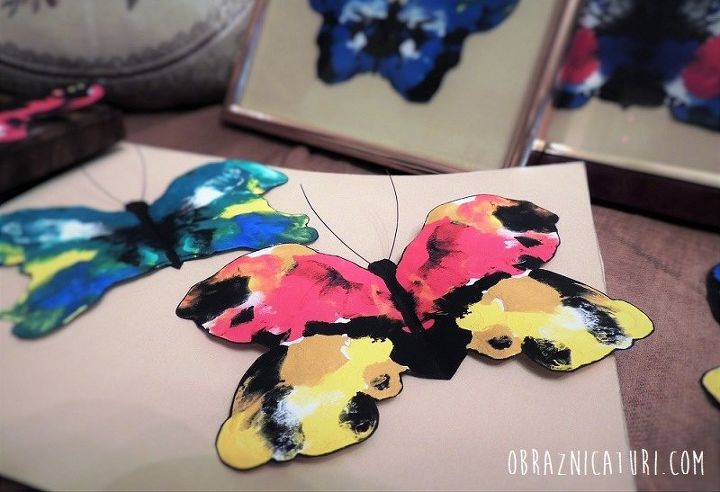
Use the flowers to decorate gift boxes or frame the butterflies and turn them into your own insectarium without taking any critters' life.
Want more details about this and other DIY projects? Check out my blog post!
Comments
Join the conversation
4 of 8 comments
-
What a wonderful trip down memory lane! They are beautiful!
-
One of my favorite crafts!!!


Frequently asked questions
Have a question about this project?