


Ikea Lantern Hack

by
Erica Sooter
2 Materials
1-2 Days
Easy
On the 2nd Wednesday of every month, me and my blogger friends get together for the Monthly DIY Challenge and present our projects. Each month we have a new theme, material, or company we work with and for April we worked with Modern Master's Metal Effects Patina kits!
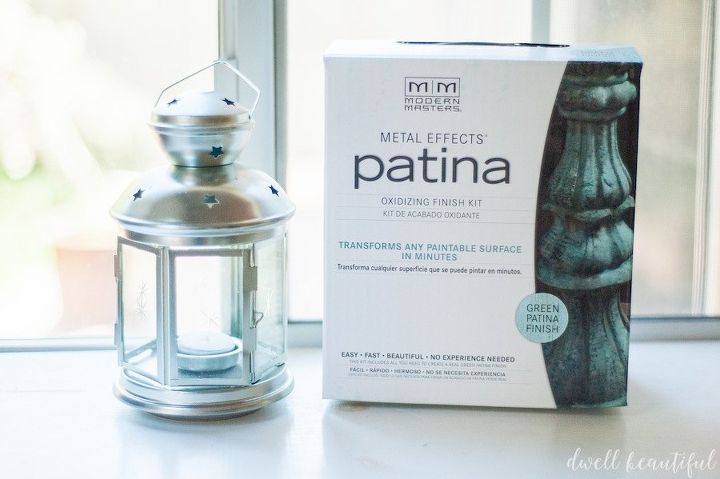
The kit comes with everything you need - primer, metallic paint, paintbrush, and spray for oxidizing the metal (which creates the patina). I decided to hack an old Ikea lantern that I had lying around. Nothing was wrong with it, it was just boring. I used the copper/green patina kit.
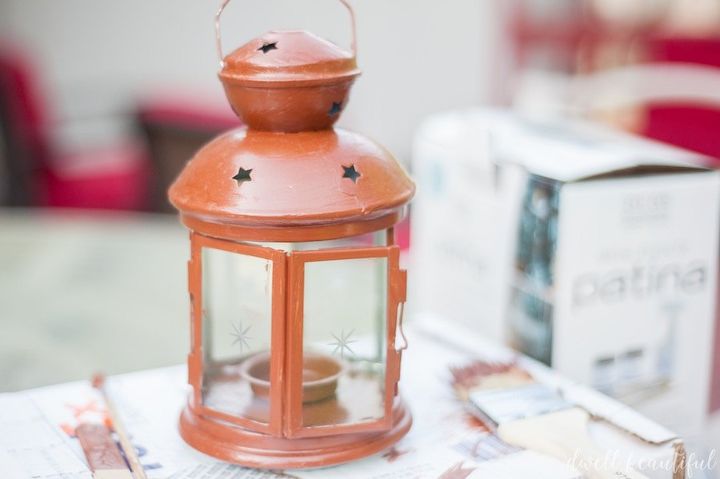
You need two coats of the included primer, two coats of the metallic paint, and then spritz your item with the oxidizing spray. I did this project over the course of a few days, letting each layer dry fully, though the recommended dry time is 30 minutes to an hour per layer.
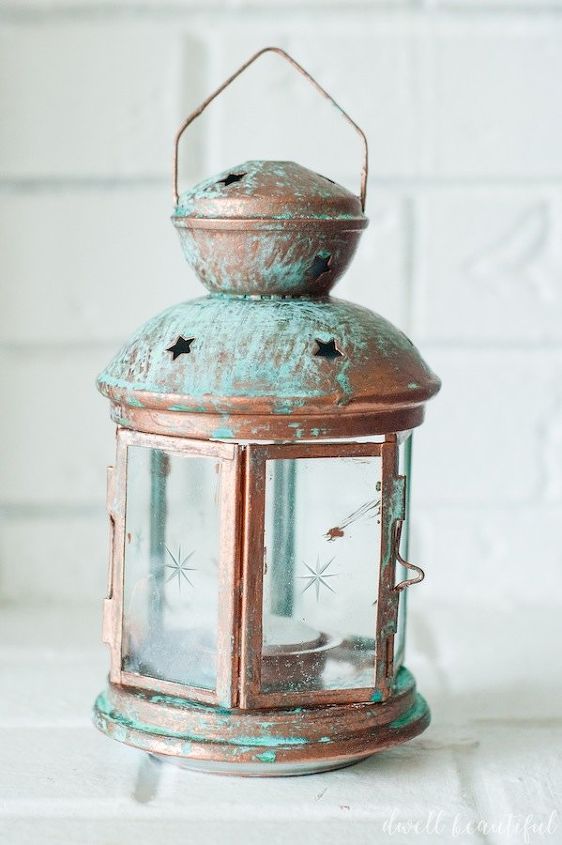
And here's the finished product! SUPER easy to work with the Metal Effects kit and it made my Ikea hacked lantern look unique and custom! It now resides on my back porch and looks like it's been out there for ages. I love the bright green patina against the metallic copper.
If you want to check out the rest of my friend's projects and/or get a more in-depth look at my project, head on over to http://www.dwellbeautiful.com/ikea-lantern-hack-get-patina-look/ to get the full details!
Want more details about this and other DIY projects? Check out my blog post!
Comments
Join the conversation
1 comment
-
I have that lantern! Cool effect!!


Frequently asked questions
Have a question about this project?