


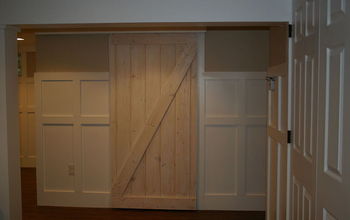
Installing A Barn Door To A Laundry Room
Advanced
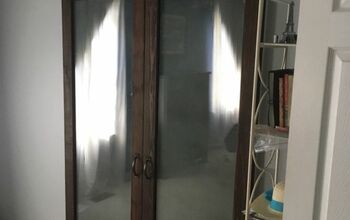
The laundry room was the perfect place for a sliding barn door. It is a small space to begin with and the door opening up into the laundry room certainly doesn’t help. We had to make sure the door and the washing machine door were positioned just right when doing laundry
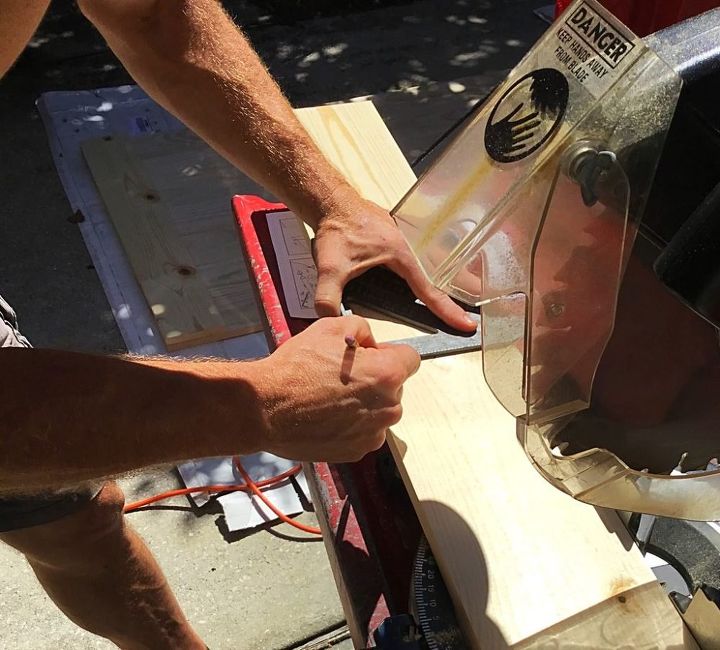
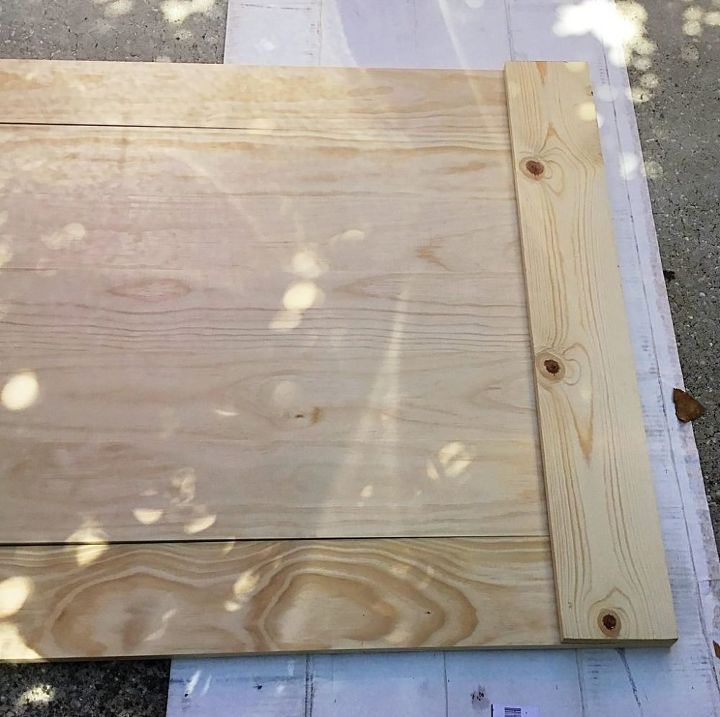
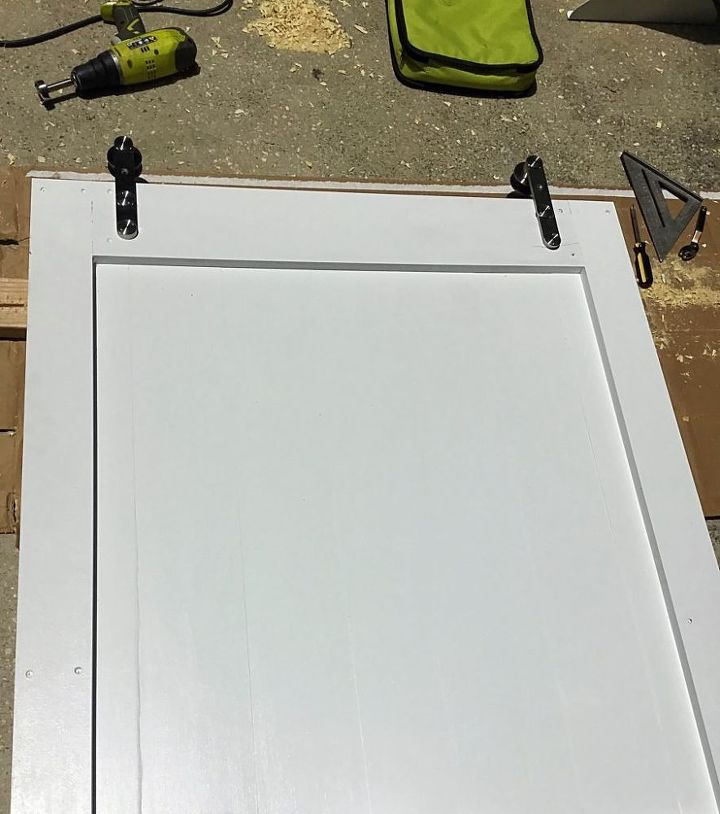
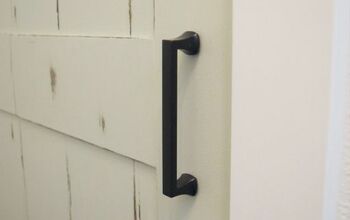
Door construction was the easiest part of this project and having a design was key! I started with quality pine 1″x 6″ boards and cut them to length after measuring to make sure that the door dimensions would cover the existing opening correctly and the height of the door would work with all of the hardware. After cutting to length, the boards were simply laid side to side and then framed around the perimeter on the back and front. On the front, I used another piece of 1″x 6″ piece to split the door in half vertically. Some would use a Z from corner to corner, but I opted for the horizontal piece to fit more with the Craftsman style. The finished door thickness is 2 3/8″ thick and I had to do some additional things with the hardware mounting to allow for the width, but more on that later.
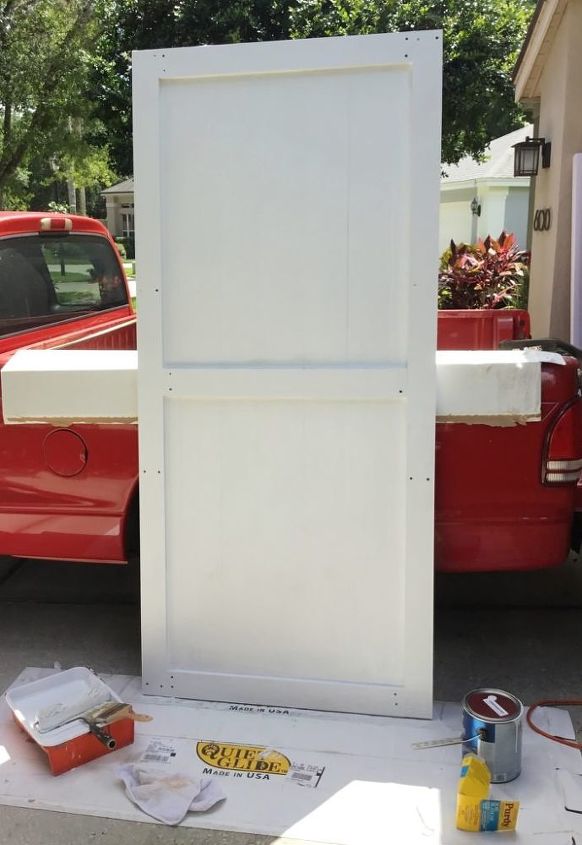
We left the screw holes unfilled since it seemed to give a more rustic feel, but you could fill the holes and sand the door to make everything perfect, if that is the look that you are going for! After a couple coats of paint, we had a door!
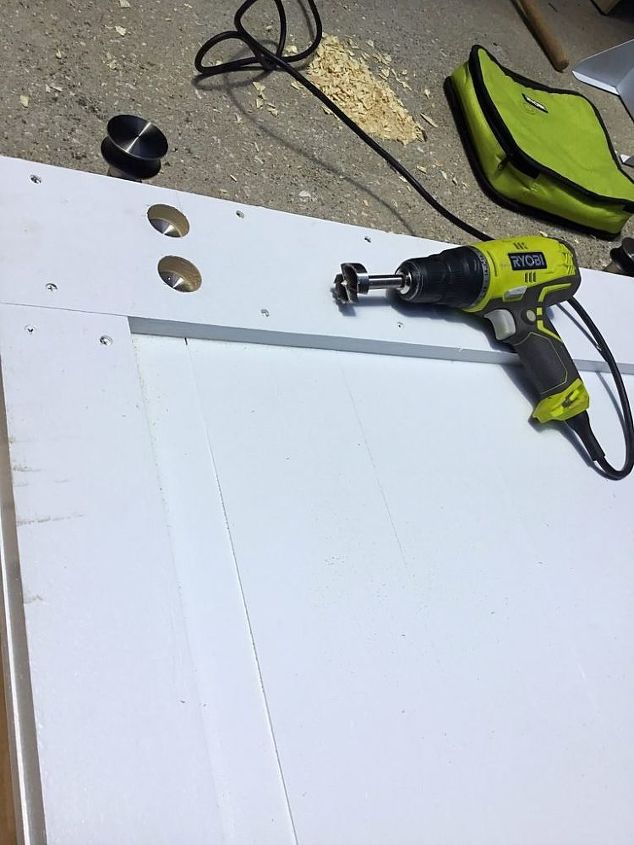
Now for the sliding part of the sliding barn door. There are numerous sliding door hardware kits available on the market and online. You can see some of the options here and I would suggest finding one that matches your style. This particular hardware kit was a little more complicated and I would recommend something easier for the novice DIYer. This hardware required going through the entire door to attach the rollers and proper alignment was very important. For the novice, I would recommend looking for roller hardware that would attach to the front or the face of the door for a simpler installation. Using a forstner bit, I drilled two holes partially through the back of the door to inset the larger end of the bolt. Then using a smaller forstner bit all the way through the front of the door so that the bold could attach to the roller assembly.
Once the roller assemblies were attached to the door, I moved inside to install the rail assembly. Now, with the rail assembly, you can do a couple of different things. The rail assembly has four fixed attachments that can go directly in to the wall or you can mount the rail assembly to a piece of lumber and then attach the lumber to the wall to ensure that it is screwed into the studs. This does add another trim piece, but I didn’t mind the look of the additional trim piece. In fact, I had to add another trim piece to accommodate for the door thickness. The rail needed to be cut to the proper length and the easiest way to do this was to temporarily mount it to a scrap piece of lumber and use a hacksaw to trim both ends. By trimming both ends, there was an equal length of rail from each of the end attachment brackets!
Before final installation of the door, I used 1″x4″ and 1″x6″ quality pine trim to frame out the opening where the old door casing was ripped out. Head on over to the website to see the installed door. Besides a few minor adjustments, we are really happy with our new barn door to a soon to be remodeled laundry room.

Want more details about this and other DIY projects? Check out my blog post!
Comments
Join the conversation
2 of 4 comments
-
Love it, but I think I might have to hire someone to install double ones at my house, I am not that handy with tools...yet!
-
Thank you! We are really happy with it. Now, we need to finish the room behind that barn door!


Frequently asked questions
Have a question about this project?