


Decoupage Napkins on Paper Mache Vases
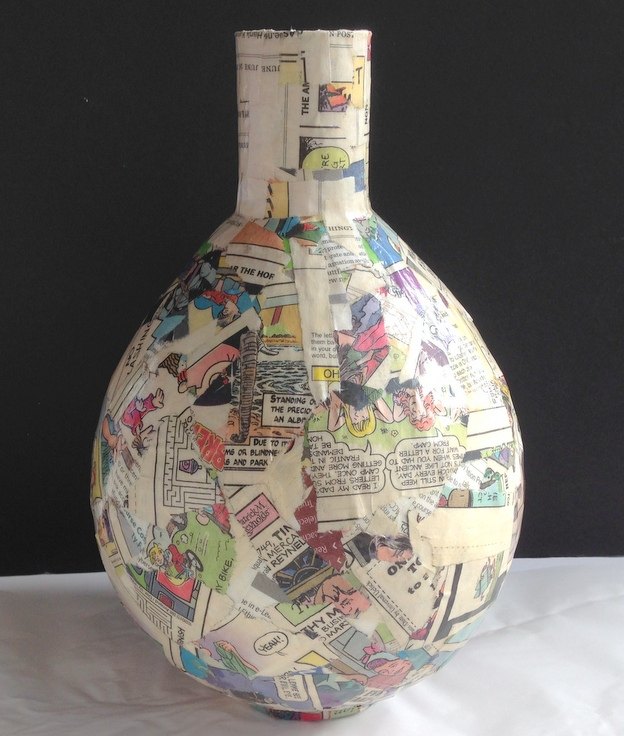
I was so excited to make paper mache vases and decoupage them with purple paper napkins. I wanted to imitate porcelain vases. You know the kind you see everywhere in blue and white! Why don't they come in purple and white? I looked all over the net, no such luck. So I decided to make my own. I thought it would be easy with awesome results. I've decoupage before. Most of the time my projects turn out okay, but not this time. All I can say it ugh, ugh, and ugh for the texture! Too many wrinkles! But I love, love, love the design of the vases!
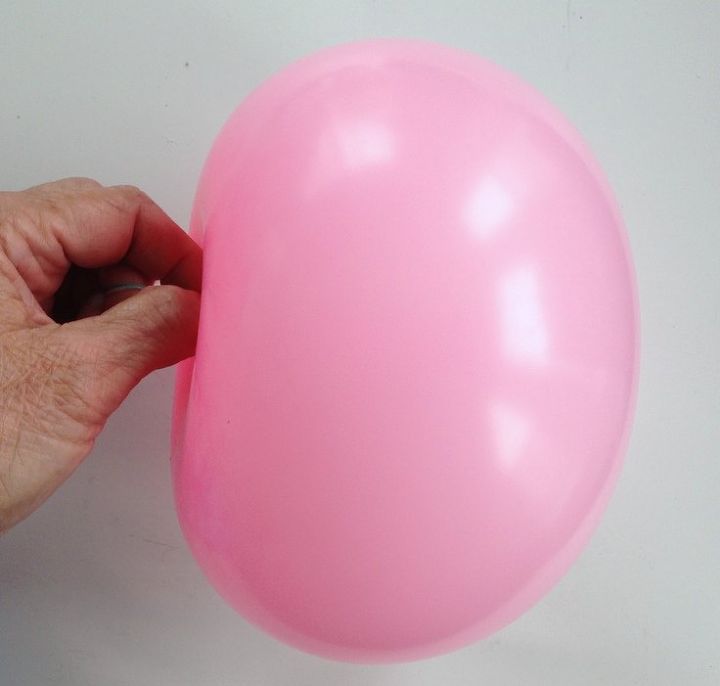
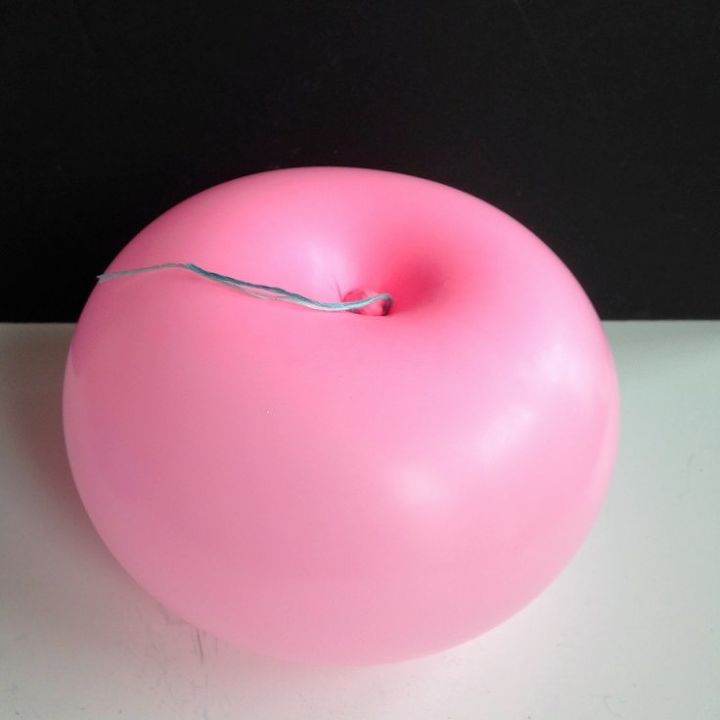
Let's start from the beginning. I blew up two balloons. One, into a regular oval balloon shape. The other balloon, I pushed the center into the balloon to grab the bottom end, pulling it up and tying both ends off with a string . . .
making for a cute, round donut shape.
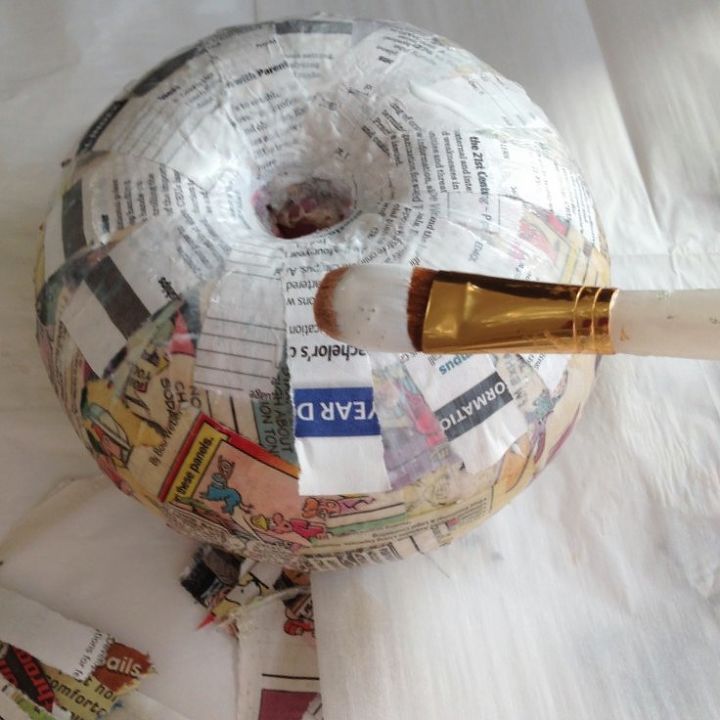
Next, I painted mod podge over the balloons and began adding strips of newspapers until the entire balloons were covered.
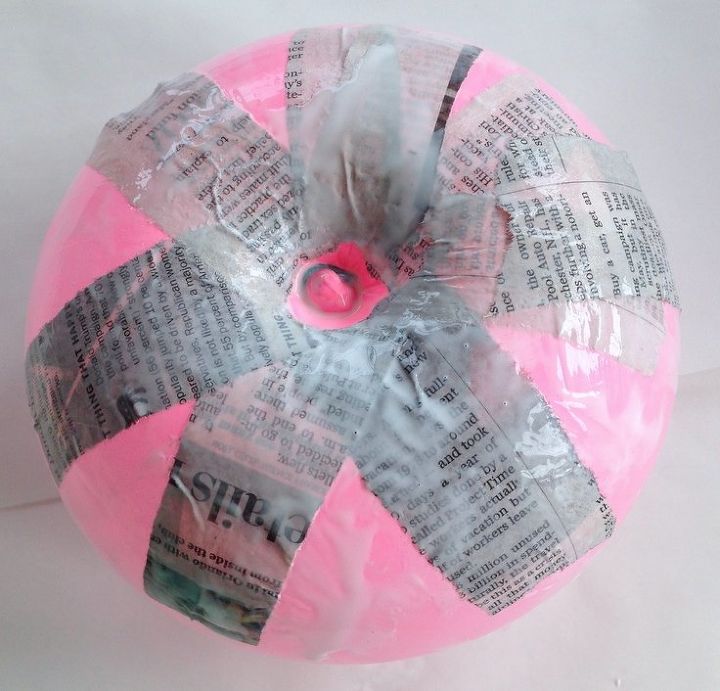
I applied seven layers, using different types of paper, and drying between each layer to make it very sturdy.
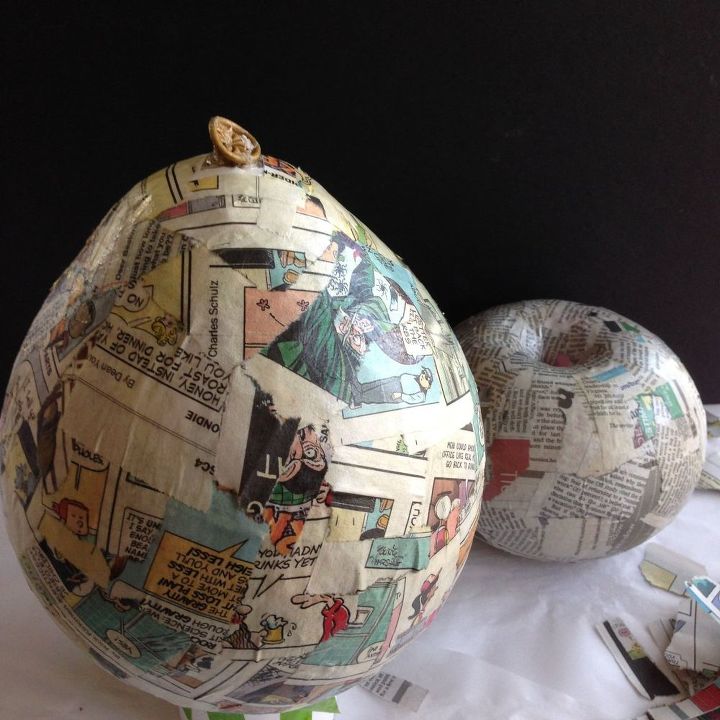
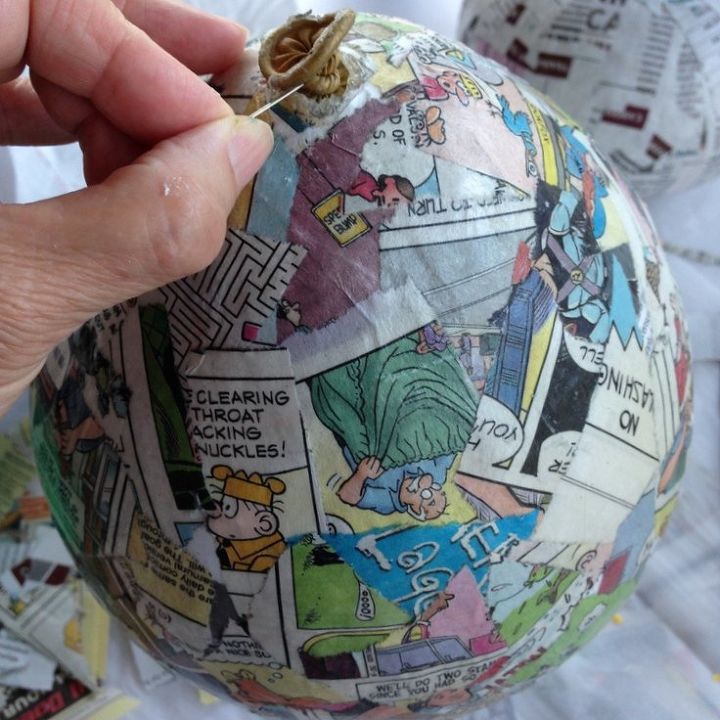
Once all of the layers were applied and dried, I popped the balloons.
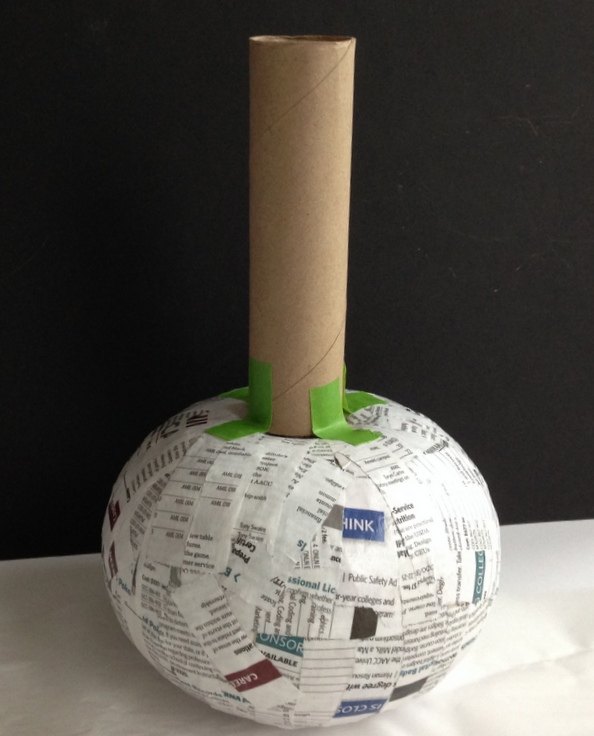
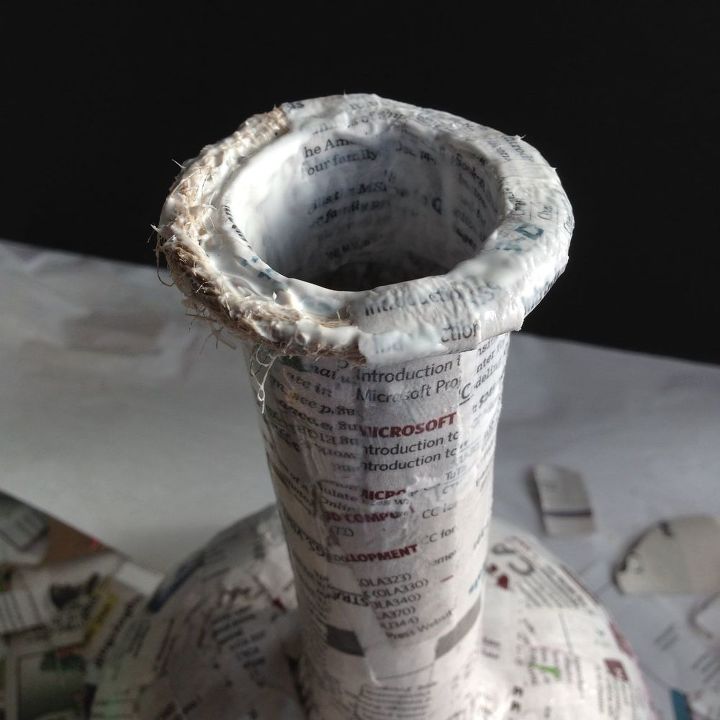
Then I centered cardboard tubes over the middle knot and traced the vase opening. Carefully cutting out the opening, and attaching the tube with masking tape. And then I applied mod podge and newspaper strips over the tubes, as before, making sure to cover the rims.
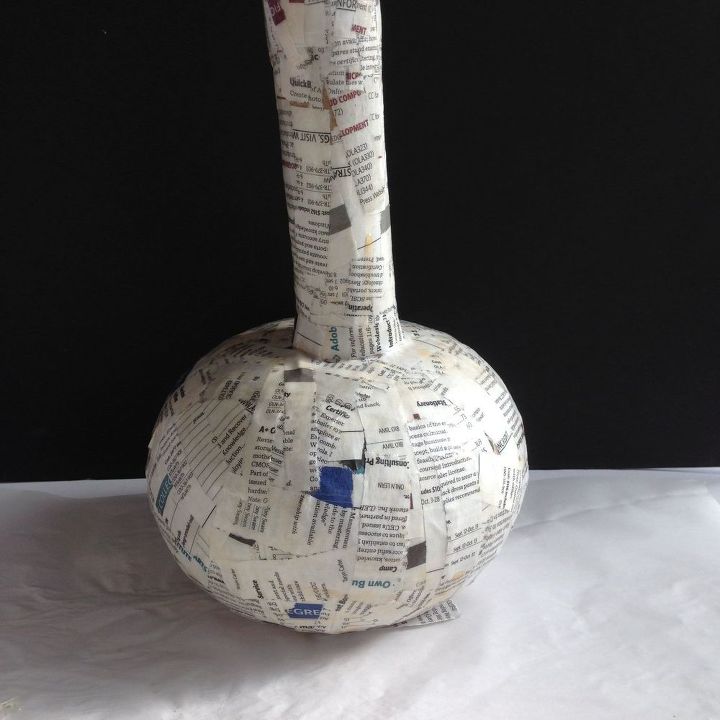
I cut off a portion of the cardboard tube for a shorter neck on the larger vase . . .
and for the donut shaped vase, added twine to the rim for a lip.
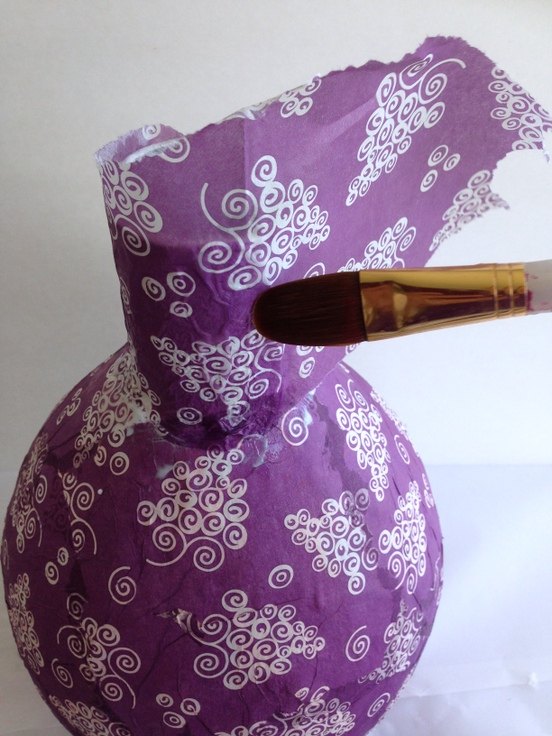
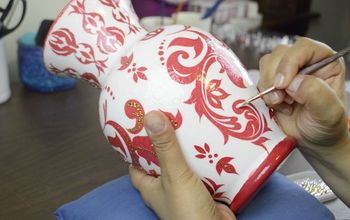
I spray painted both with white primer and let dry. I sanded the finish but could not get a smooth surface. So I decided that the flaws were part of design and continue on. The white backing layers of the napkin pattern were separated after tearing off the straight edges and a light layer of mod podge was applied to the vases. The napkins were patted in place using a brush dipped in water.
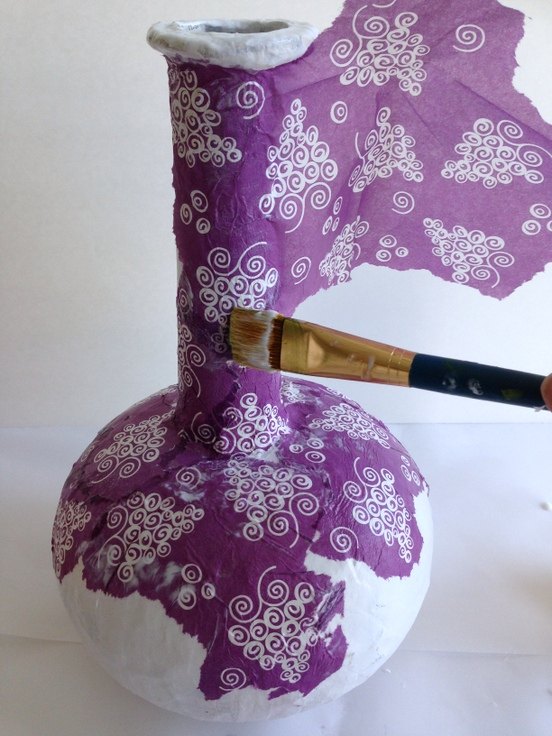
I used plastic wrap to help smooth out the wrinkles, but I just couldn't get rid of them. The napkin paper was too delicate.
After covering the entire vases with napkins and mod podge, and allowing them to dry, I applied a final coat of mod podge to seal. Then I applied a layer of Triple Thick Glaze to give it a hard glossy look - wrinkles and all!
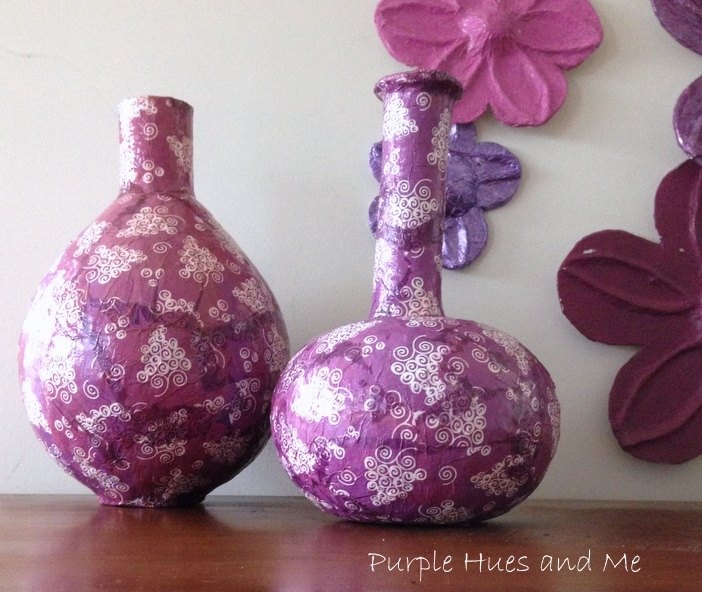
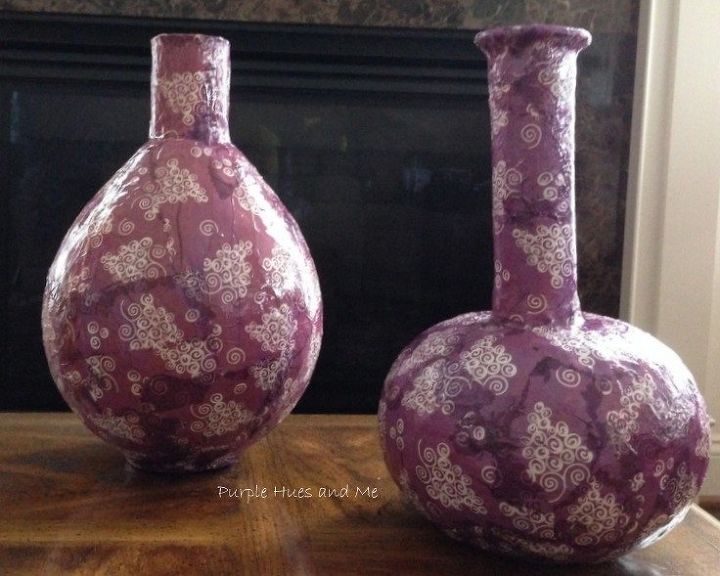
The vases blend in with my décor, and look great from a distance! But, lesson learned! Flaws and all! Despite this, I love the design!
DIY home decor using recycled paper

Comments
Join the conversation
-
Love your vase. Please help. I can not visualize how you tied the ends of the balloon together

-
Hi Gail
I’m sure you guessed that I am a visual learner
 Thanks so much. This really helped. On my list of new projects to try.


Frequently asked questions
Have a question about this project?
why not use fabric it might make it easy to get the smoothness you want
Hello, not a question but....I have done this before and I have used at least 3 coats of paper napkins or tissue paper on my vases and they came out looking really good cause it covers up alot of imperfections...I also like your vase designs..
This is a great idea! They turned out very pretty!
Have you ever used FastMache? When I decided to try papermache I found it at Joanns. Have not tried it yet.