


The Magical Item Every Kid Should Have in His Room

by
Gabi Ralea
8 Materials
$20
2 Hours
Medium
Every kid should have one of this in his own room, as it's like having any trip only one thought away. And it looks great on the wall and also works for storage.
This is how I have built this plane shelf for my kid for less than $20, compared to $90 dollars in the store.
This is how I have built this plane shelf for my kid for less than $20, compared to $90 dollars in the store.
Paint two wooden boards or shelves (they would later turn into wings) and let them dry while you are preparing the fuselage.
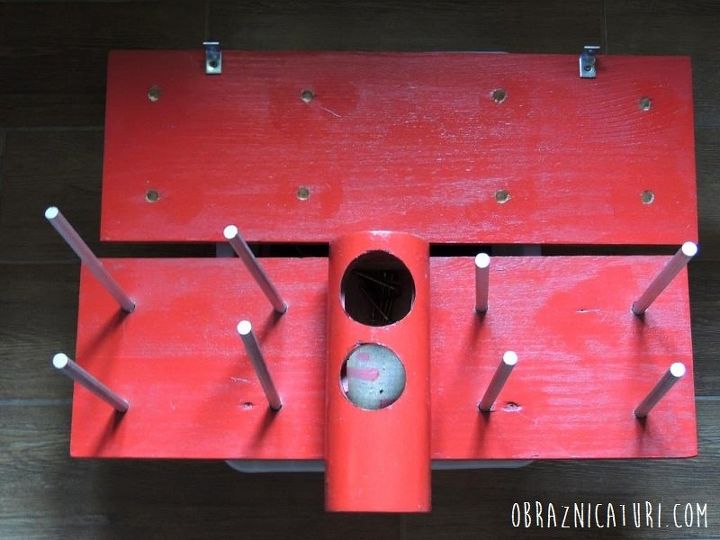
Prepare to drill the holes that you need for installing the vertical support like you see in the image below (8 holes on each wing, one for each of the poles). These holes have to be the same size as the poles, and has to be identically placed onto shelves.
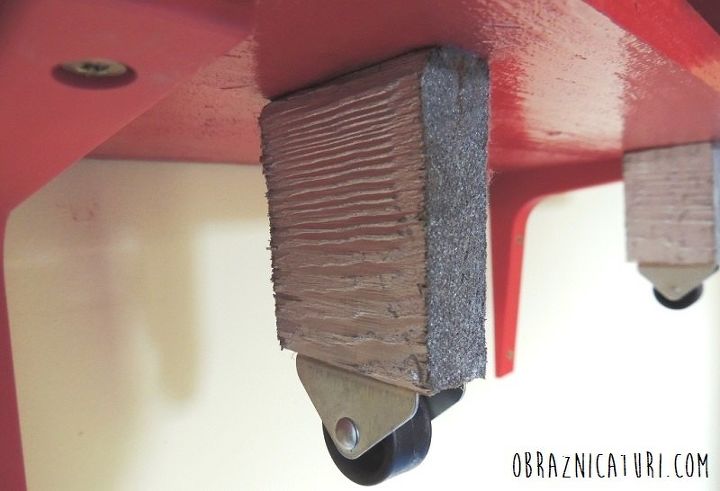
Next, prepare the landing gear, which goes on the inferior side of the lower shelf. Place the wheels on equal distance from the middle of the wing, and fix them with screws.
Prepare your plane for mounting it on the wall. Fix the 8 poles in the lower holes, then place the upper wing, matching the vertical support in the other 8 holes.
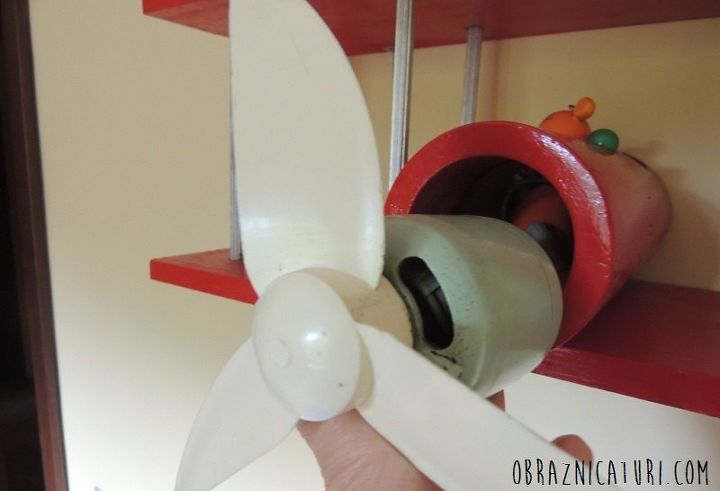
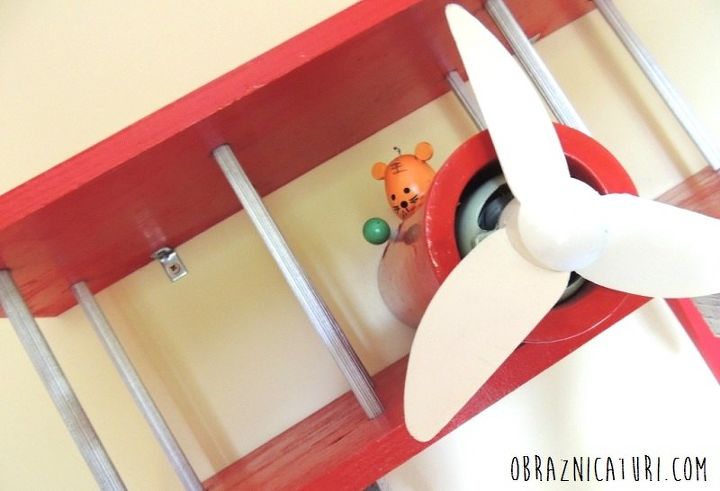
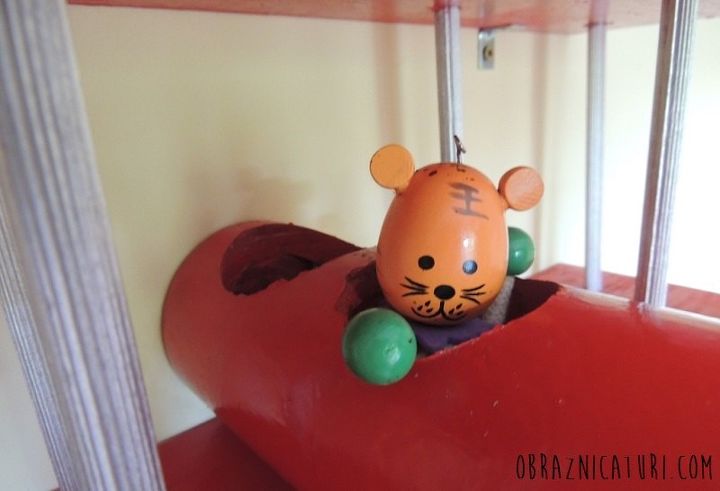
We turned an old fan into a propeller for our kid’s plane, and it fitted in perfectly, no other fixing has been required.
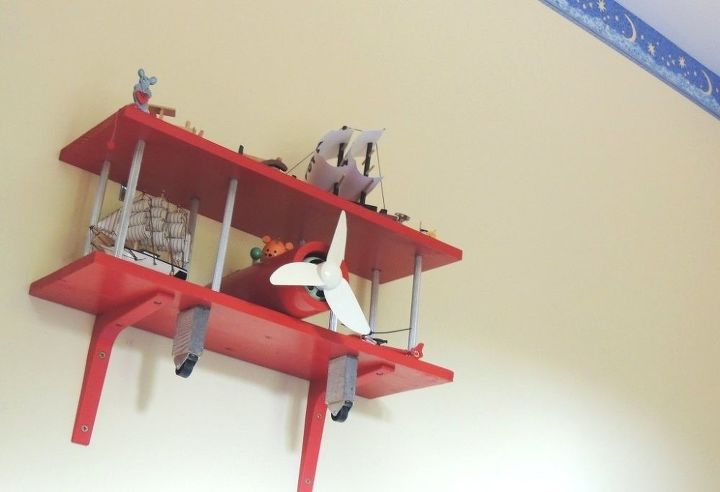
This is our red bi-plane shelf, and my kid is very fond of it!
Want more details about this and other DIY projects? Check out my blog post!
Comments
Join the conversation
4 of 14 comments
-
This is SOOO Cute!
-
I think I would have painted the shelf brackets the same color as the wall to make it look as if the plane is really flying straight out of the wall with no support. Great project! I'd like to make one for my husband for over his desk. He was on the flight deck during his tour in the Navy.
- See 1 previous


Frequently asked questions
Have a question about this project?