


DIY Leather Storage Ottoman
6 Materials
One of our recent themes for our Monthly DIY Challenge was leather. The Leather Hide Store provided beautiful leather upholstery for us to create something with. I decided to give an old storage cube ottoman a little facelift!
(You can read more about our Monthly DIY Challenges on my blog )
(You can read more about our Monthly DIY Challenges on my blog )
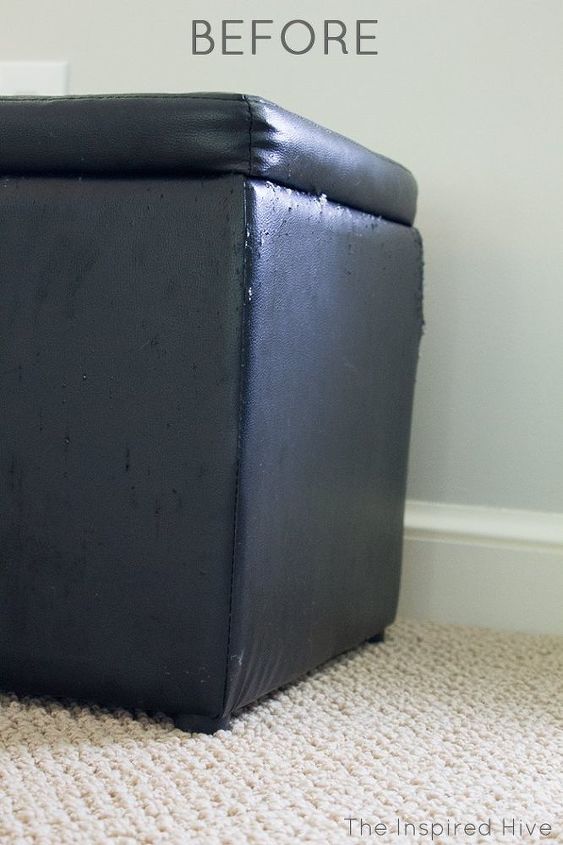
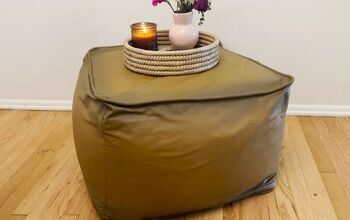
I started with this old, ugly, scratched storage cube ottoman that was falling apart. I removed all of the black pleather from it using scissors and a staple remover.
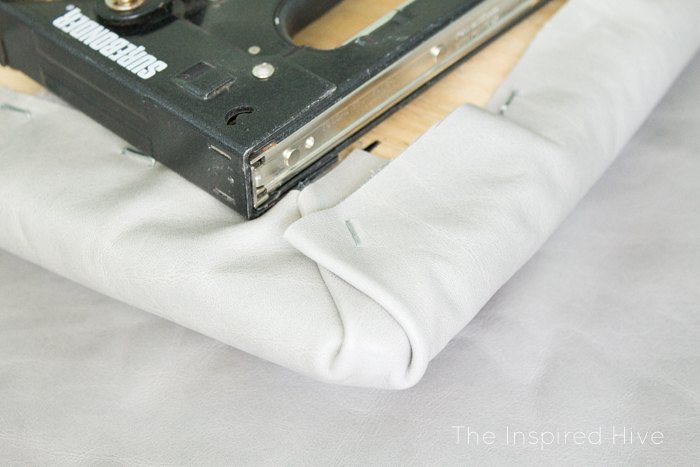
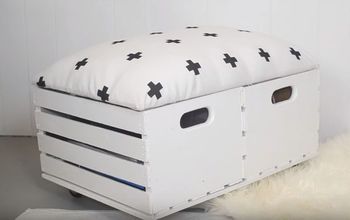
I recovered the lid using the original batting and a square of leather that I cut and measured. I attached it using a staple gun.
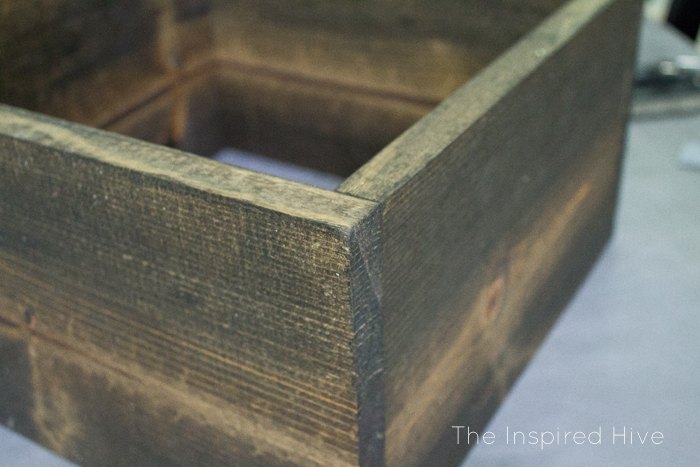
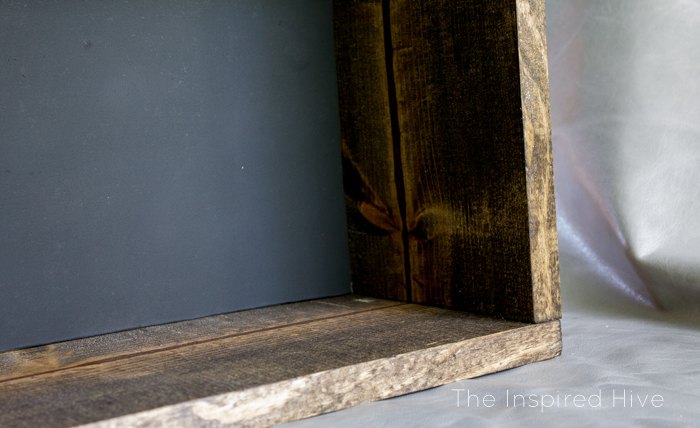
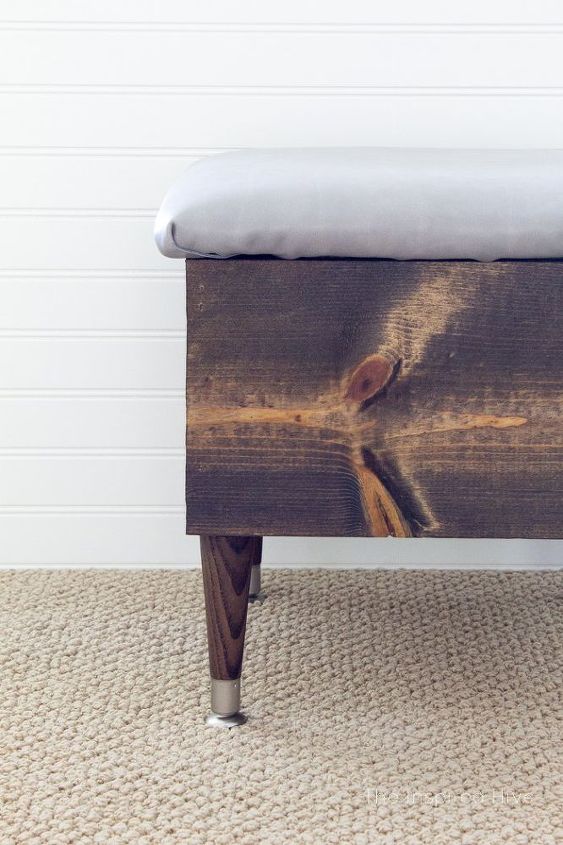
I found the original ottoman frame to be unusable, so I made a new one by making an easy wooden box out of some 1" x 8" pieces of wood that I stained (find detailed instructions for this part in my blog post listed at the bottom of this post)
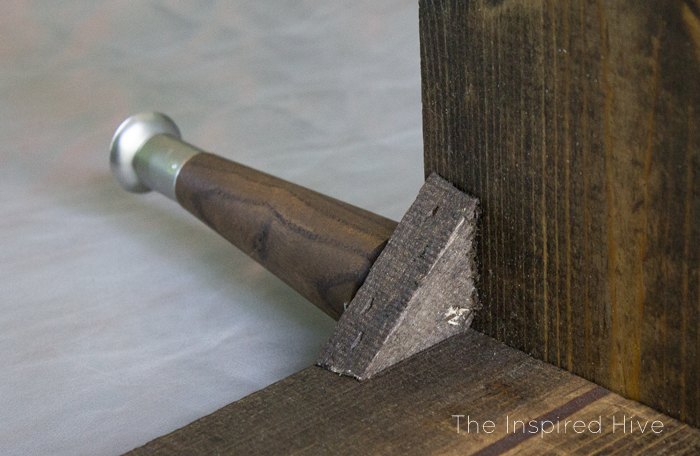
I cut triangular pieces to hold the legs and drilled pilot holes. Then the legs just screwed in easily.
I cut a piece of cardboard to fit in the bottom of the box. This created a great storage compartment inside of the ottoman!
Such a huge transformation! I love my new ottoman! It's the perfect little seat and hidden storage!!

Want more details about this and other DIY projects? Check out my blog post!
Comments
Join the conversation
4 comments
-
Omg I'm redoing mine right now and wrapping it in sisal rope and you are totally making me re-think me decision!!
-
Very good looking ottoman! Great job! I recently made a round ottoman with storage for my son! It's somewhere on Hometalk.


Frequently asked questions
Have a question about this project?