


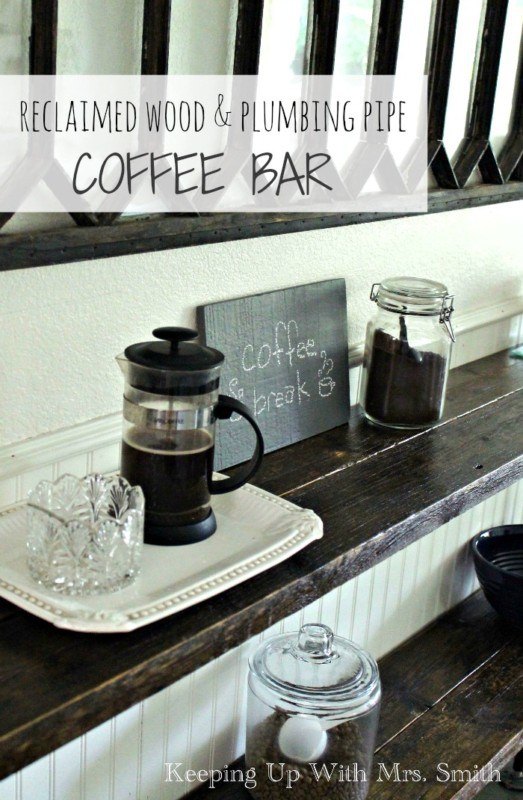
1-Hour Reclaimed Wood & Plumbing Pipe Table
10 Materials
$150
1 Hour
Easy
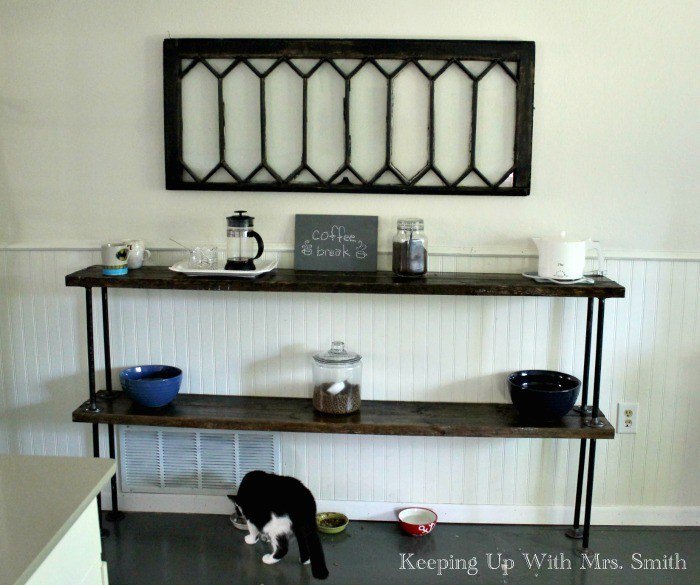
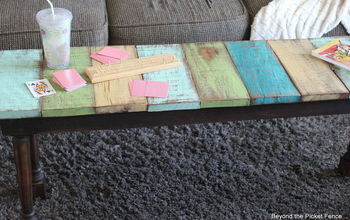
I needed a coffee station to fill a long wall in our kitchen and I also had a stack of 2x6s left over from our old deck. Since I love the industrial look of wood and black Iron plumbing pipe, I decided to make my own table. This whole piece came together in an hour and I am loving it! Here's how to make your own....
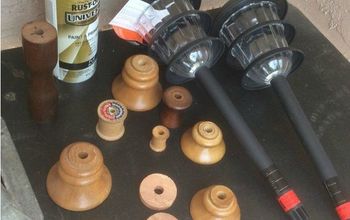
To start, cut and sand four 2x6s to the desired length. I made mine 8 feet long.
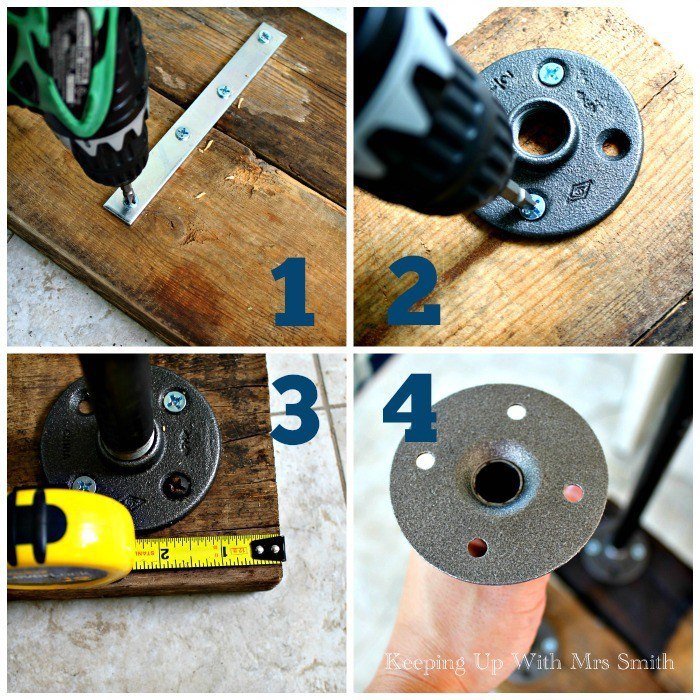
Now assemble the bottom half of the table. To do that:
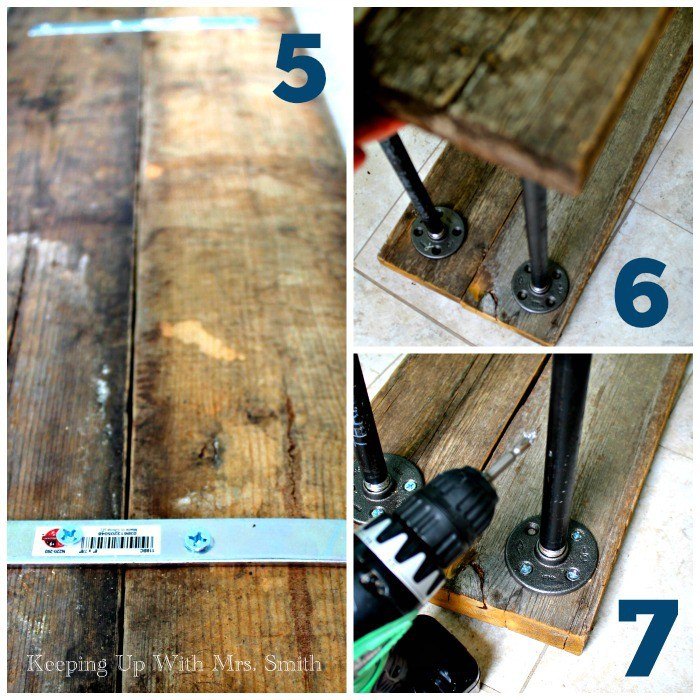
To finish the table:
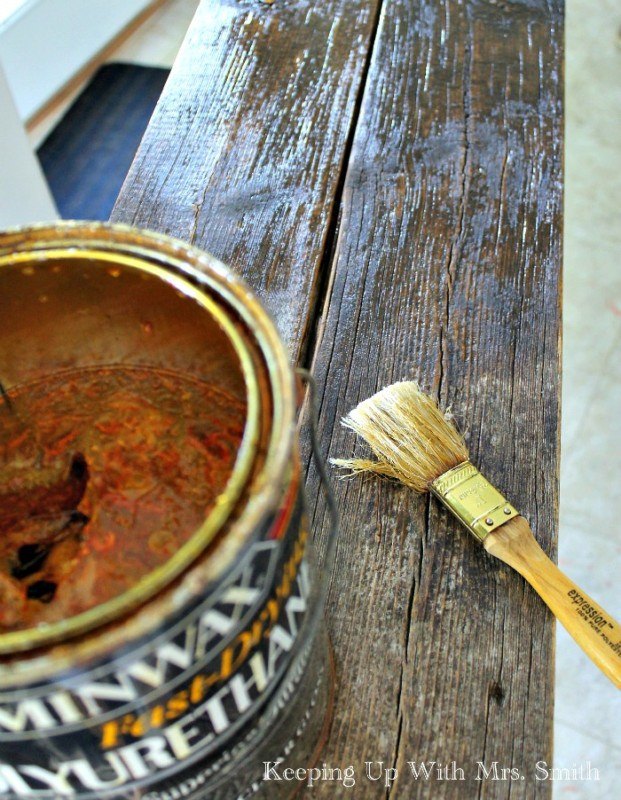
Apply a couple coats of clear polyurethane from your good ol’ trusty-crusty can that you’ve had for years. (I just keep busting through the dried layers of poly for each project.) Keep in mind this will change the shade of the wood!
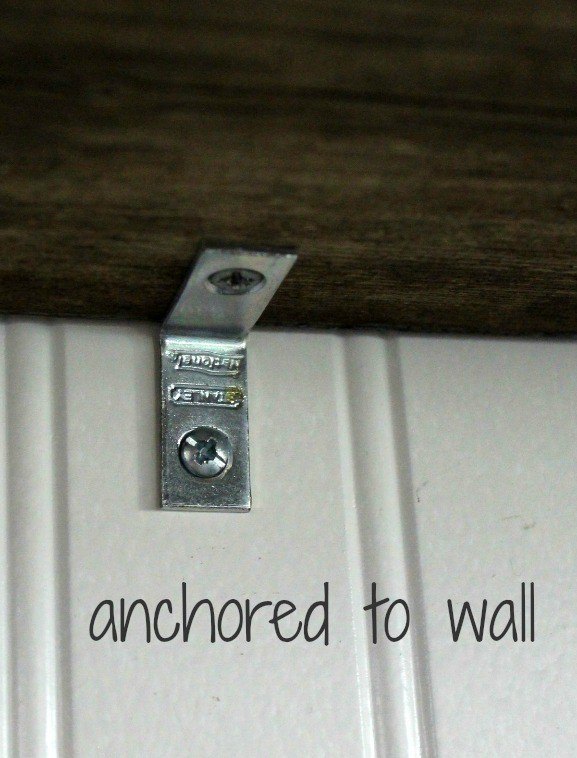
Since my floors slant, I anchored the table to the wall using 2" corner brackets. Wobbline
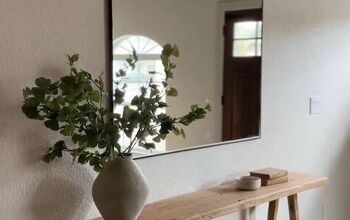
Now we have a place for our teas and coffees, not to mention a feeding station for the kitties.
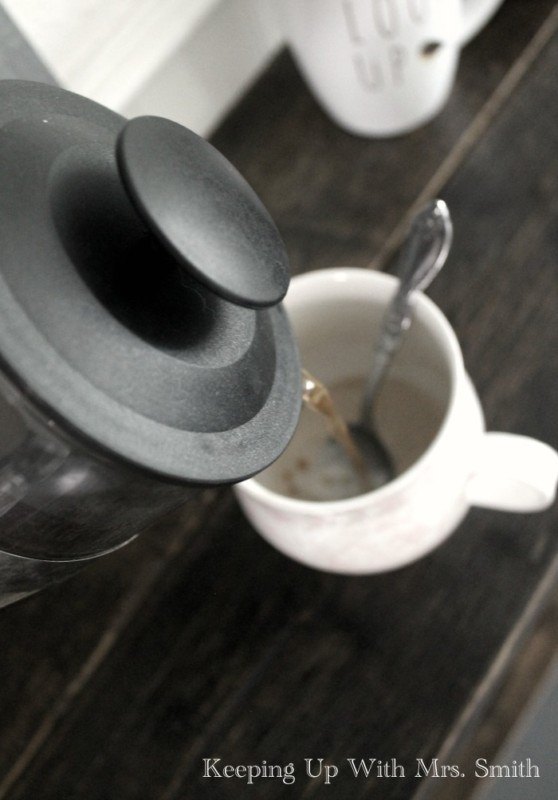
Who wants coffee?
For more details on this project visit the original blog post at the website below! And follow me on Hometalk!

Want more details about this and other DIY projects? Check out my blog post!
Comments
Join the conversation
2 of 5 comments
-
Love the table and I am so glad that your hubby was able to save your home. I realize it is in the past but still very scary to think what could have happened. My dad was, a while before he retired, a firefighter/paramedic and I awoke one morning and raised my blinds to our neighbor's house burning. They weren't as lucky as you were. The Mr. was running around the front yard barely dressed and screaming. His wife was inside. I woke my dad and he got his gear from the basement and got her out within 2 or 3 mins. She survived but was not the same afterwards. It is so important to have smoke alarms! I hope you installed them the same day. Glad you are here to share your lovely table!
-
We sure did. And we were indeed fortunate. The fire moved to the right. If it had moved to the left it would have hit our main breaker and gas water heater. So scary.


Frequently asked questions
Have a question about this project?