


How to Easily Up-Cycle an Old Trunk
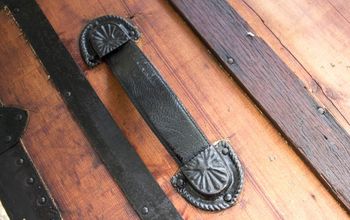
Old trunks and vintage suitcases are favorites of mine. My grandma used to keep blankets and toys in vintage trunks for us. They are so lovely and I can say even slightly nostalgic. I found this trunk at a garage sale ($20.00) but it needed some jazzing up. Unfortunately I don’t have the ‘before photo’, but you can see the after photos below. Up-cycling it was a fun project that was very easy, inexpensive, and quick. Here’s how to create something similar.
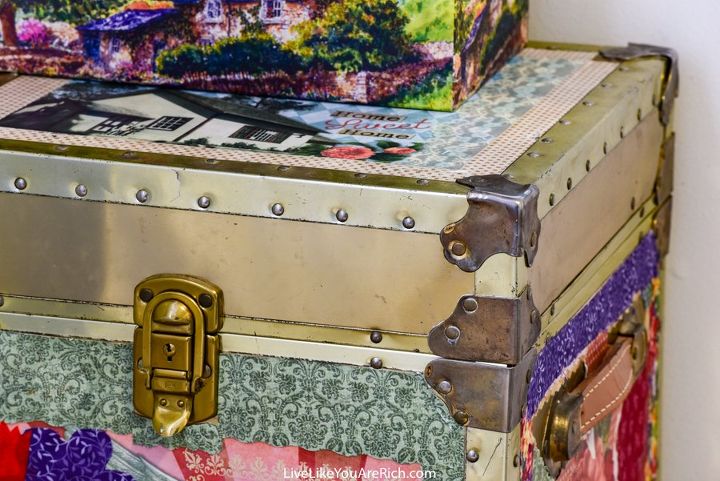
First, clean off the sides of the trunk.
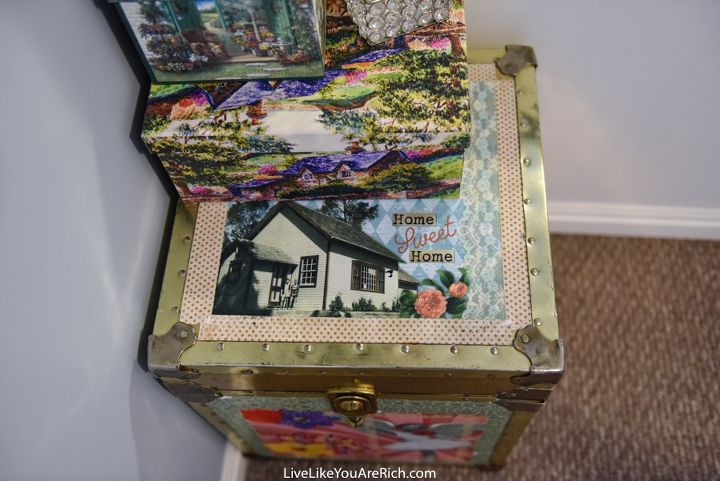
Next, cut out borders, clip art, and backgrounds for the sides and top. Lay everything out the way you’d like it to look before continuing on. I used: scrapbook paper, fabric, vinyl, newspaper, magazine images, stickers, paint, glitter glue, etc.
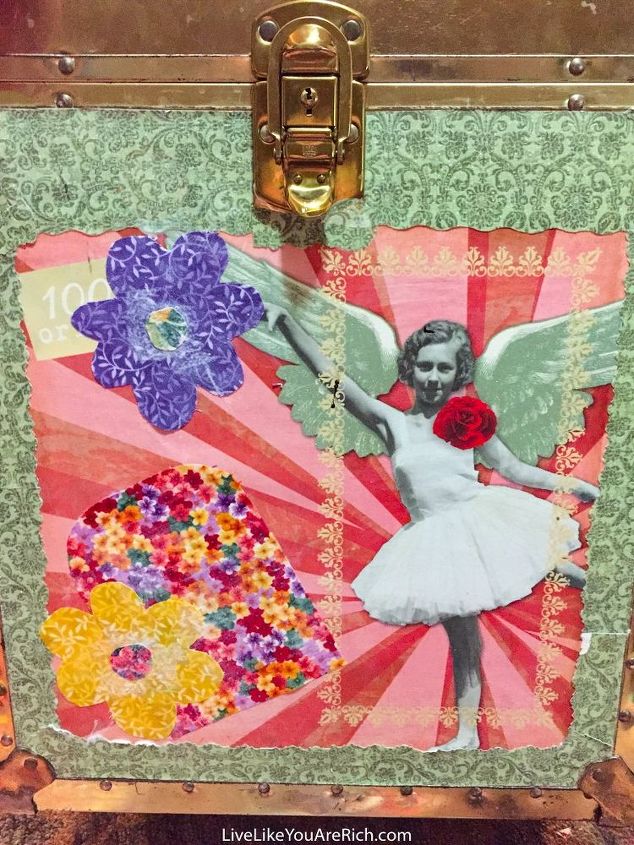
Next, begin mod podging the items onto the sides and top of the trunk.
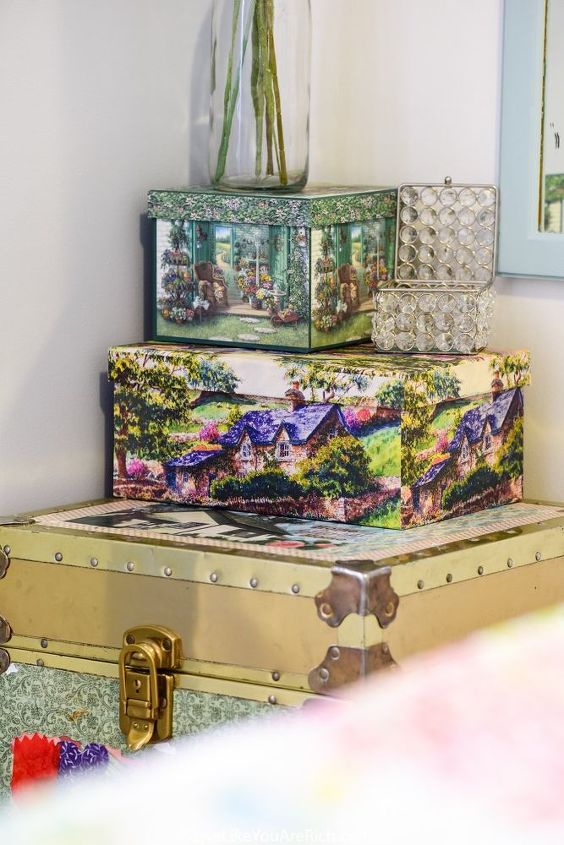
If you want to mod podge material on over other things as I did in the photo above, simply layer them after the first dries. You do not have to mod podge everything at the same time. You can glue on the first layer, allow it to dry, and then move on to the next.

Want more details about this and other DIY projects? Check out my blog post!
Comments
Join the conversation
3 of 5 comments
-
oooh I love it!
-
Cute


Frequently asked questions
Have a question about this project?
Was this trunk metal that you did the modge podge on?