


Pallet Cooler Stand

4 Materials
$5
3 Hours
Medium
Hey guys! Rob here! I know pallet wood is still one of the latest crazes with DIY projects and this cooler stand involves just that. Really, JUST THAT. Aside from a double pack of hinges and a handle, I had everything else on hand for this project. It was a bit time consuming but I think it's really cool that no one would know an old, dingy cooler was sitting in this pallet cooler stand.
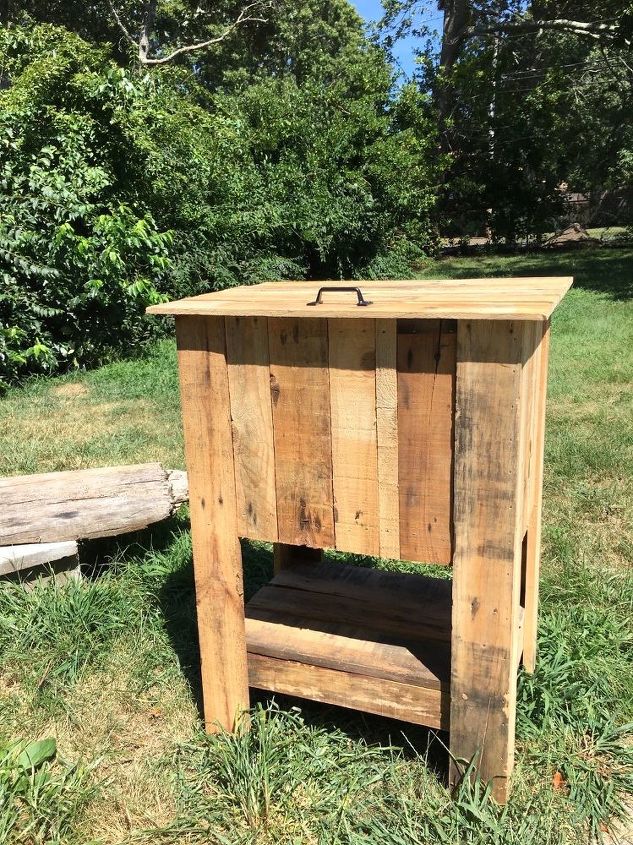
For only spending $5 and putting in a few hours of sweat, I think this pallet cooler stand came out pretty cool!

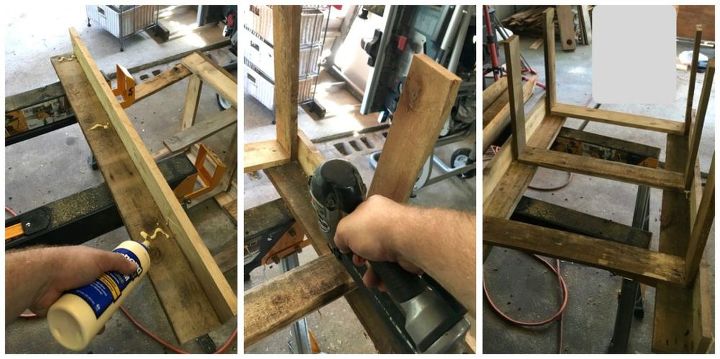
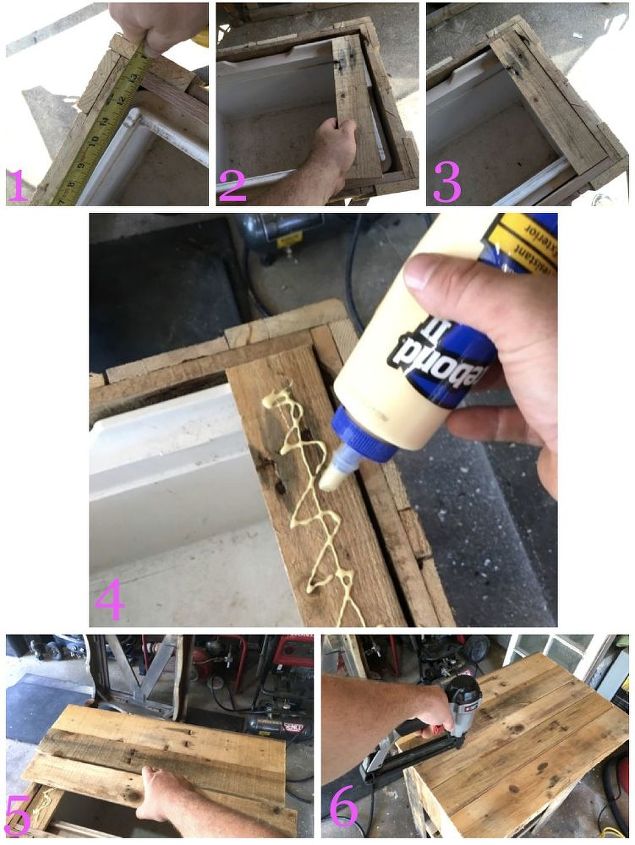
STEP 1: Make the Legs
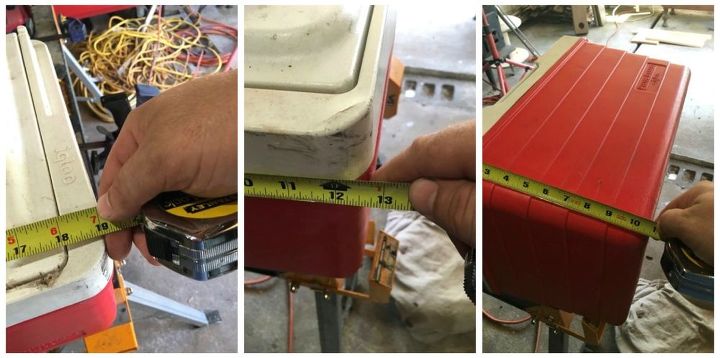
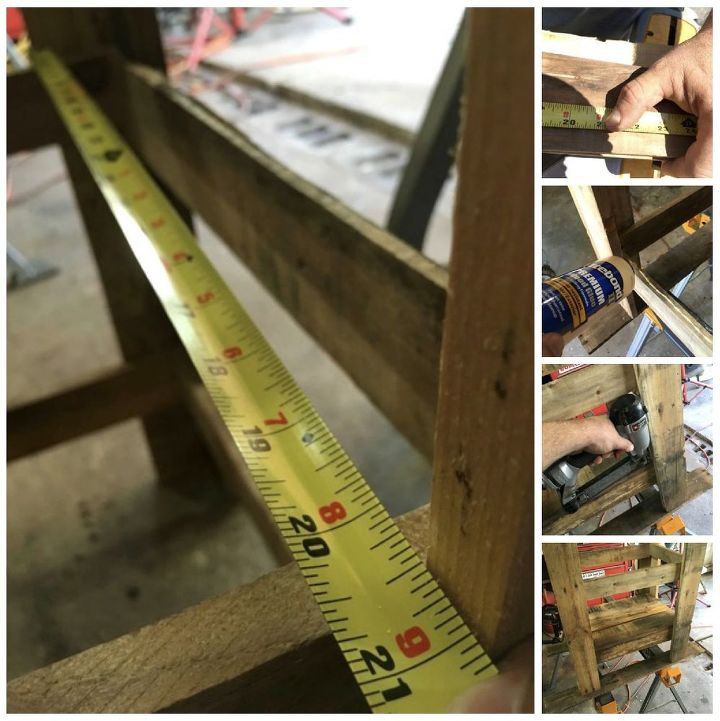
STEP 2: Measure cooler
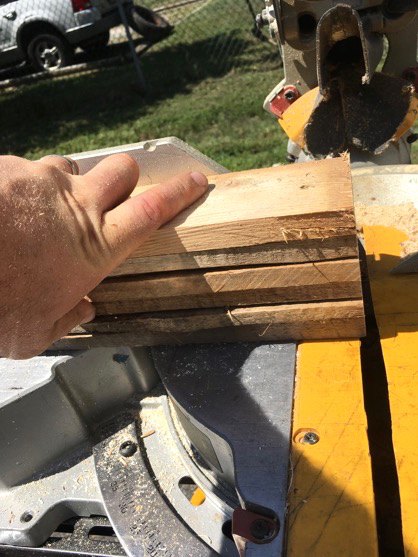
STEP 3: Cut wood for sides of cooler
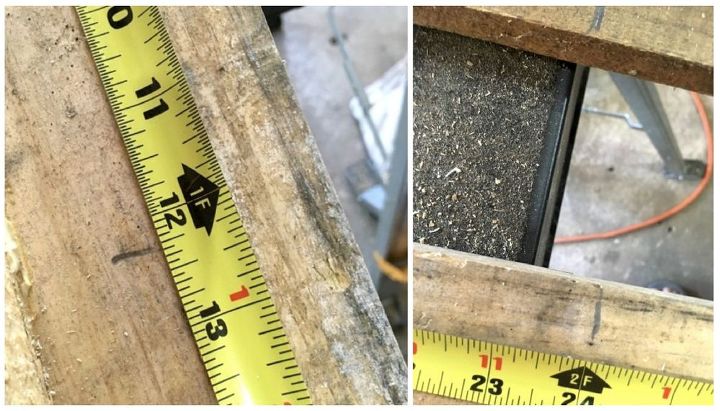
STEP 4: Measure wood for body of cooler stand
STEP 5: Framing
Once the frame is built, you can glue and nail boards to the bottom shelf. Be sure to measure and cut the boards to the inside of the frame...
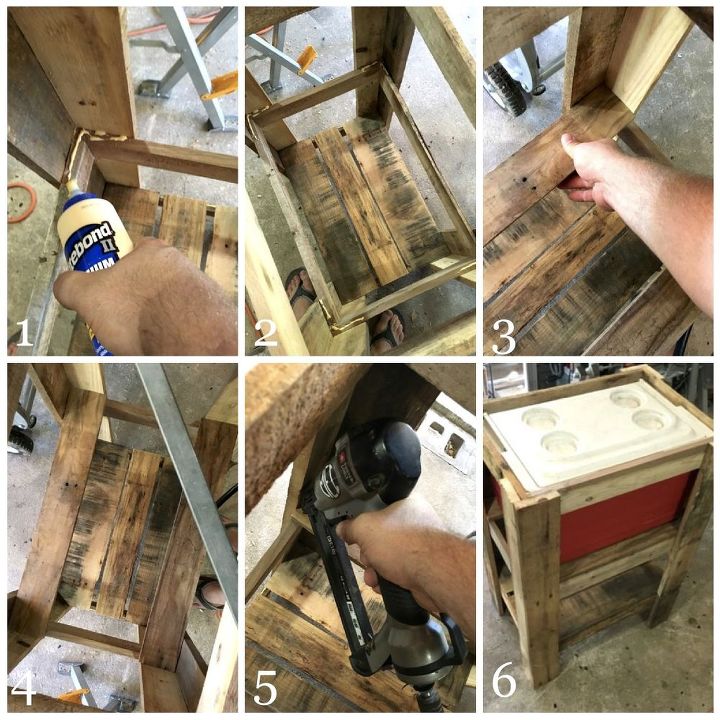
...then attach two boards for the cooler to sit on.
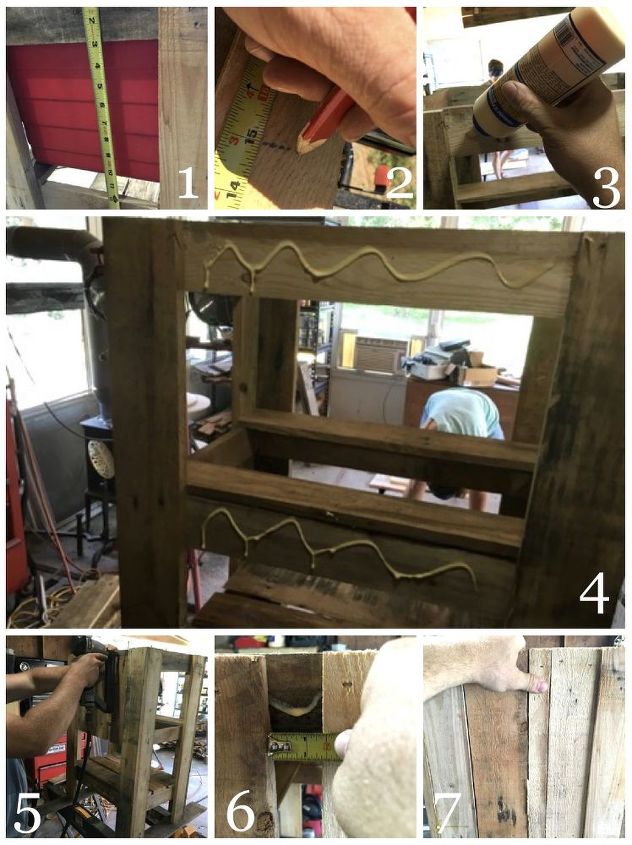
Measure the distance from the top of the frame to the bottom of the cooler shelf and cut boards to form the sides. Glue and nail the boards around all four sides of the frame. If needed, use a table saw to make smaller pieces to fill in small gaps.
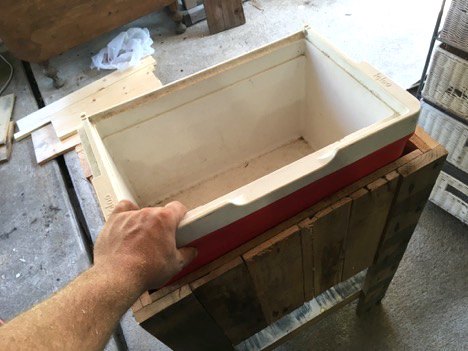
>>>Side note: I used an old cooler with a busted lid for this project (the lid was usable but it no longer held into the notches of the cooler) so I decided to ditch the lid altogether for this simple design.
STEP 6: Make lid
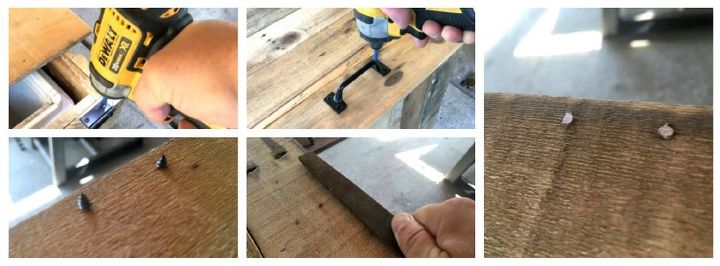
STEP 7: Install hardware
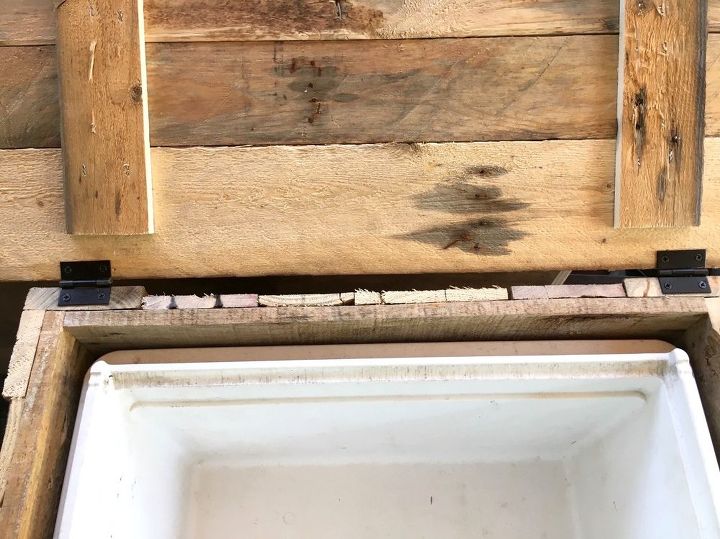
Note: I highly recommend adding 1-2 chains on either side of the lid to hold it open. Because the pallet wood I used was pretty thin, when the lid was opened all the way back and unsupported, the hinges cracked the wood which caused the lid to come off.

All-in-all, aside from all of the cutting and assembling, this was a pretty fun project. Courtney usually does most of the finishing work for our projects and for this, she liked the unfinished look of the pallet wood so she decided to leave it alone once I was done. As I'm sure she's mentioned many times before, we love to have friends and family over so this is another way we can store our cold drinks, condiments and other fridge items outdoors long enough to have a backyard dinner.
Comments
Join the conversation
2 of 11 comments
-
all around win! Looks cool, multiple uses - sturdy! :-)
-
Not to worry about keepin' the cold items cold !!!! A good useful project......thanks for sharin' and Happy Father's Day!!


Frequently asked questions
Have a question about this project?