


Making Coasters - That Last! Inexpensive and Great Gifts!
4 Materials
$1
10 Minutes
Easy
These coasters are inexpensive, easy to make, great for gifts, and these are made to last! Please read all the way through to learn how to preserve them.
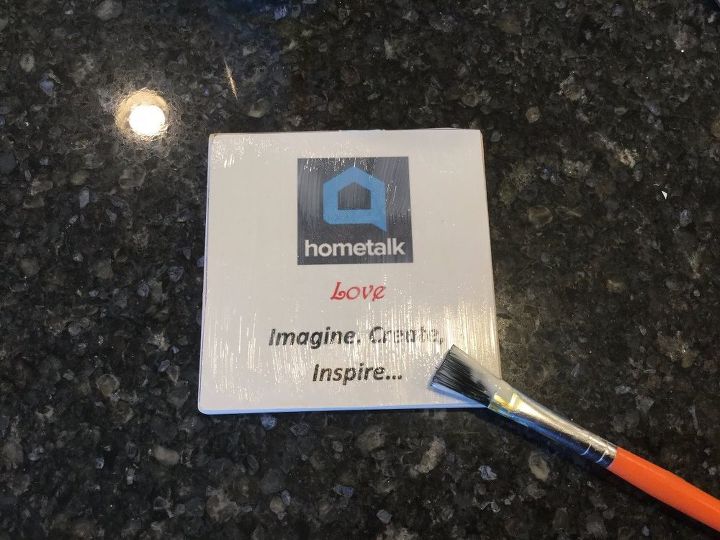
First you'll need a ceramic tile or coaster. Mine came from the Dollar Tree and I chose it because it already had the cork on the bottom to protect surfaces - you could put sticker felt onto the bottom of a tile from a hardware store.
You will also need to decide what your design will be on your coaster. You can use fabric, a photo, or create your own saying, etc. For these projects I used photo paper and printed my design. Regular paper is not a good choice as you will get bubbles, sometimes see through the paper, and ink can run/bleed.
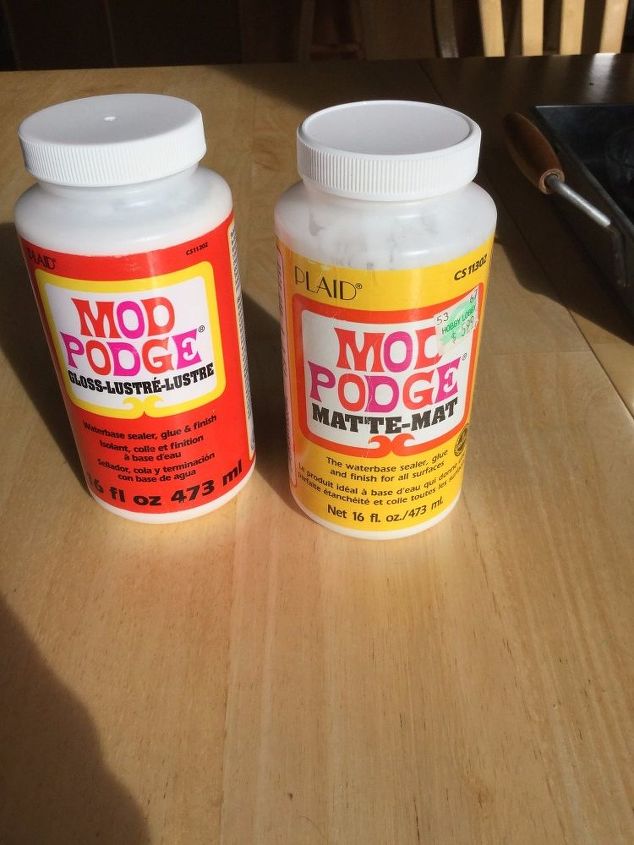
Put Mod Podge on the coaster.
Put your photo or fabric on top of the coaster. Carefully center it and press it down.
Put a coat of Mod Podge over the top of the coaster. Let dry. Repeat a few coats to protect and seal the project - don't forget the sides of the coaster and paper. Make sure to let your Mod Podge dry completely before moving on - at least 24 hours. ***Please do not stop here - read on... Before we move on let me explain why we don't stop with just the Mod Podge. Mod Podge is water and glue based. If water gets on it, it will ruin the coaster. You can gently and quickly wipe it off but you cannot put it in water or it will be ruined. Hot beverages can sometimes make the Mod Podge sticky again from the heat of the cup. You still must protect your coaster.
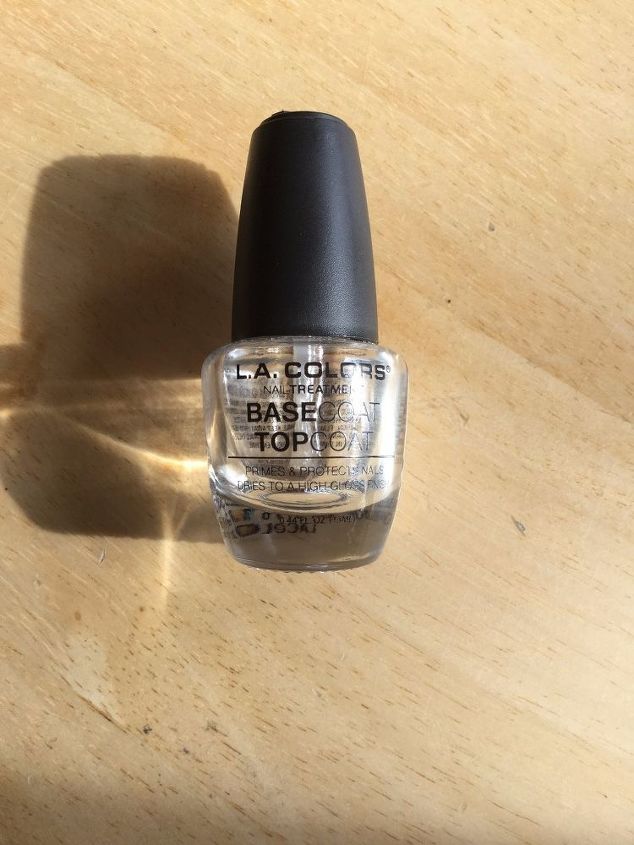
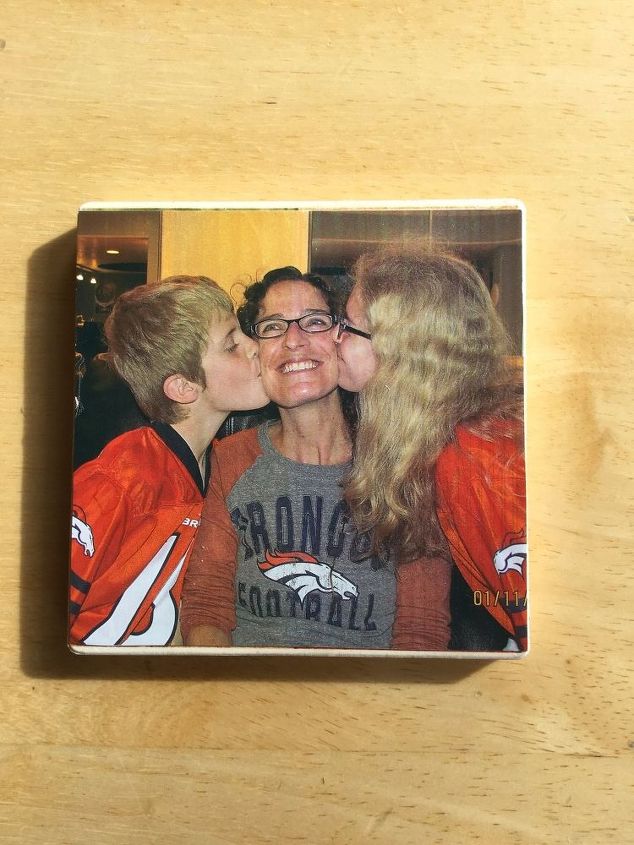
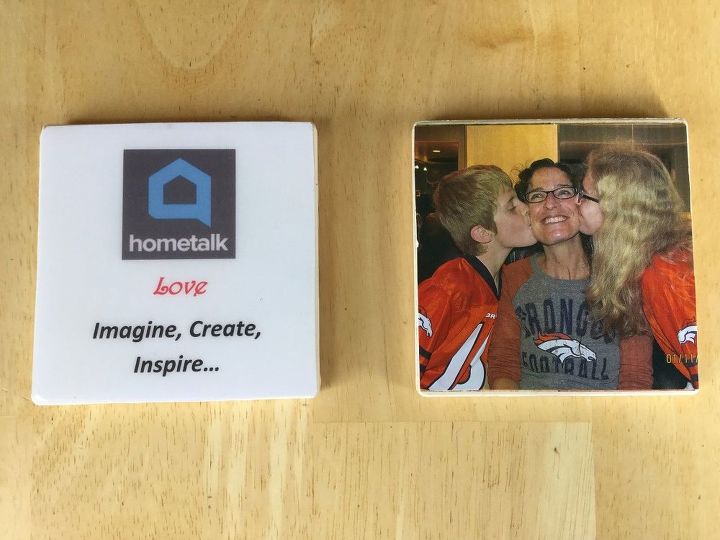
One of the most inexpensive and easy ways to preserve your coaster is to put on a few layers of clear top coat nail polish letting it dry between each coat. My coaster with the photo (top photo) is preserved with this. I can wipe it off, I have had hot beverages on it, it has had sweat from a cold glass sit on it and it's still fine. I am not sure I would let it sit in a sink full of water for a long time though. The more layers, the better it'll be.
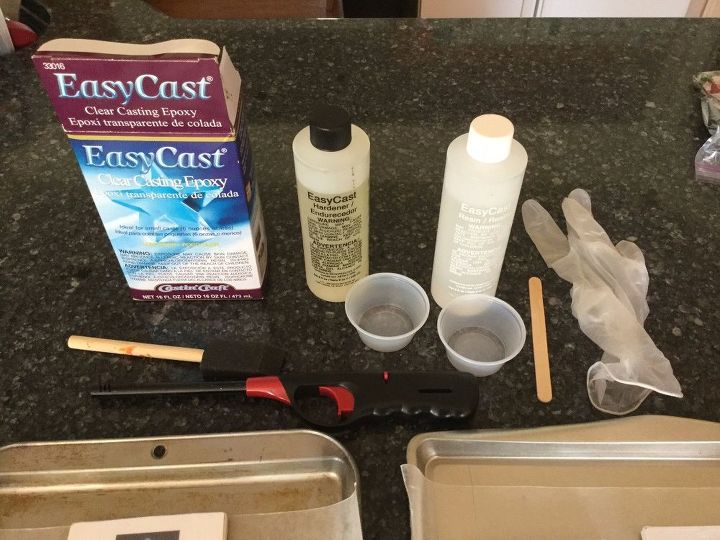
The other option, a little more expensive but will last is to use Easy Cast Epoxy. You can find it online or at craft stores. The directions are clear and easy to follow. You will need gloves, a craft stick or something to stir with, a couple disposable cups to mix in, a paint brush, and a lighter.
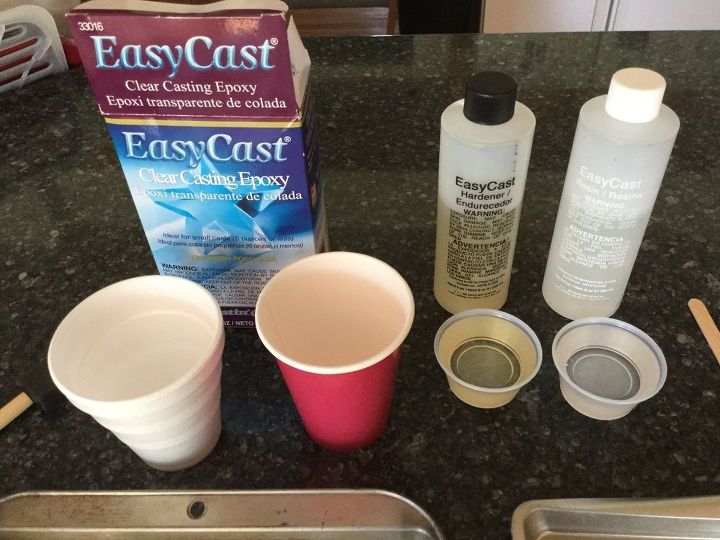
You will measure equal parts of both the resin and hardener. I made 9 coasters and made 2 ounces Easy Cast - I think I only really needed 1 oz.
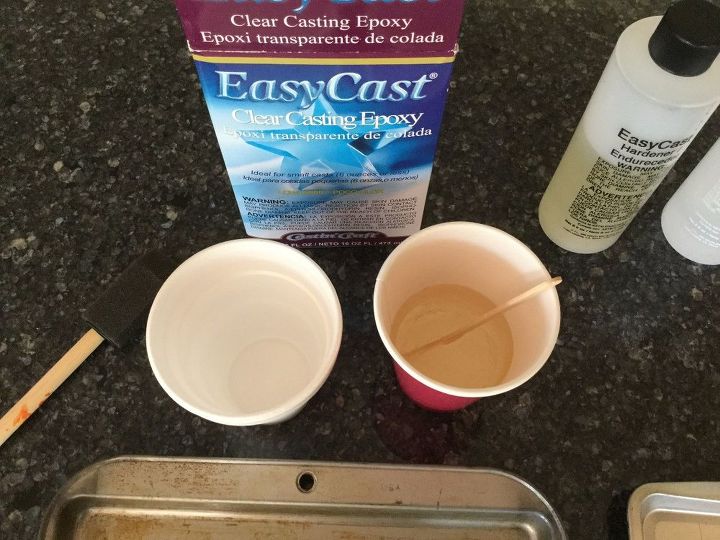
Pour both measured resin and hardener into a cup together and mix thoroughly.
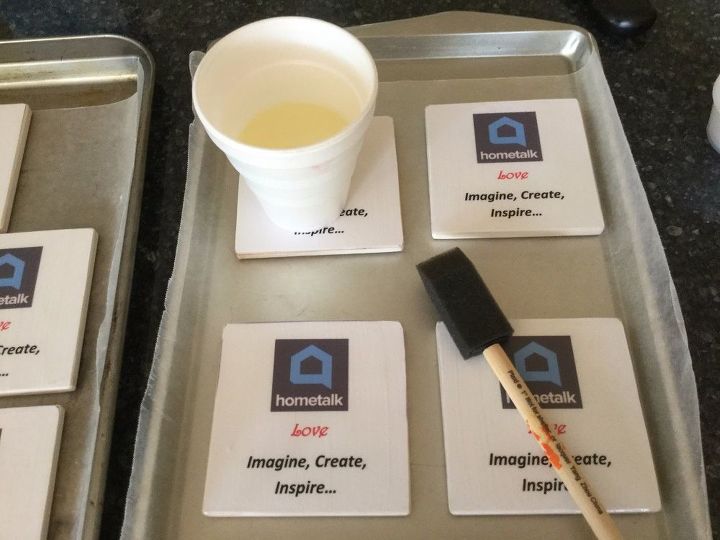
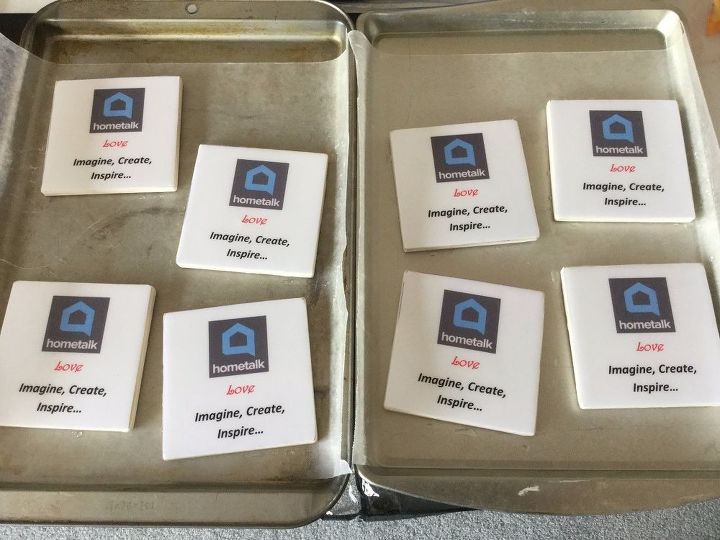
Put your coasters on wax paper for painting.
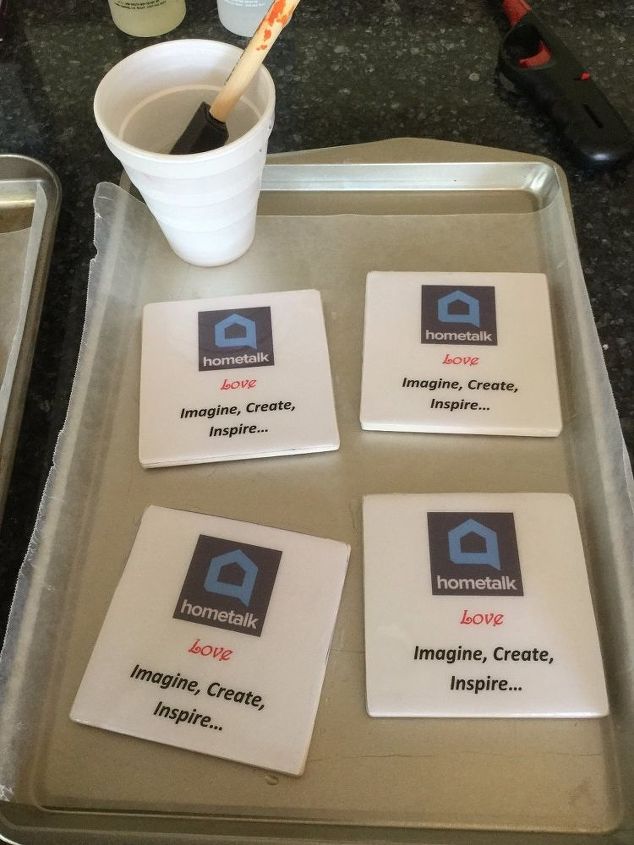
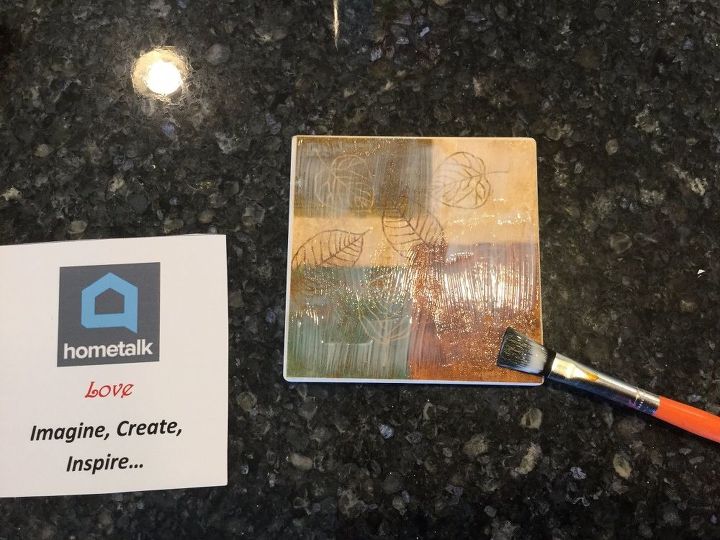
Paint on the resin mixture. Make sure to get the sides as well, and smooth out/off all the drips.
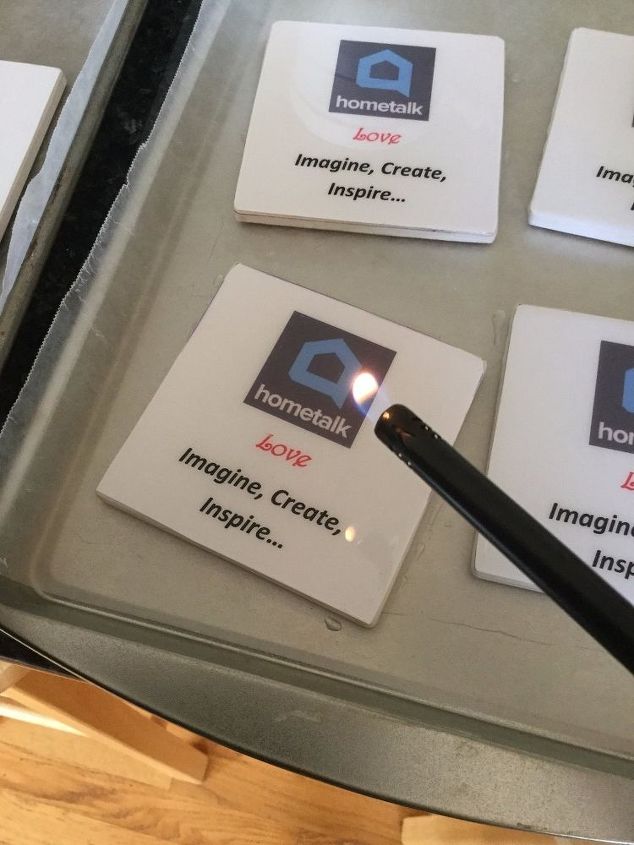
After you paint all your coasters, you will see tiny bubbles in the resin. Use a lighter to gently go over the top of the resin to "pop" the bubbles over the entire coaster. Let sit for 24 hours to harden.
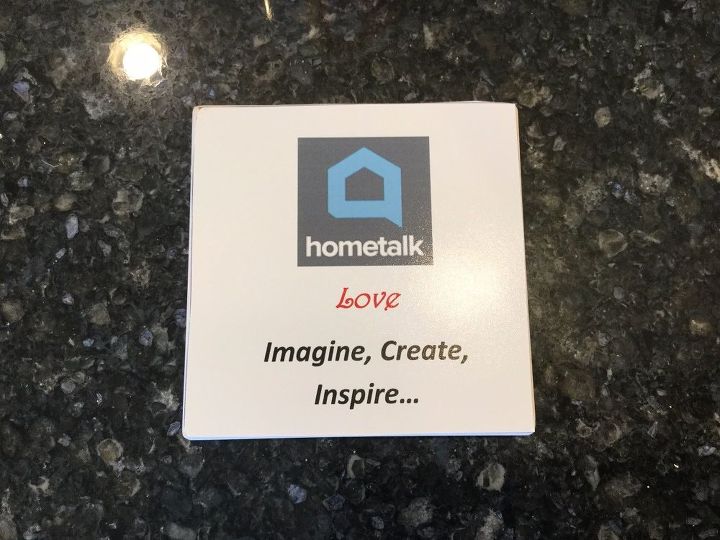
They are done and strongly protected! These you can wipe them off, they are good for hot and cold drinks, and made to last. They have a nice shiny glaze to them.
Now you can make coasters that are made to last with either the Easy Cast Epoxy or Clear top coat nail polish. Kids can get in on this too. If you decide to make some, I'd love to see what you have come up with!
I would love to have you stop by my blog Chas' Crazy Creations for the full tutorial as well as sign up for my latest creations, posts, recipes, exclusives, and more...
I would love for you to subscribe to my YouTube channel to see more of my crazy creations - https://www.youtube.com/channel/UCIOsMN7hycVRco-MROXwmXg

Want more details about this and other DIY projects? Check out my blog post!
Comments
Join the conversation
3 of 9 comments
-
LOVE THIS IDEA!!!! GREAT GIFT IDEAS I AM GOING TO DO MY GRANDDAUGHTER ON HER 1ST BDAY PIC FOR HER PARENTS. THANKS
-
FABULOUS!!


Frequently asked questions
Have a question about this project?
Can you use an actual photo?
Hi this is fantastic , it looks like I found what I’m giving my husbands huge family for Christmas . That’s a load off.
My question is can I use a spray paint in place of the nail polish. Do you think it will work, or hold up?
Heat & moisture will be in contact with them a lot. .... do you think maybe it’s best if I put a little frame with it so it’s just a decorative item? Still a fantastic gift I think.