


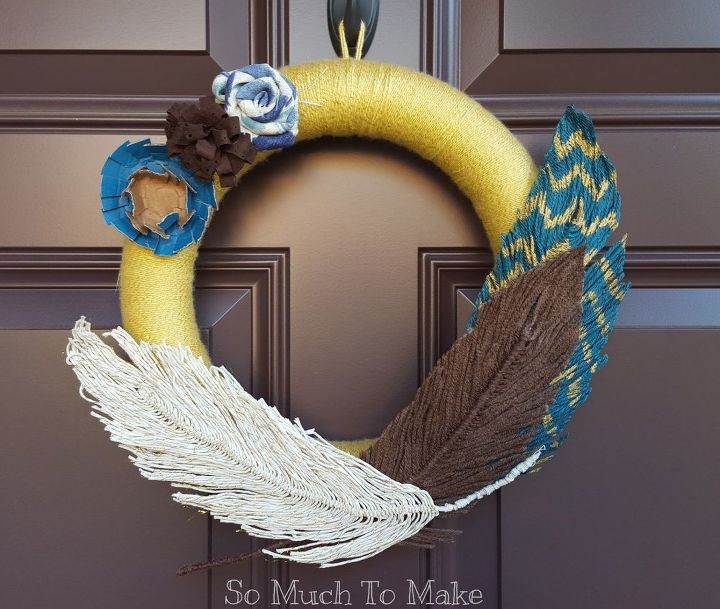
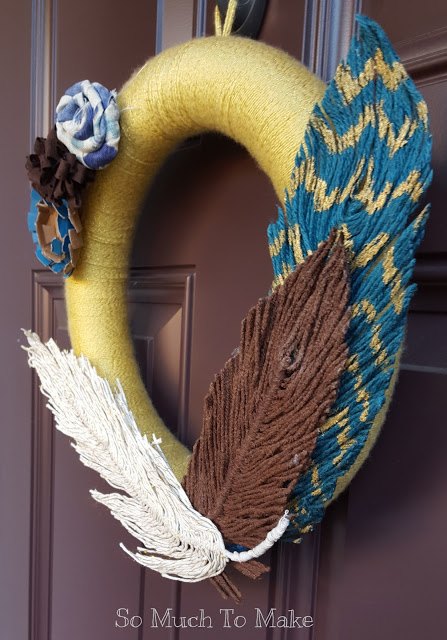
Yarn Feather Tutorial + Wreath
Learn to make gorgeous handmade yarn feathers, and make them the focal point of your Fall wreath!
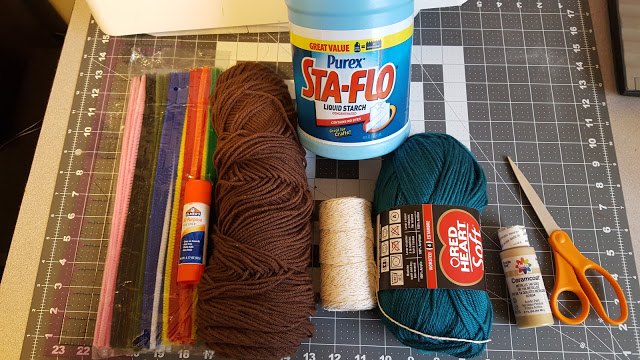
Here are the main items you'll need:
Pipe Cleaners (in colors that correspond to your yarn); Mine are 12 inches long.
Glue stick (the kind used in school--not hot glue)
Yarn, embroidery thread, baker's twine, or other thin, flexible string
Liquid Starch (I found mine at my grocery store in the laundry detergent aisle--cost $3-$4)
Good scissors
Craft paint (optional)
Not pictured: Shallow tray for soaking (I used a disposable lasagne pan lid), Cookie sheet lined with aluminum foil/ gallon zipper bags
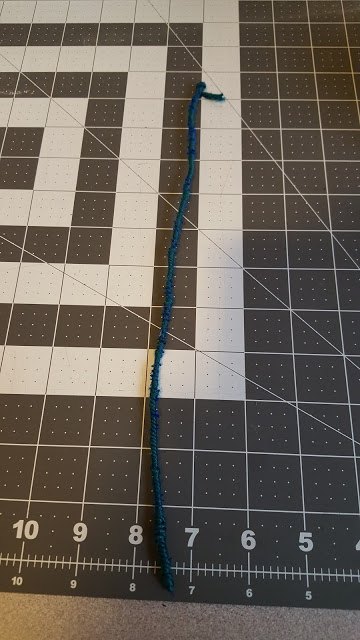
Take a pipe cleaner in a color corresponding to the yarn you are using. Coat one end and a couple inches of it with the glue stick. I used some scrap paper under me to protect my workspace from stickiness.
Beginning at the glue end, wrap yarn tightly and closely around the pipe cleaner. When you get past the glued area, add a few more inches of glue, and continue wrapping.
Once the pipe cleaner is all wrapped in yarn, cut off the end, and add a dab of glue to hold the tail in place. Set this aside.
Cut about 12 feet (needn't measure--basically a LONG piece) of yarn. Fold it in half, then fold the doubled length in half again. Continue folding it in half until the length of the bunch of thread is about 8 inches (give or take an inch).
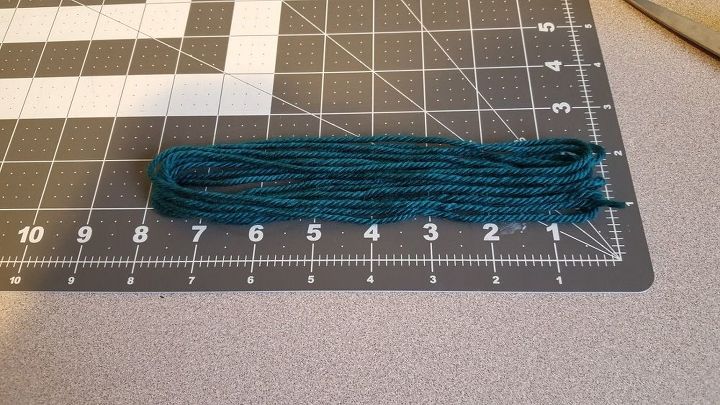
Cut the folded edges off to make several equal-sized pieces of thread. Repeat to get 60-80 pieces of yarn the same length.
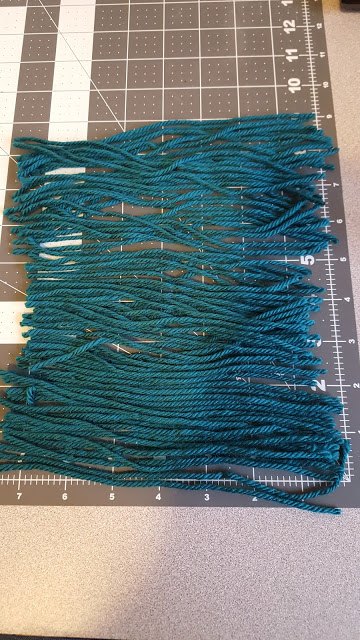
Now take the covered pipe cleaner and secure the end of it that doesn't have tail (the end you began covering) with something heavy (I used a weight). Beginning at the other end, tie a single knot around the pipe cleaner, placing the knot in the middle of the piece of thread. Repeat this with the rest of the yarn, tying each knot right under the preceding one.
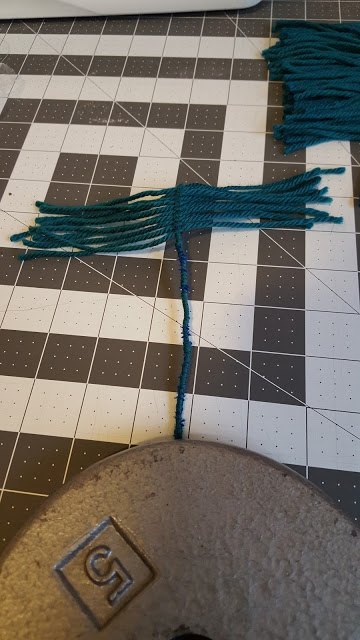
I wanted long feathers, so I only left about 3 inches of stem. I was pleasantly surprised how quickly the tying went. Each feather only took about 15 minutes to tie.
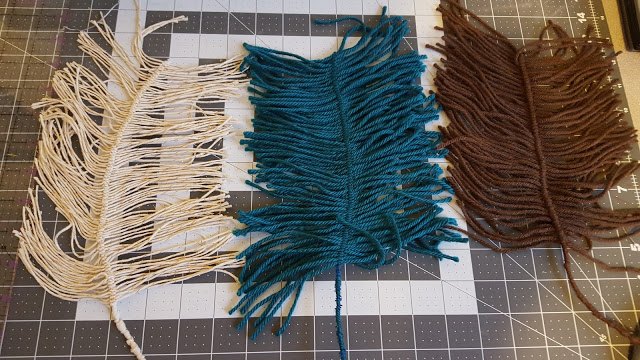
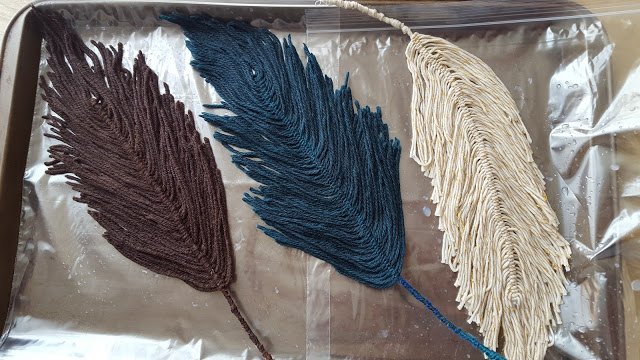
Here are my three incomplete feathers for this project. The white one is made with baker's twine. The other two are acrylic yarn.
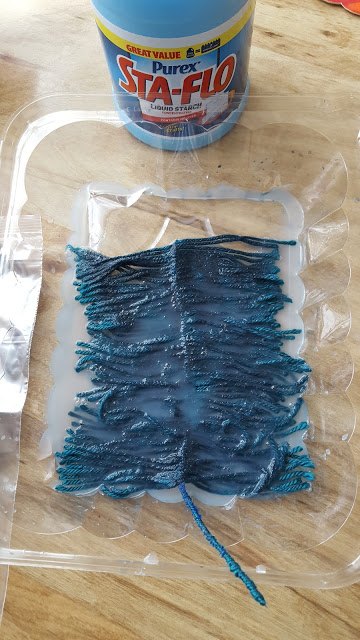
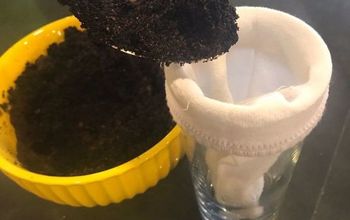
Pour some liquid starch in a flat, shallow container. Set each feather in the liquid one at at time, pressing down to make sure all the yarn is immersed. Remove from liquid and gently squeeze excess (but don't wring out). Once you have soaked each feather, pour leftover starch back into the bottle to save for future use. You can clean up the soaking container in your kitchen sink with warm soapy water.
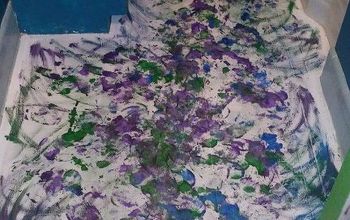
Line a cookie sheet with aluminum foil or heavy, smooth plastic (I used zipper storage bags, but will use aluminum foil next time). Form the feathers into the shapes you desire. Be particular here because once the dry, they can't be re-shaped without re-soaking them.
Place the cookie sheet in a warm (170 degree F) oven. Don't go hotter this (you don't want to melt the acrylic thread or plastic bags). I let mine "cook" for 15 minutes at a time, then turned the oven off and left them in the oven with it off. Drying time will vary--yarn takes longer than twine-- but using the oven is MUCH faster than waiting on the feathers to air-dry. The oven method will take 2-4 hrs. Air drying will take 24-48 hrs.
Once feathers are dry and stiff, you can trim them to the shape you desire. Use strong, sharp scissors to get through the stiffened yarn. I trimmed the blue and brown feathers, but left the white one as is. I liked the shaggy look of it for my project.
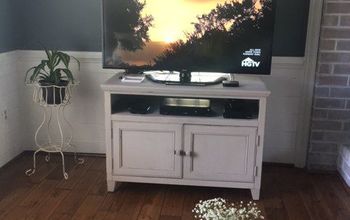
Use push-pins to attach the feathers to your wreath for fall. Visit my original post for additional tips on painting and preserving your feathers!
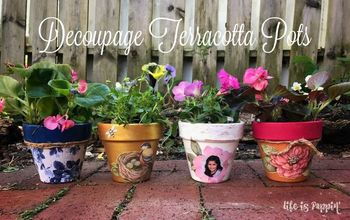
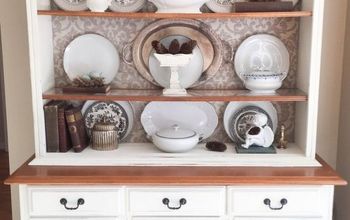
DIY fall wreath ideas

Comments
Join the conversation
-
I really love your work I am making feathers and using different materials I will post some when I Finnish my next one big thank Mel.
-
I knew that I bought the rainbow yarn for a reason,after reading ur post here is the purpose ! Thanks a bunch for sharing.


Frequently asked questions
Have a question about this project?
if you can or don’t have the same color pipe cleaners as the yarn, could you use another color? I went to your blog, and I see that you wrap a piece of yarn around the pipe cleaner anyways, you could cover the pipe cleaner completely with the yarn. Instead of using glue could you tie a half knot To secure it.? also if the pipe cleaner shows through you could make sure it get covered that waY? Yes??
How well will this hold up with rain and the outside elements? It's quite beautiful but I wouldn't want to make it and see it ruined quickly outside.
Can you air dry or do you have to use the oven?