


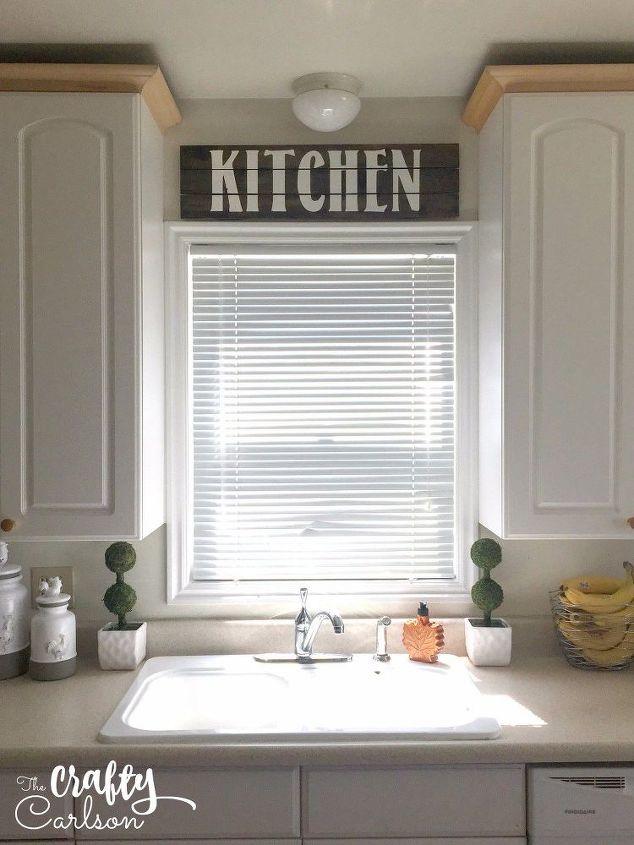
Farmhouse Style Kitchen Sign
I am the most indecisive person in the world. It took me forever to decide on what work to use for this sign. It's that versatile of a project! I tossed around the ideas to use Farmhouse, Gather, and Kitchen so much I finally decided I would just eventually make them all! I started out with 'Kitchen' because for pretty much the entire time we've lived in our home, I have wanted to put a sign above the sink window in my kitchen. And boy, I sure wasn't disappointed!
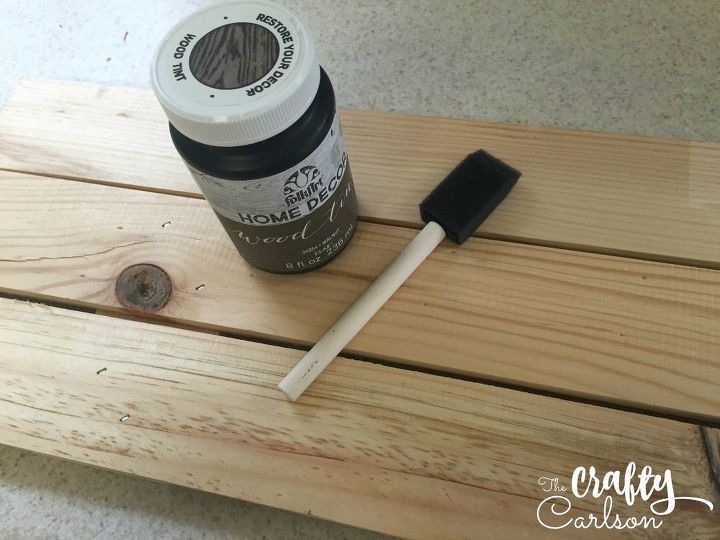
Gather up your supplies. I bought that pallet from Joann Craft and used a dark walnut color stain for the board, and a white chalkpaint for the lettering. You will also need some vinyl (pre-cut or you can use a machine if you have one), a paintbrush, and some sandpaper.
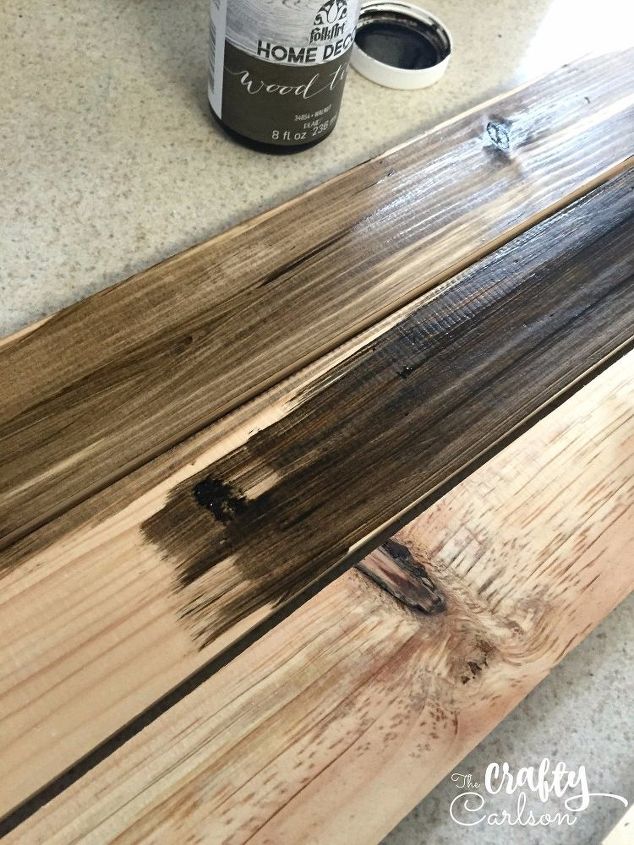
Start by staining or painting your wood. Whenever I stain wood I always start with a very thin layer, let that dry, and if I want it darker I repeat that. You can always add more, but you can't really go back if you add to much!
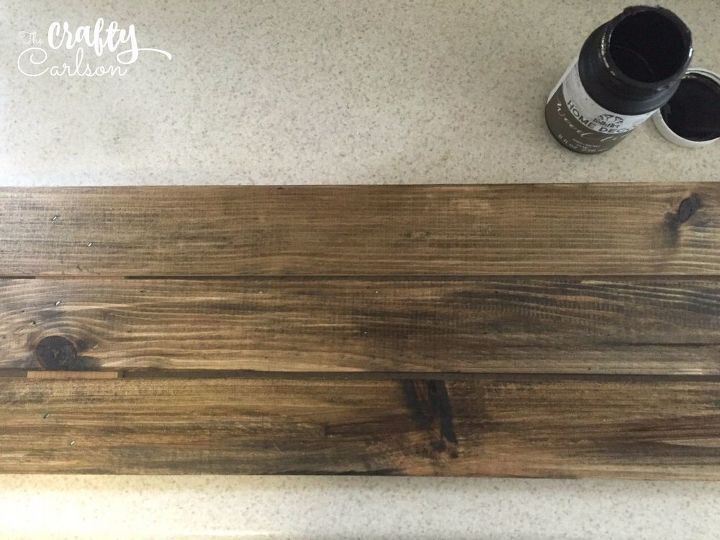
This was after two thin coats, and I loved the look of it. I wanted to keep my sign more on the rustic side. Let your board dry completely after you get it stained or painted.
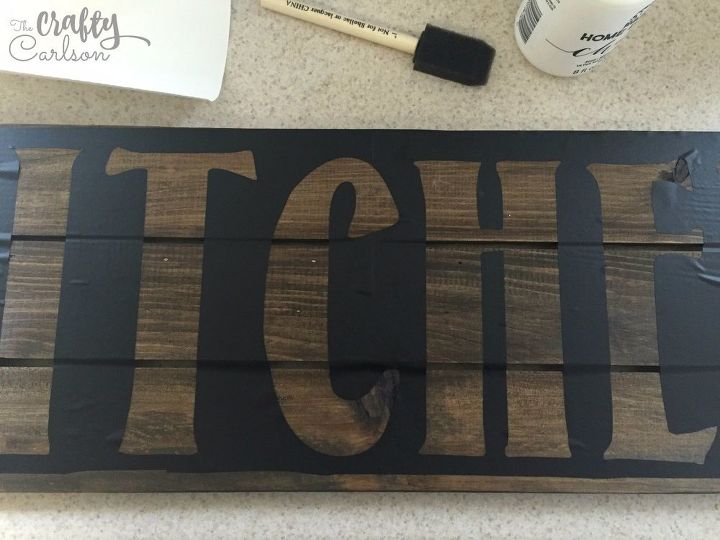
After the board is dry, you can go ahead and apply your vinyl. I used LW Classic font on my Silhouette Cameo to cut this piece. Make sure it's lined up how you like it and get a really nice smooth seal around all the edges of the letters.
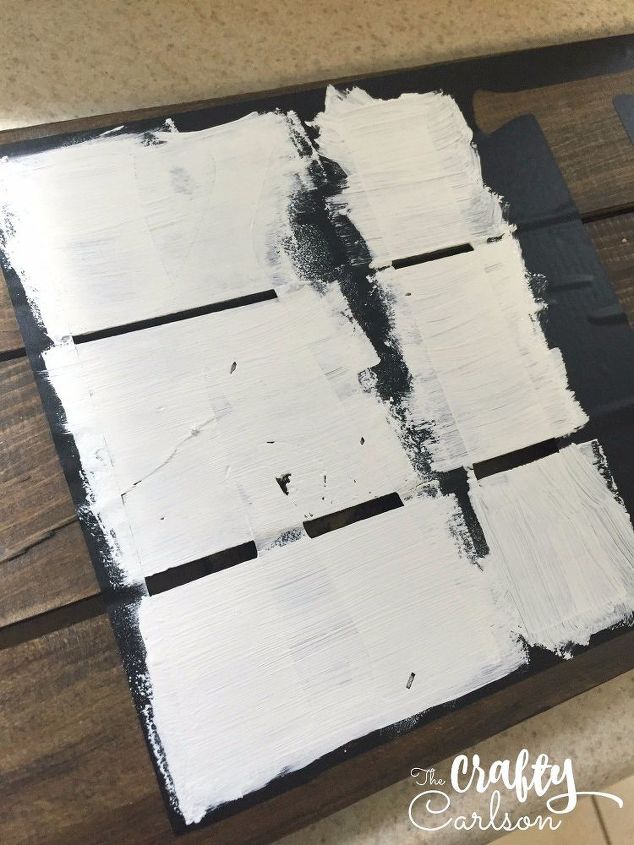
Then go ahead and paint right over the vinyl! I tried to avoid painting up against the edges so I didn't get paint under the stencil. I did one coat, let that dry, and went over it again with a second coat. Let it all dry completely, then peel that stencil up.
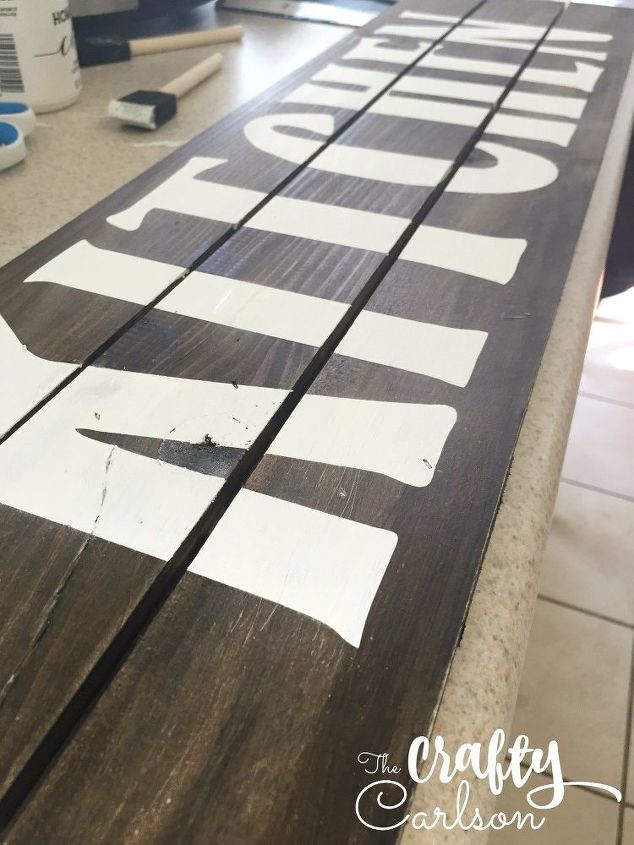
Ahh... It's so satisfying to peel away a stencil from a project! Fix up any little smears you might have after stenciling. And at this point you can either be done, or you can give a distress with the sandpaper. I did a very light distress because mine was already quite rustic looking from the stain.
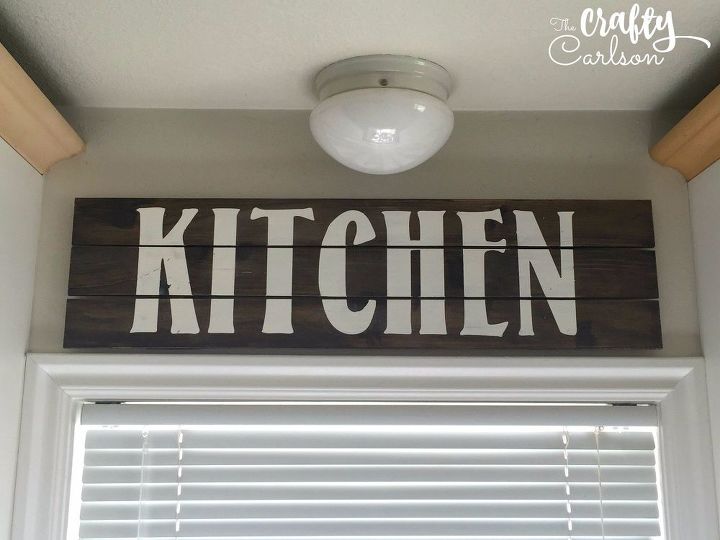
All that's left now is to hang it up! I absolutely love how this turned out. And it fit perfectly where I wanted to hang it.
Swoon....
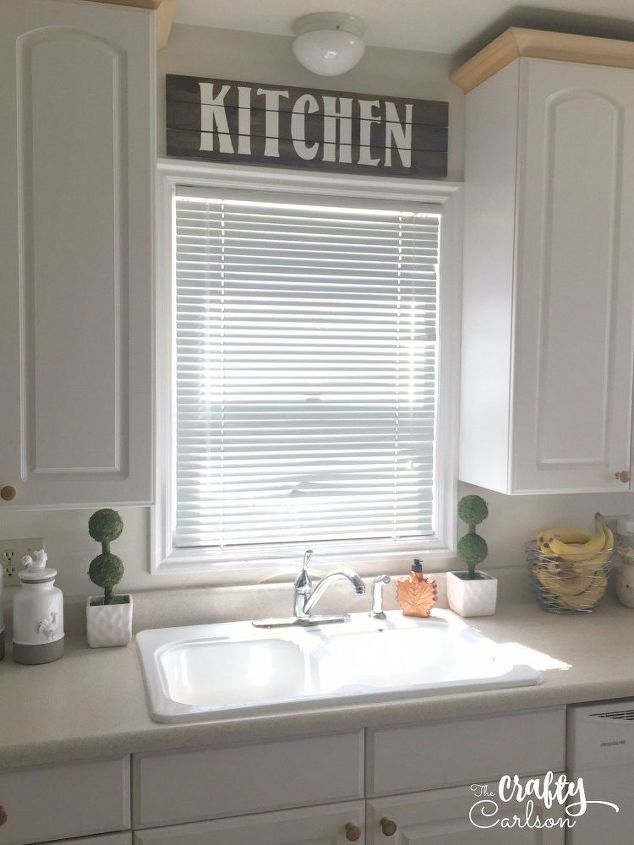
This is probably one of my favorite pieces of decor. And it was so easy! I put it together in about an hour. Win win!

Want more details about this and other DIY projects? Check out my blog post!
Comments
Join the conversation
1 comment
-
Ooo I love this! Need to make one :)


Frequently asked questions
Have a question about this project?