


HomeTalk.com & LampsPlus.com Holiday Lamp Challenge
Medium
Hey folks! I just recently participated in a lamp challenge hosted by HomeTalk.com and LampsPlus.com. Each participant was required to work with the Fillable Clear Glass Ovo Table Lamp and give it an overhaul with a holiday theme. It's beautiful lamp that is very well constructed and was a blast to transform.
Below are the pics of the progress of the challenge and some finished pictures with some more details.
Below are the pics of the progress of the challenge and some finished pictures with some more details.
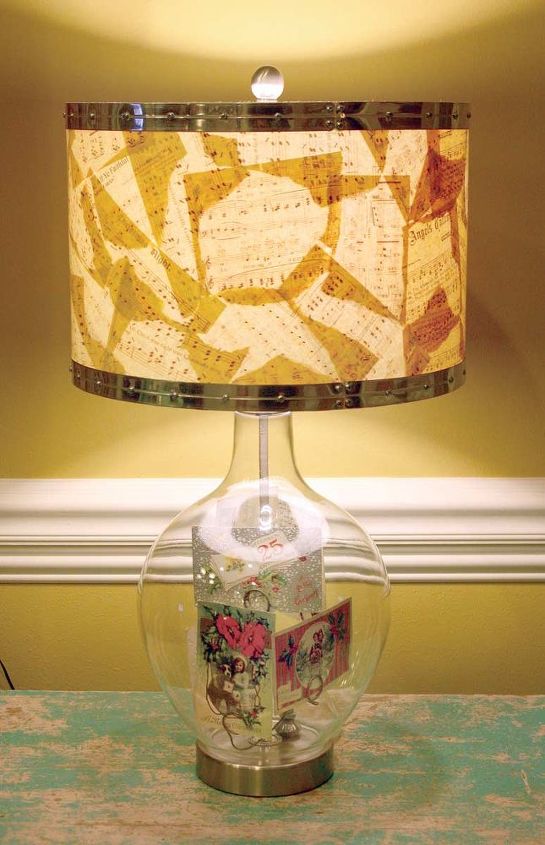
Here's the complete lamp with the light on.
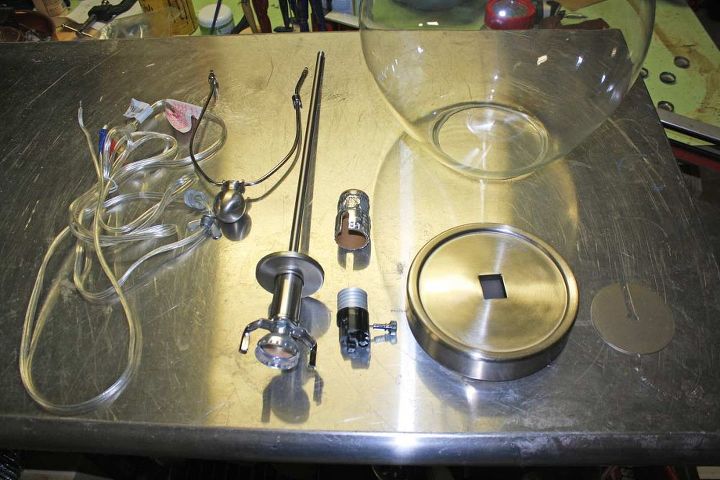
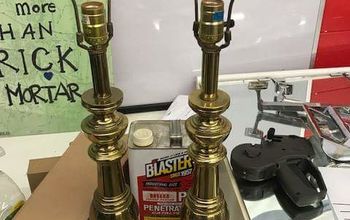
Here are all the components of the lamp before I went to work on it.
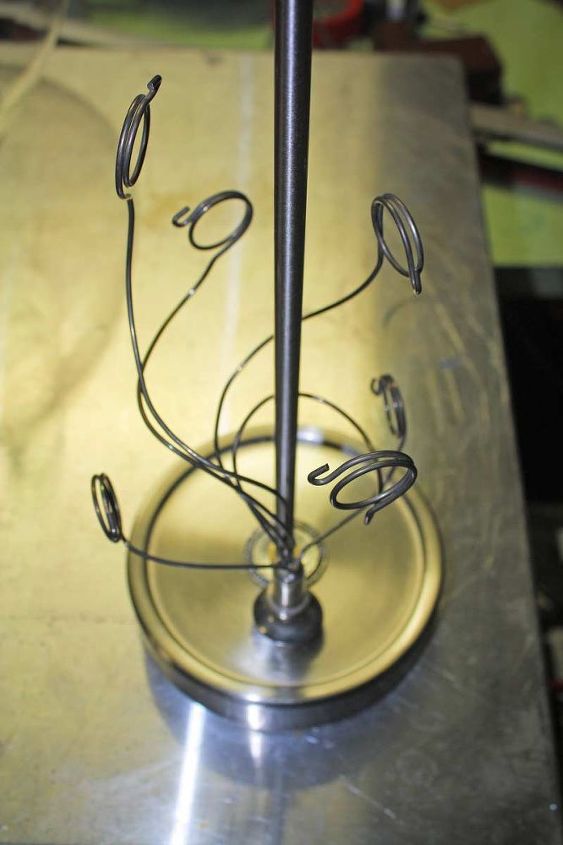
I began by altering an existing photo holder. I took apart the base of the holder and modified it to mount to the base of the lamp.
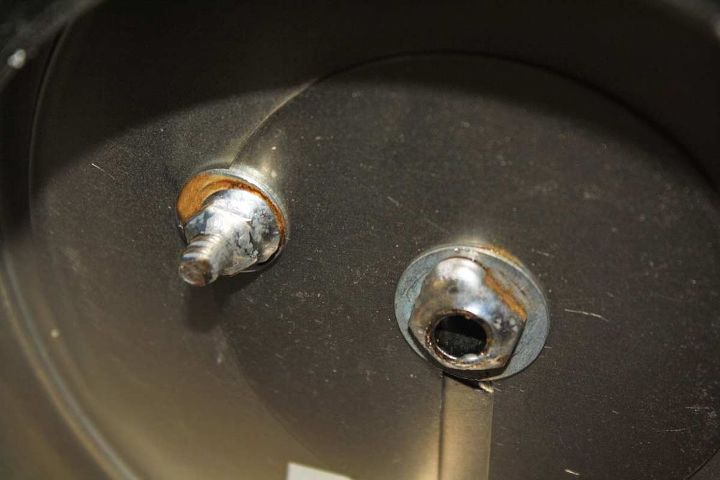
I secured it with a nut and bolt and then soldered the nut and bolt so that it would stay put. I also soldered the existing stem for the same reason.
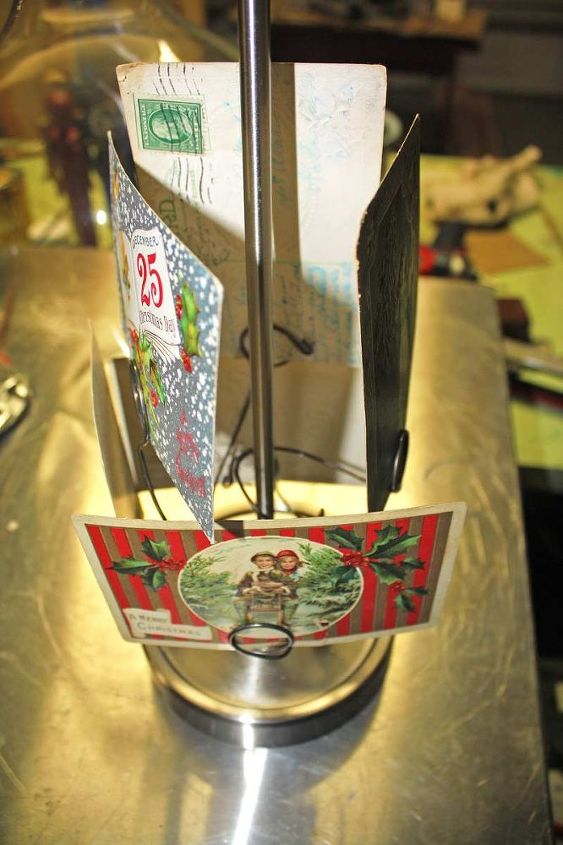
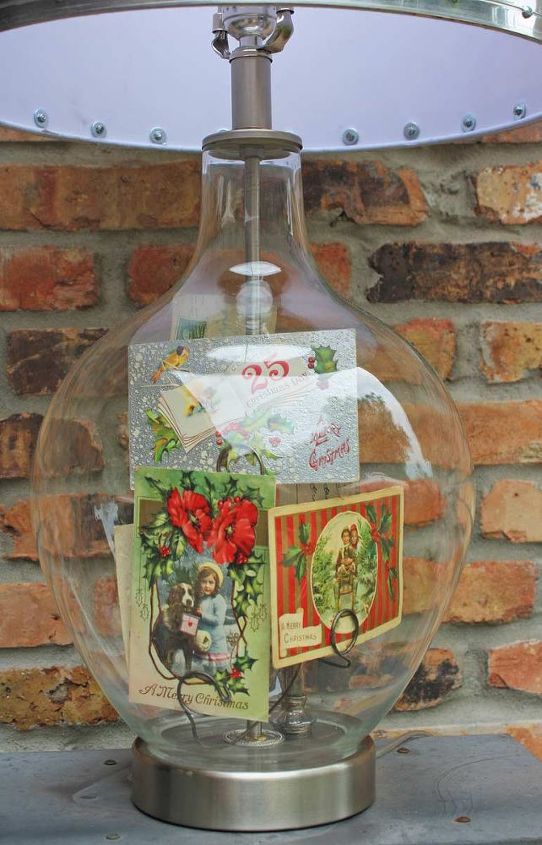
After figuring out the placement and orientation of each postcard I placed them and gave them a dab of superglue to hold them permanently in place.
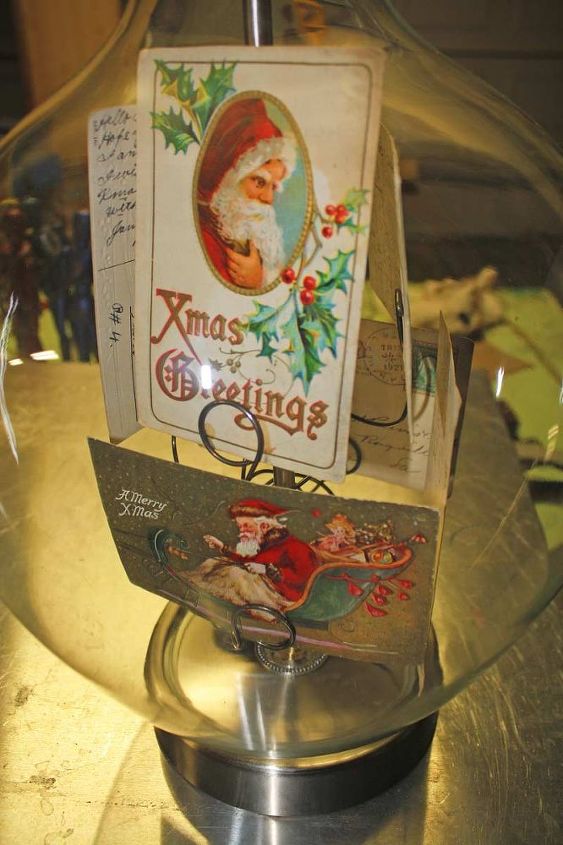
After figuring out the placement and orientation of each postcard I placed them and gave them a dab of superglue to hold them permanently in place.
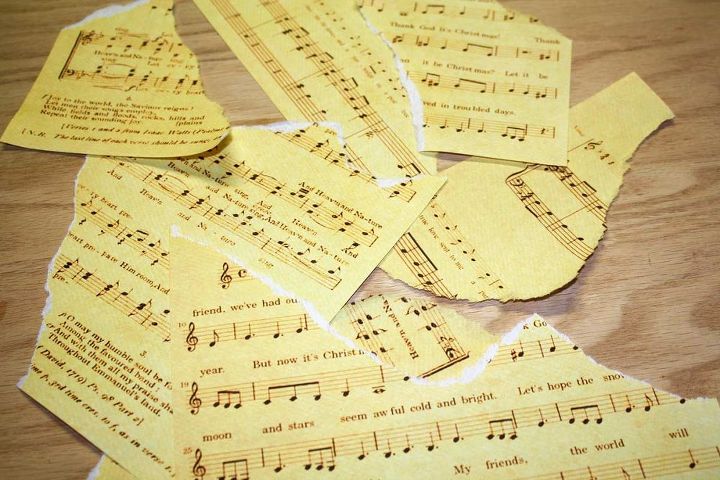
For the lamp shade I decided to go with some vintage holiday sheet music. After much shopping and hunting with no luck, I found some old scans online and printed them out.
I carefully tore several pages up for good balance with the music and the titles.
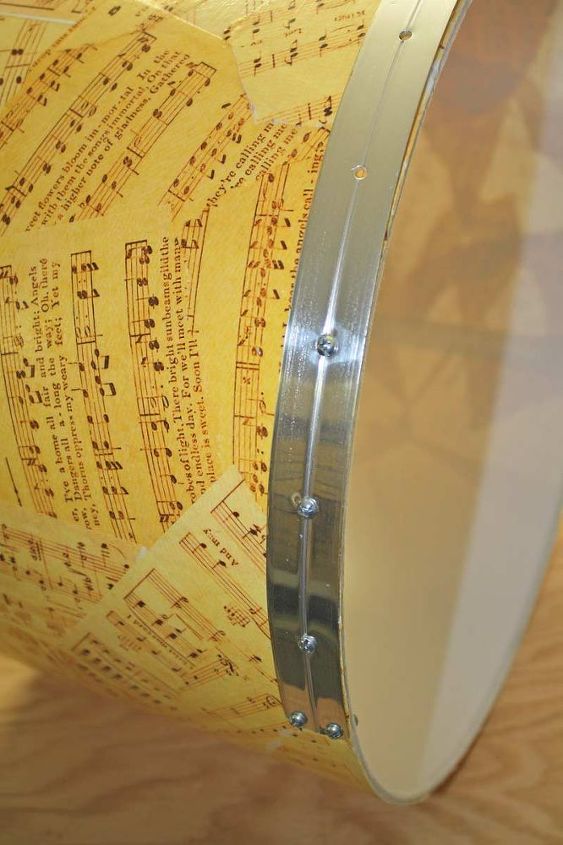
I had some new/old stock of vintage furniture metal edging trim. I created two rings and fastened them with nuts and bolts around the perimeter to keep the metal vibe of the original lamp.
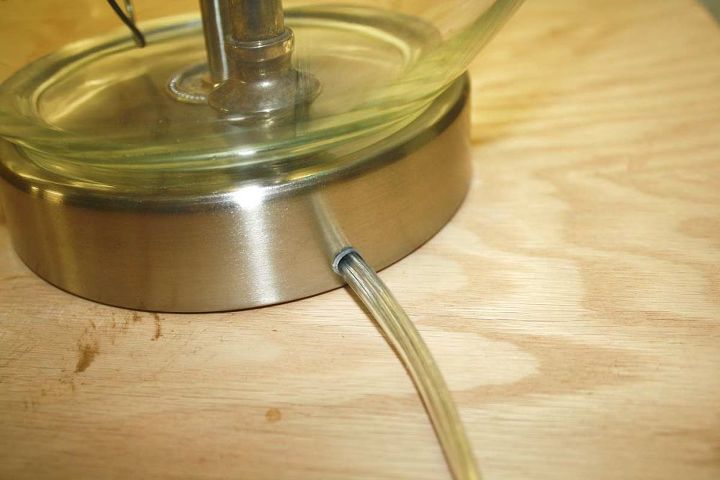
I custom cut a new hole on the side for the lamp cord to come out of and removed the little rubber feet.
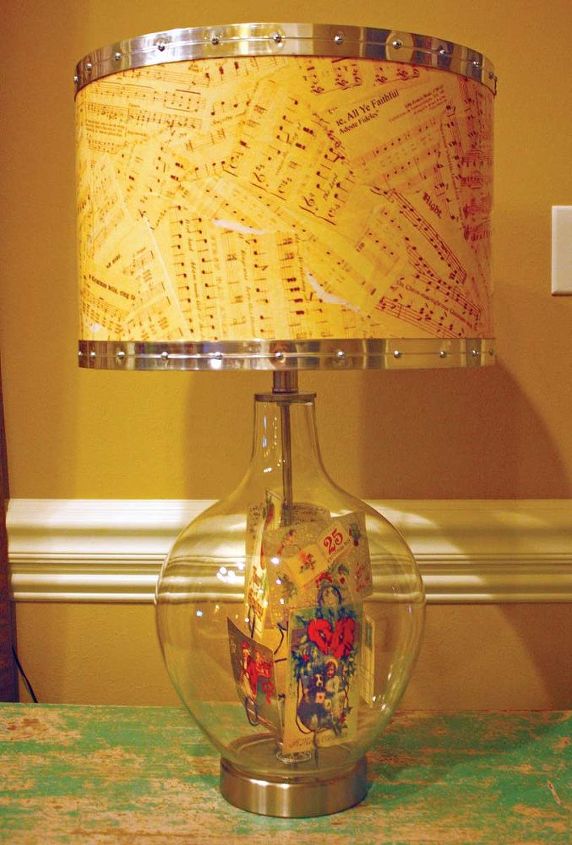
Here's the lamp finished with the light off.
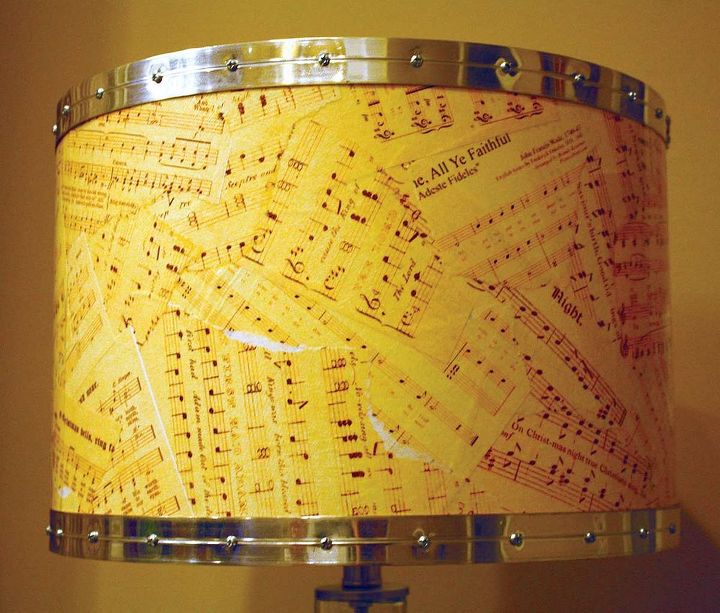
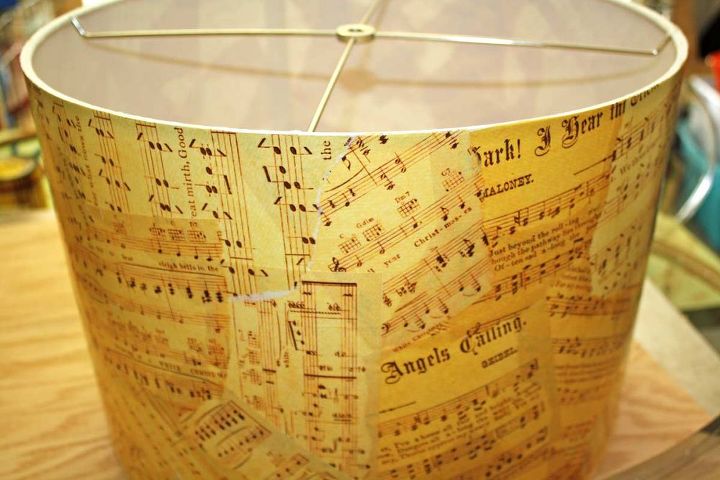
A closeup of the torn vintage sheet music prints. I decouaged them and gave it an extra coat for sturdiness and protection.
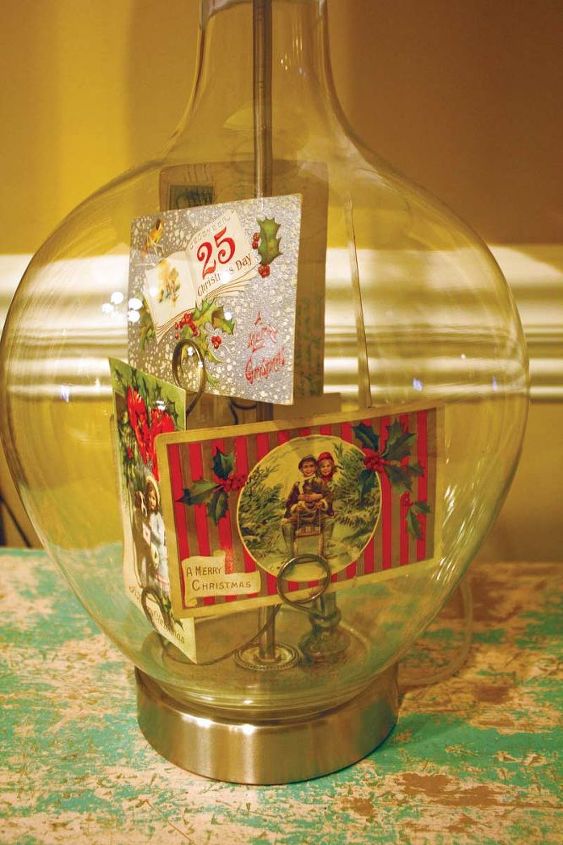
Here's a side shot of the interior postcard setup.
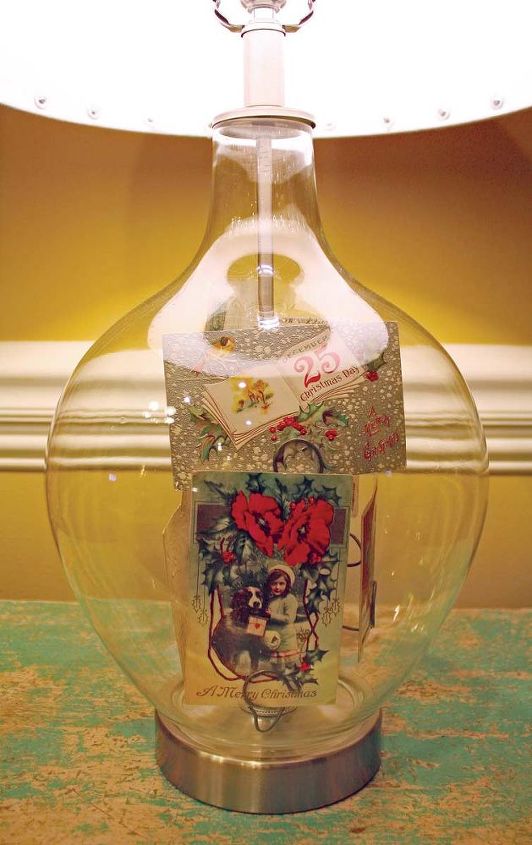
...and another.
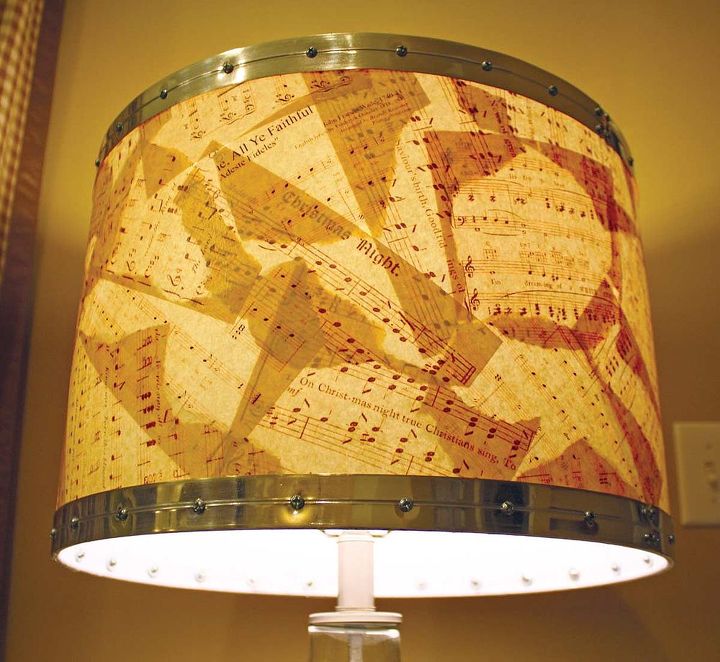
Here's the great pattern the light gives the decoupaged sheet music.
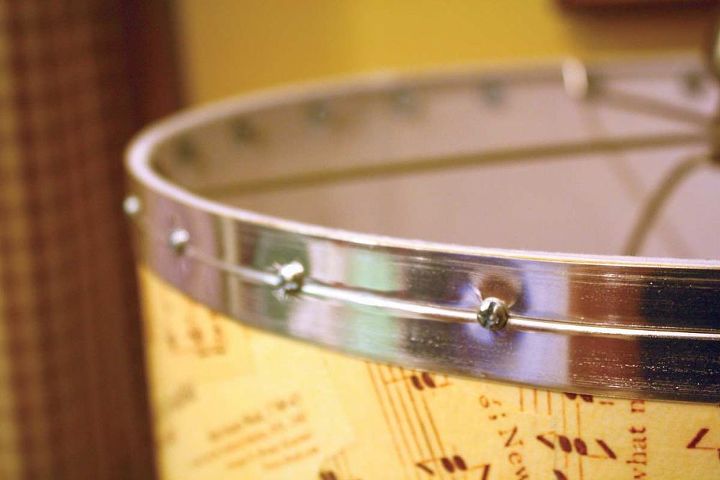
A closeup of the metal edging that I put on the top and bottom of the shade. Nuts and bolts hold them in place at every inch. The excess bolt was cut off behind the nut for a polished touch.
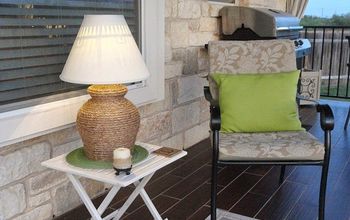
The completed lamp outdoors with natural light.

Want more details about this and other DIY projects? Check out my blog post!
Comments
Join the conversation
4 of 23 comments
-
very nice!
-
This is so beautiful!


Frequently asked questions
Have a question about this project?