


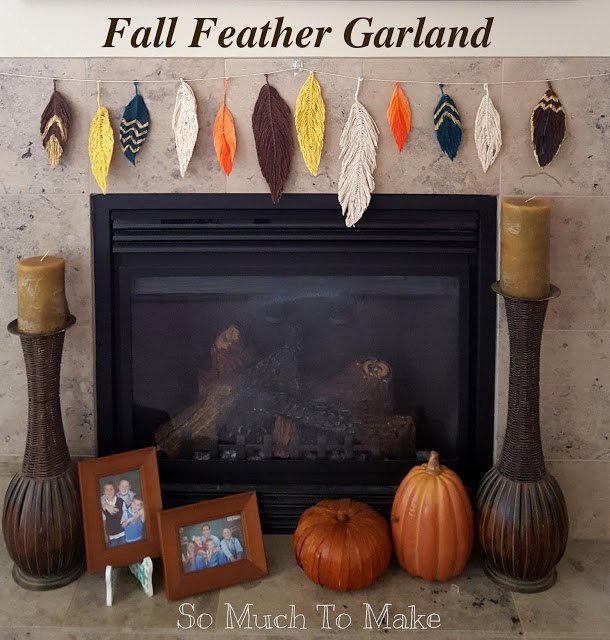
Feather Garland
6 Materials
Living in the Pacific Northwest makes saying goodbye to summertime hard. What we are really saying is "Hi, Rain. You are here for the next 5 months (at least)."
I am embracing Autumn, though, and all that comes with it. I love the colors. I love opening my blinds more often to let the (somewhat cloudy) sunshine in! My birthday is in the fall. So is Halloween and Thanksgiving! And I love decorating my house with fall decor!
After putting together a wreath for my last post, Yarn Feather Tutorial, I decided to change out my Summer Flower Garland for a Fall Feather Garland! I am loving how it turned out!
I started by making a bunch of feathers using my Fall Feather Tutorial (found here on Hometalk, or here: http://www.somuchtomake.com/2015/10/yarn-feather-tutorial.html ). I decided to trim most of the feathers, but leaving some un-trimmed also looks great.
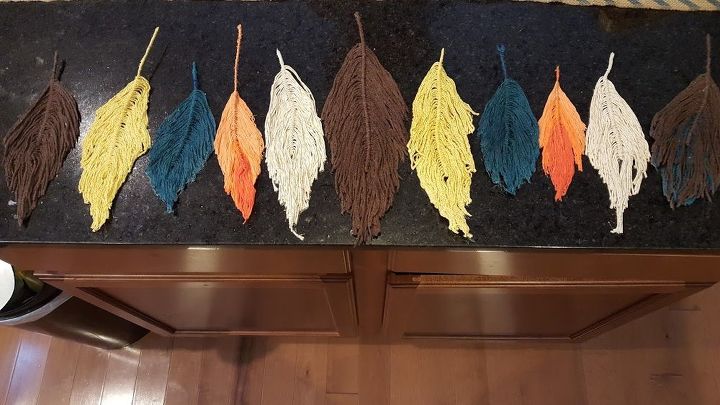
Each feather takes about 15-20 minutes. Put your feet up, put on some Netflix, and you'll have enough whipped out in no time! These represent about 2.5 hrs of work.

Here they are trimmed up. Sharp scissors are key.
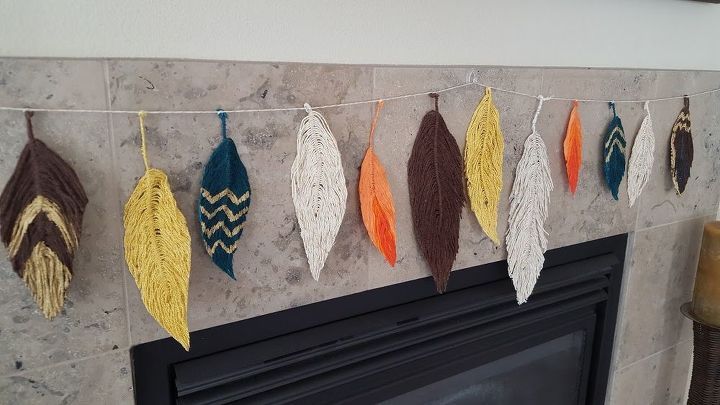
I used gold craft paint on a few, and I sprayed them with an acrylic sealer (not essential, but I'd like these to last!). Finally, I bent their stems (which are covered pipe cleaners, so they're easily bent), and attached them to some bakers twine. So easy!

Want more details about this and other DIY projects? Check out my blog post!
Comments
Join the conversation
2 comments
-
So cute! What a great technique!


Frequently asked questions
Have a question about this project?