


How to Make a DIY Fall Cornucopia For a Beautiful Tablescape

Fall is here and I love fall decorations! I know I mentioned this in a previous post, but I can't help myself. I'm not sure if I love fall decorations or Halloween decorations more, but luckily I can put them both up at the same time.
I have been wanting to make a fall cornucopia for a long time. They look so big and daunting, but this one was pretty simple and took no time at all. Plus, since it's made out of chicken wire, it was also super cheap. Check out my instructions and the video below.
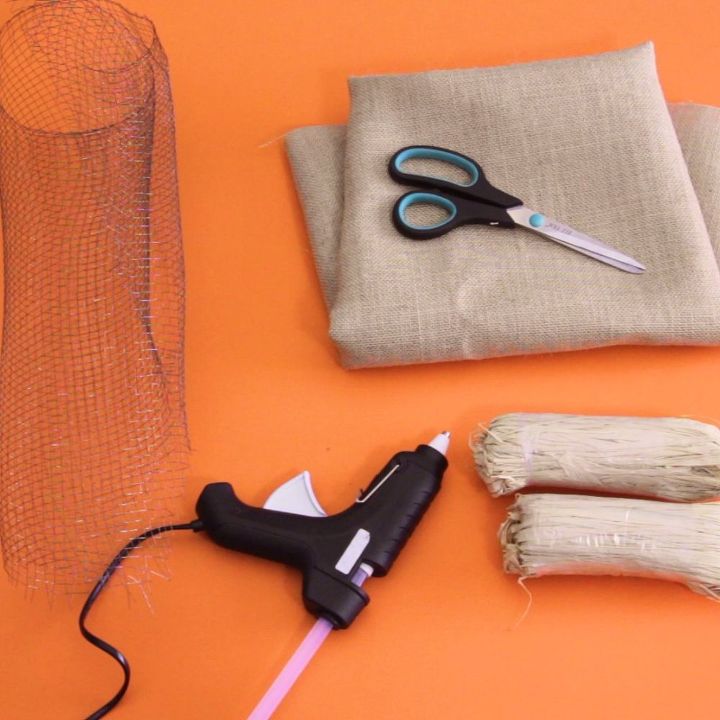
1. Gather your materials
You're going to need some chicken wire (I didn't measure how much I used but it wasn't a lot), a burlap scrap, some strands of raffia, and hot glue.
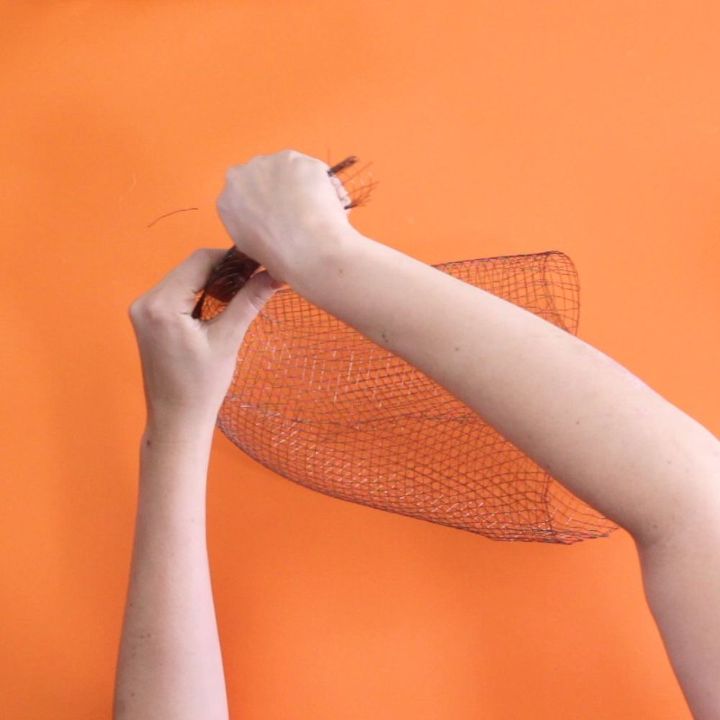
2. Shape the chicken wire
Cut your chicken wire into a big triangle; I used tin snips to do this. The base of the triangle (or the hypotenuse for all you algebra people) is going to be the opening of the cornucopia. It's best if that side isn't frayed, if it is, just push down some of the poking wire.
Shape the chicken wire by pushing the edges together. Then attach them using the frayed wire.
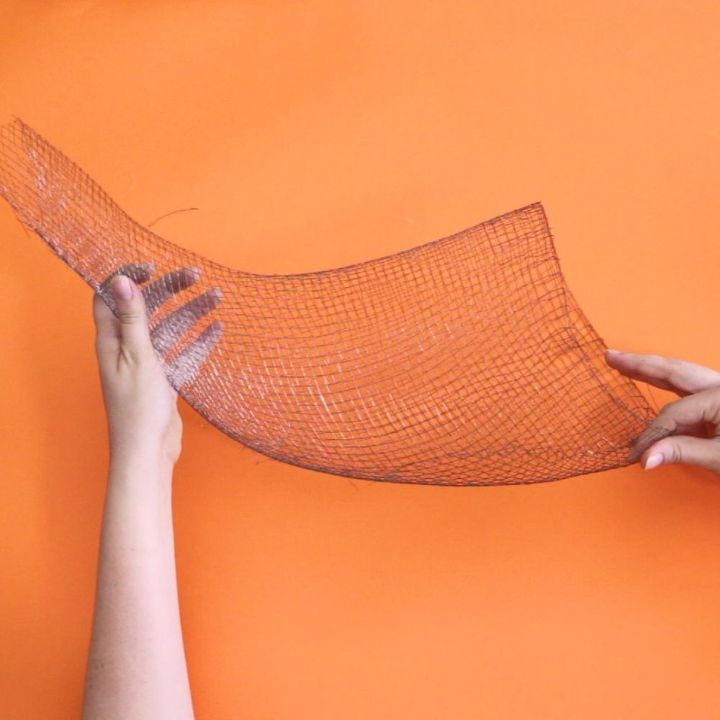
I simply pushed and squeezed the wire until it got into the shape I wanted. This sounds harder than it was. It was actually quite easy, and I didn't hurt myself at all. But if you're afraid of poking yourself, use a pair of gloves.
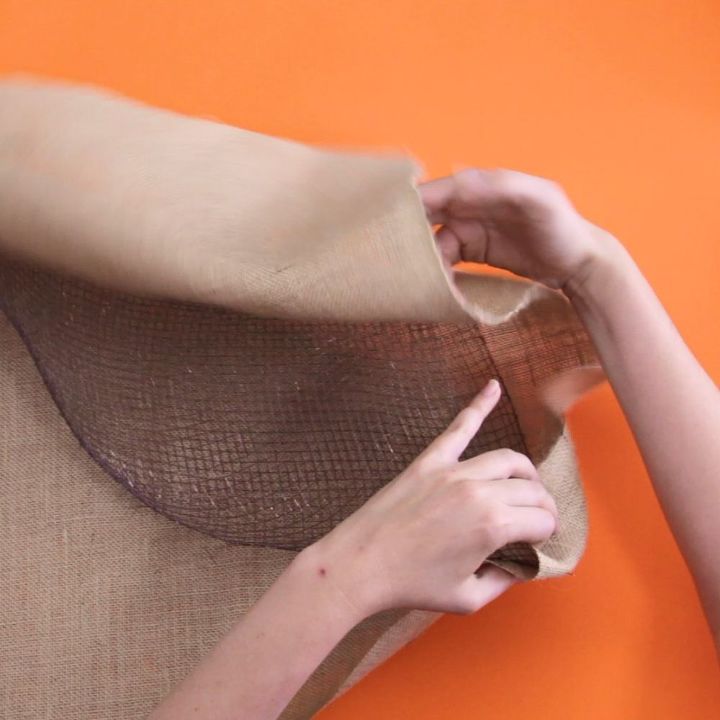
3. Cover the frame
I wrapped the frame with a piece of burlap. I trimmed the burlap as I wrapped it. You might need more or less depending on the size of your cornucopia.
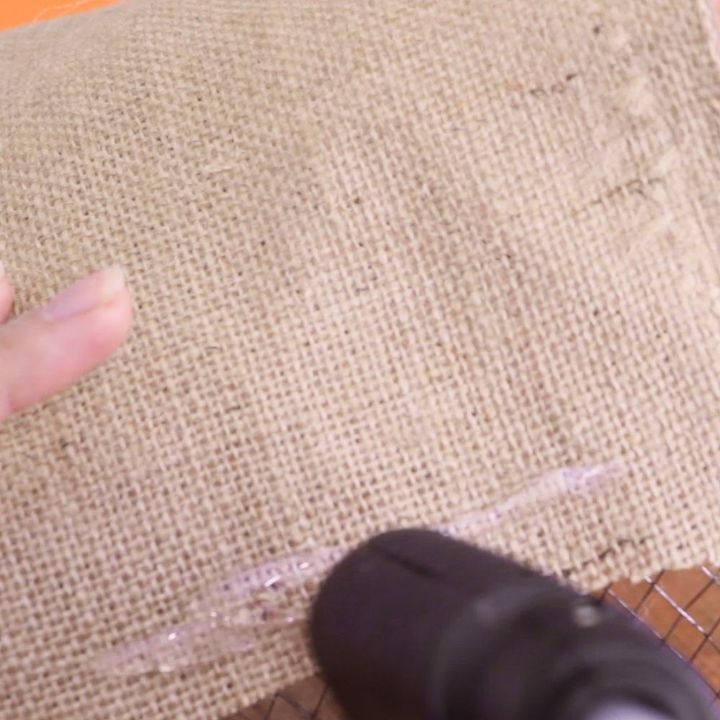
Next, I glued it down with hot glue. Be careful not to burn yourself, and don’t worry about getting this to fit well. The burlap is like a loose dress, and the raffia acts like a cinching belt in all the right places.
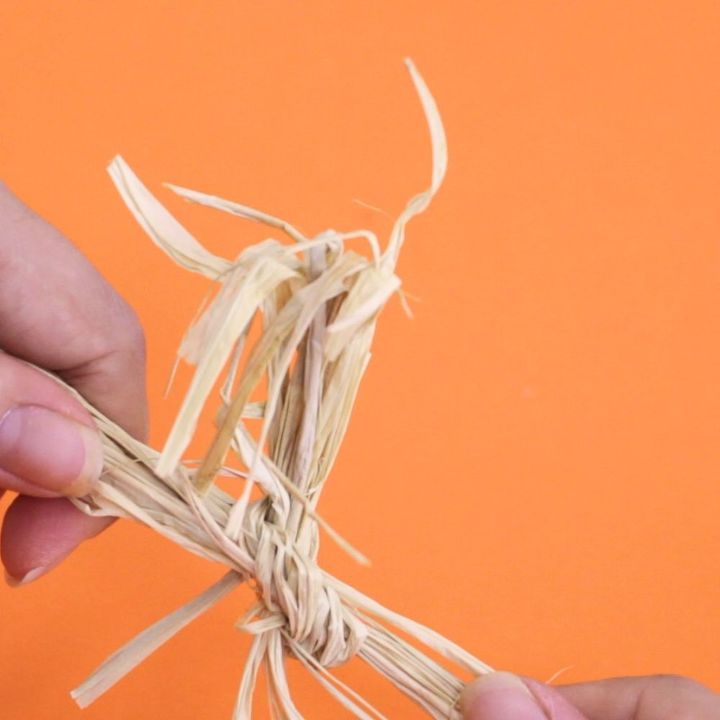
4. Prepare the raffia
I tied my raffia pieces together in small bunches in order to make it easier to cover the frame. Don’t worry about pieces sticking out, because you can trim those off at the end.
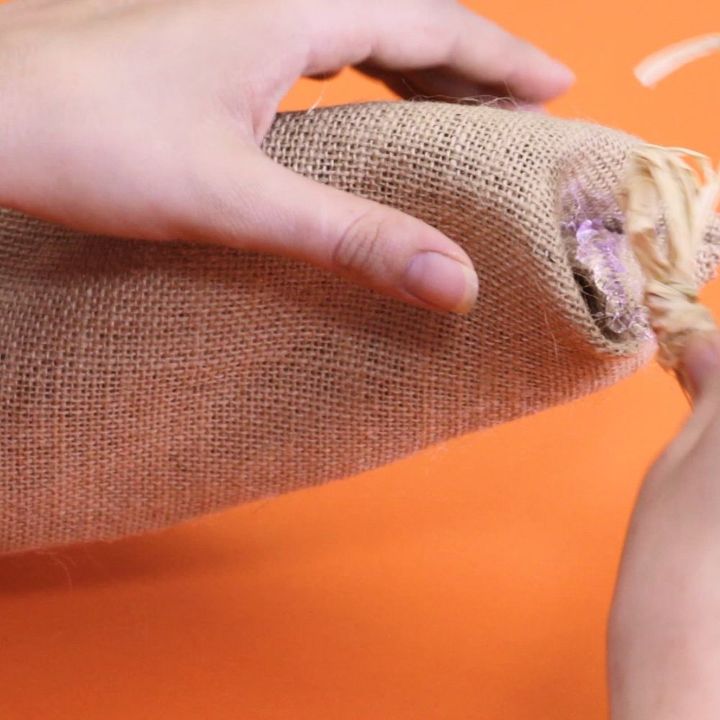
5. Attach the raffia
I started at the top and used hot glue to attach the raffia to the top of my cornucopia.
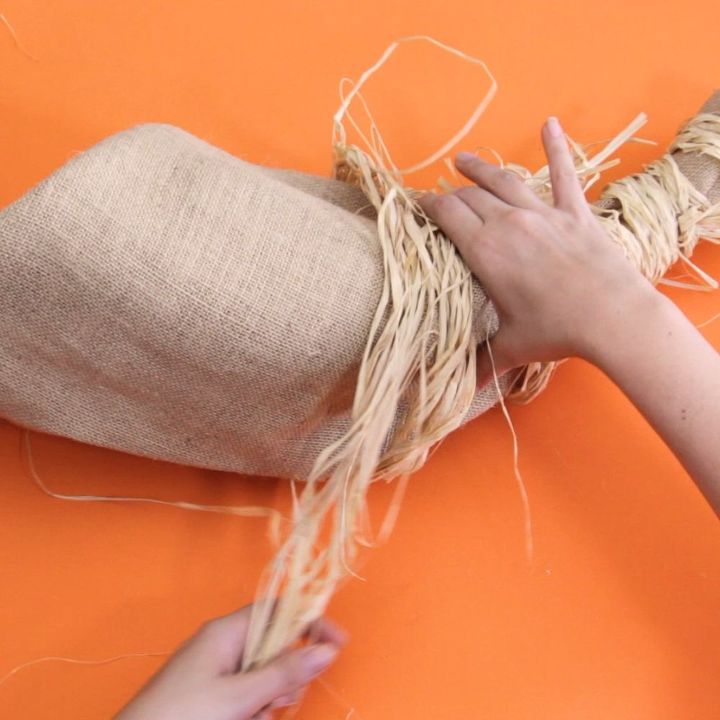
As I wrapped the raffia around the cornucopia, I glued it down every few inches, just to keep it from moving around. I didn’t worry about covering every inch of it. You can do that if you want, but I liked the burlap peeking through.
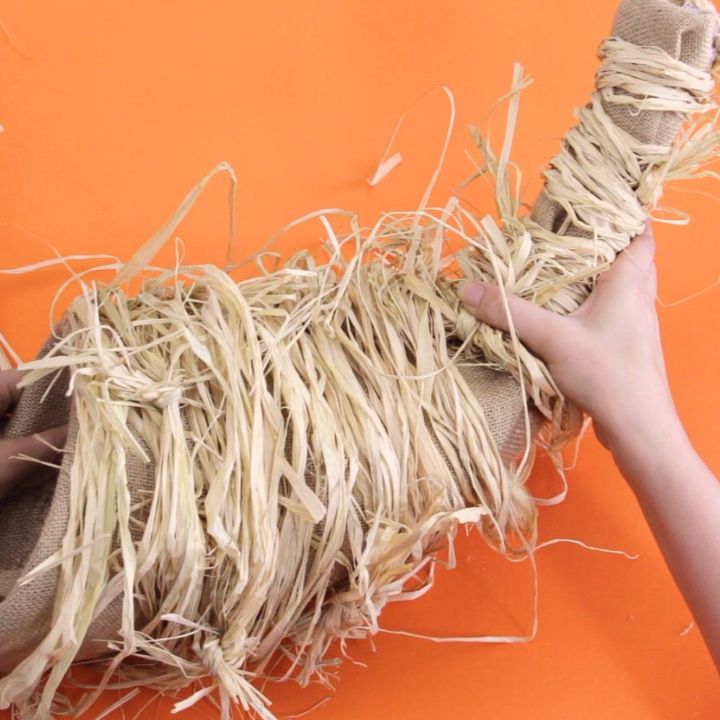
Afterward, I used scissors to trim off any bits that were really sticking out to make it look nicer.
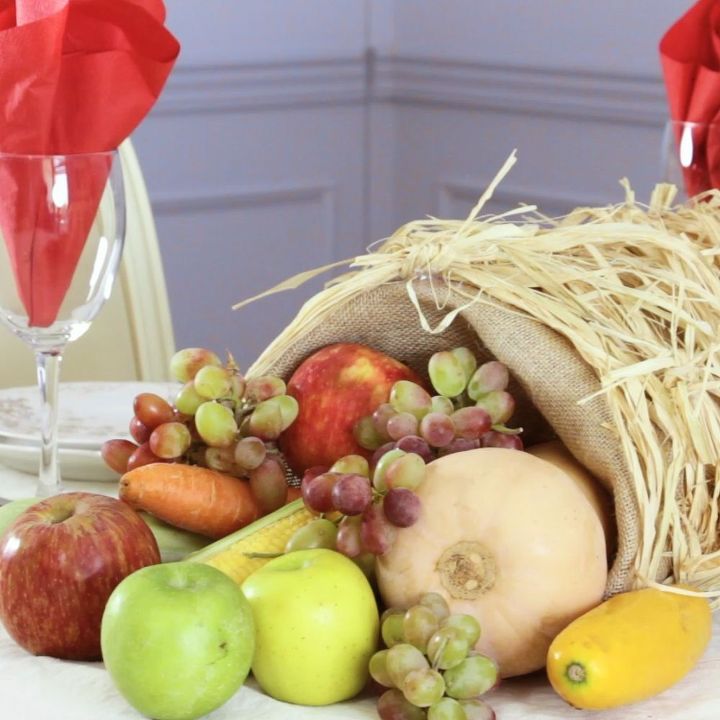
DIY fall cornucopia
That it! You're done. See? I told you it would take no time at all, and look at how stunning that centerpiece is! I'm definitely going to use this at our Thanksgiving meal, but first I'm going to use it for a fall tablescape (and I'll probably make it work for Halloween, too).
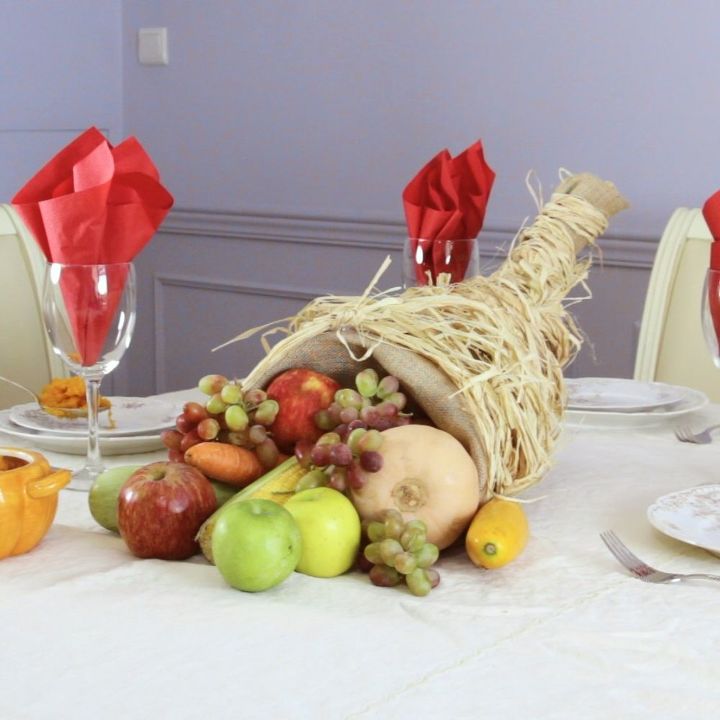
Here’s it from another angle.
DIY fall centerpiece ideas
Comments
Join the conversation
-
Stunning, thanks you so much for sharing the easy Fall Cornucopia and video too
-
Looks very festive...HAPPY HOLIDAYS TO ALL AND MAY WE HAVE SAFE, PEACEFUL, HOLIDAYS!


Frequently asked questions
Have a question about this project?
Where did you find that chicken wire?