


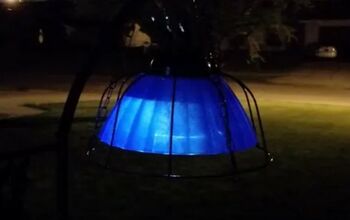
DIY Modern Industrial Hanging Light
When we converted our old guest room into my husband's office I gave him free reign over the style and decor in the room. First off, he insisted on getting rid of the old boob light so we set to work on designing and building a modern industrial hanging light. See the full blog post for more photos and details on how to do it here!
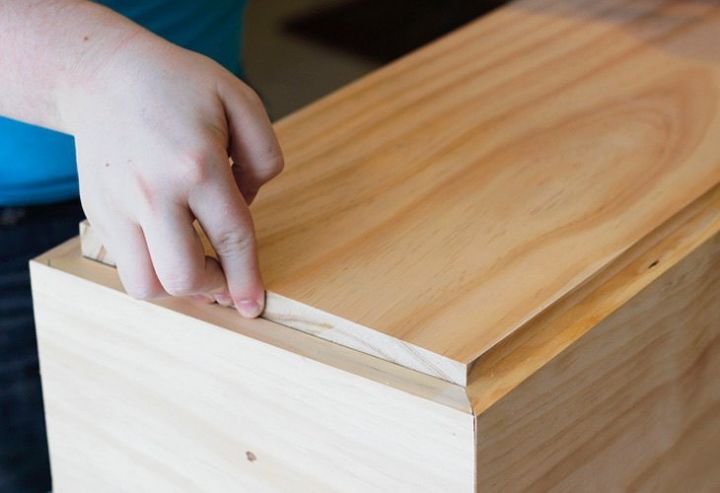
Start by cutting all your boards to size with 45 degree angles to create a box where the old light unit can fit inside. Cut one more board to fit into the bottom of your box as shown above. Use a micropinner or nails to attach all the boards together.

Once you have your box put together, you can decide where you want your slats. Use a table saw to cut grooves throughout your box to allow light to peek out.
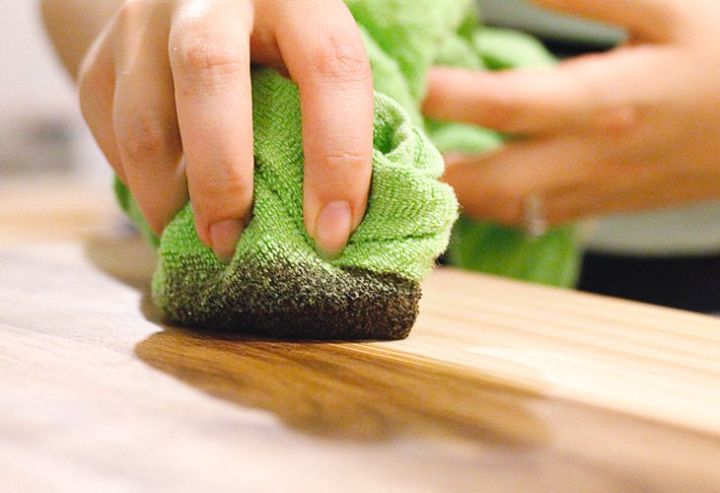
Next, it's time to stain your wood box.
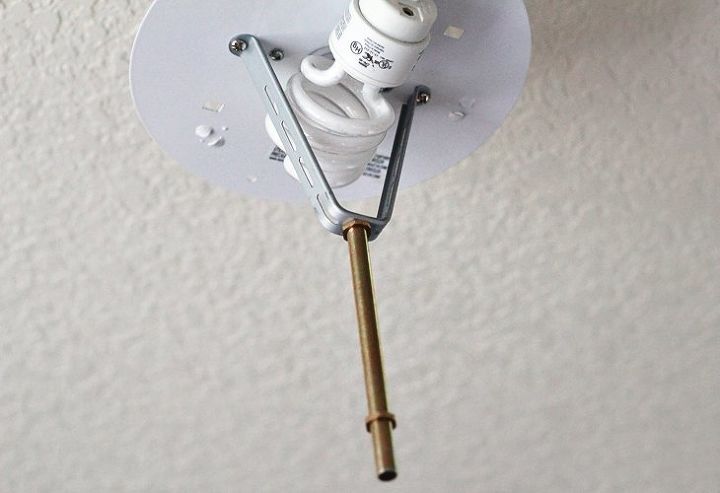
You'll need to drill a hole through the center of the base of your box for the 6" nipple to go through. Depending on your current light fixture you can use a nipple, nuts, and a light finial to attach your new hanging light fixture to the old light fixture.
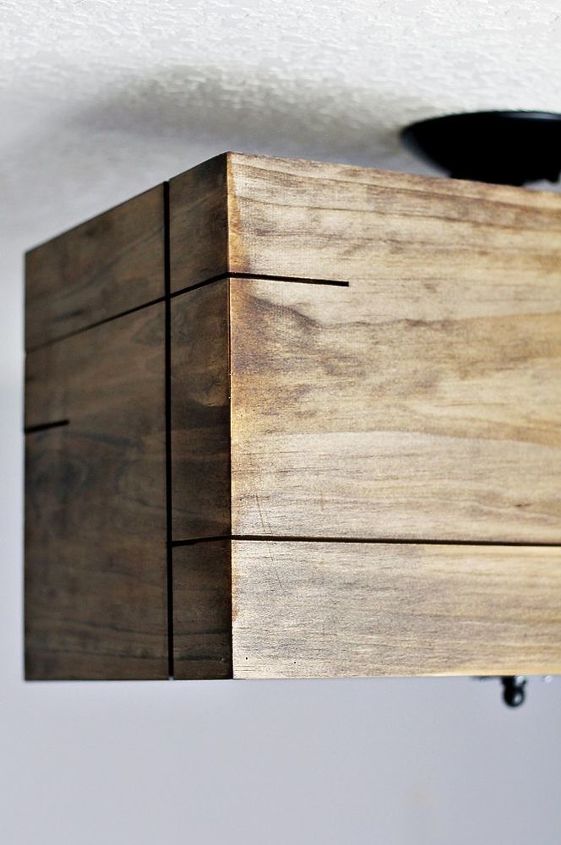
And that's all there is to it! Hang up your gorgeous new light fixture and enjoy! You can see the full tutorial with cut details and lots more photos on the full blog post on my blog, A Crafted Passion.

Want more details about this and other DIY projects? Check out my blog post!


Frequently asked questions
Have a question about this project?