


DIY- Barn Wood Rustic Coffee Table W/ Pioneer Wood Patina
by
Paul
7 Materials
$100
2 Days
Medium
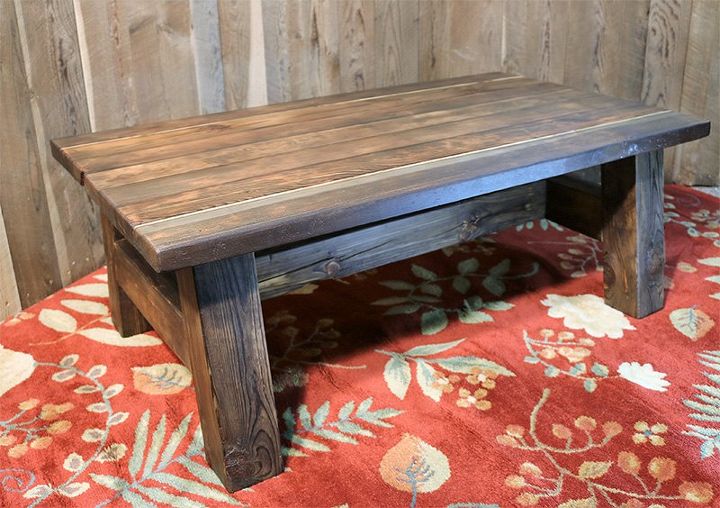
Learn to make your own inexpensive barnwood and put it to use. This is a rustic coffee table that you can build yourself.
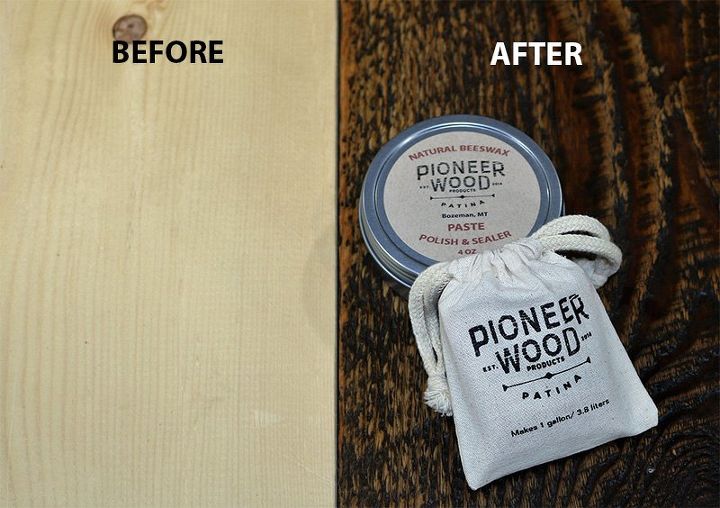
Hello, my name is Paul Clair. I founded Pioneer Wood Patina, a safe, water based powder concentrate which, when applied to new wood gives it an old wood or barn wood look. To illustrate how easy our products are to use, I have created this DIY project. In addition to giving new wood the barn wood look, it can also be used to touch up old barn wood where the patina has been sanded off as well.
We have had the same coffee table in the middle of our living room for over twelve years. Time for a change, right? I have been a builder of rustic timber frame and log homes as well as furniture for years and happened to have some barn wood left over to work with. One of the problems you encounter when working with barn wood is that often times the rich patina gets sanded off of the wood in order to get the texture smooth enough to use as furniture. Pioneer Wood Patina provides a great solution to this problem. We simply sand the wood, cut and build the furniture, then apply the patina for a uniform finish.
This is a fun and moderate skill level project so let’s get started.
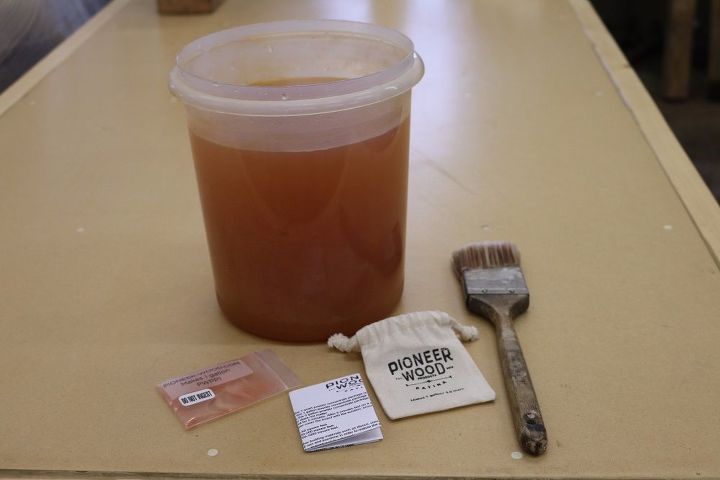
Step 1- Grab some Pioneer Wood Patina and Pioneer Wood Patina-Natural Beeswax Paste to use a sealer for the coffee table once you are finished. Check with your local paint and hardware store to see if they carry it. If they do not carry it, let them know that they should. Then, go to PIONEER-WOOD.COM and check the store finder to see who stocks it closest to you. You can also order on our website or through companies such as Rockler Woodworking and Supplies. It is available in 1 quart, 1 gallon and 5 gallon concentrates.
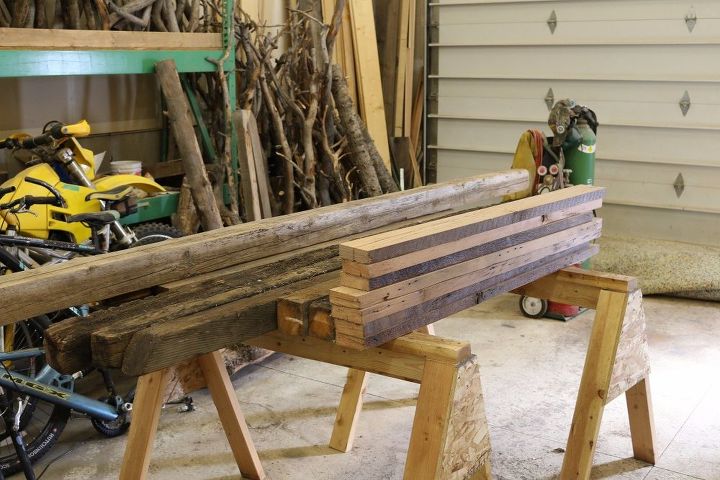
Step 2- Pick your lumber. For this coffee table we happened to have real barn wood. However, you can use any lumber as Pioneer Wood Patina will turn any wood into barn wood. So, you could use any old lumber behind the garage or just run down to the lumber yard and purchase new wood. The patina will work on any wood species but keep in mind that pine will need to go outside and get some UV light in order to have decent results.
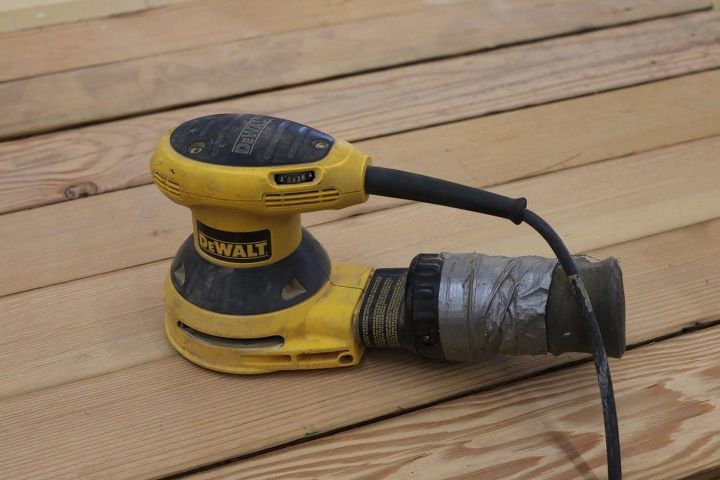
Step 3- Sand the lumber. Our 4x4’s were pretty rough so I started with 100 grit sandpaper, then went to 150 grit and finished up with 240 grit. 240 grit is pretty fine for barn wood, however, it gives a really nice finish when done. Personally, I really like that smooth finish so I don’t mind spending the extra time sanding to achieve it. I typically use a standard 5 inch orbital sander. They are inexpensive ($80.00) and do a great job.
Step 4- Cut and glue the top. I use a miter saw and because I own one. You could also use a miter box with a handsaw if needed. Cut the table top pieces to length but leave them a couple inches long so that you can cut the top to length all at once as soon as the top is dry. I cut these to around 50 inches but you can modify the length to your own needs.
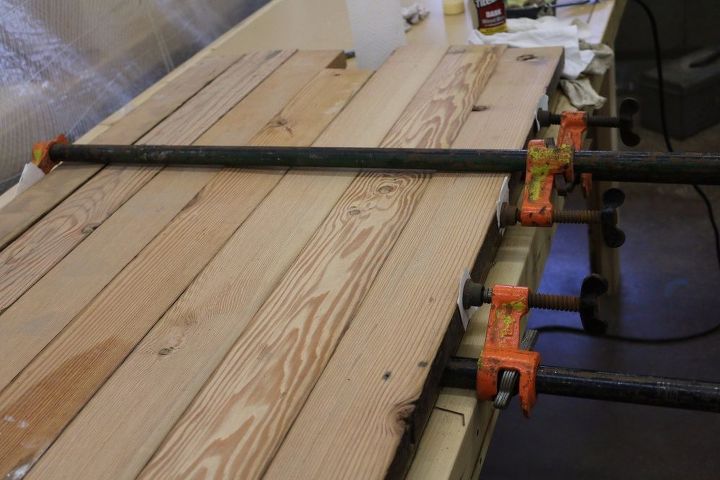
Step 5- Cut and assemble the base and attach the top. Cut the 4@ 4x4 legs to 10 degrees on each end and 16 inches measuring from the long point on one end to the short point on the other end.

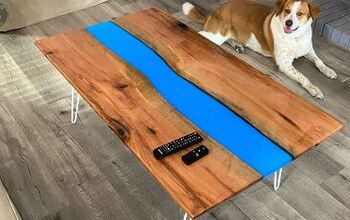
Picture taken 12 hrs after patina applied.
Step 6- Mix the Pioneer Wood Patina with water and apply with a brush or sprayer. We like to use those garden pump up sprayers quite a bit as they and inexpensive ($25.00) and easy to clean. For this table I let the patina mature for around 12 hours to get a nice even look across the whole coffee table. I then lightly sanded it to let a bit of the natural character of the wood come through.
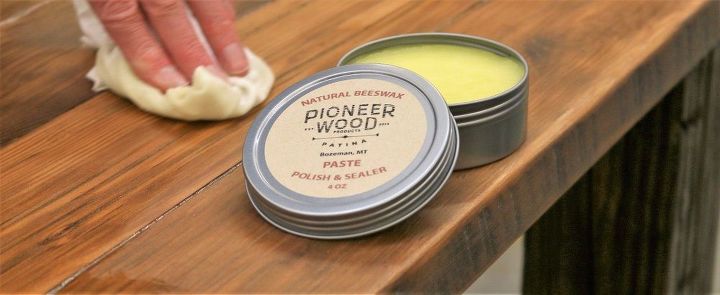
Step 7- Now it’s time to put the Pioneer Wood Patina- Natural Beeswax Paste on. This product is very forgiving and easy to use. Also, all of the ingredients in it are food grade making it a great choice for most woodworking projects such as cutting boards and butchers blocks as well as wood turnings, furniture and cabinets. Simply make sure the wood is dust free and rub the paste on the wood with a clean rag in the direction of the grain. Wait around 20 minutes and wipe off the excess. Apply another coat as needed. This table took three coats to get a nice rich finish. Once dry, around 12 hours, buff with a clean cloth to the desired gloss you are after.
All done!! Kick your feet up and enjoy the fruits of your labor.
{
"id": "3569506",
"alt": "",
"title": "",
"video_link": "https://www.youtube.com/embed/CojPkRe6wwQ",
"youtube_video_id": "CojPkRe6wwQ"
}
{
"width": 634,
"height": 357,
"showRelated": true
}
Want more details about this and other DIY projects? Check out my blog post!
Comments
Join the conversation
1 comment
-
Be the first to comment????...........GLADLY!! I can't say enough about your carpentry.......this a a strong,, sturdy table with strength and style......LOVE it!!! It has its own character!!!


Frequently asked questions
Have a question about this project?