


Coffee Filter Pumpkins

by
Holly Grace
Hey, Everybody! In case you haven’t checked out my blog, every Tuesday, I am going to tackle a project that I have pinned and have yet to complete! In an effort to do the beautiful projects that I have been putting off. I know today is Wednesday, but I just had to share my Tackle Me Tuesday from yesterday! :)
I came across these cute little pumpkins on the blog, Me Making Do. Here is their project:
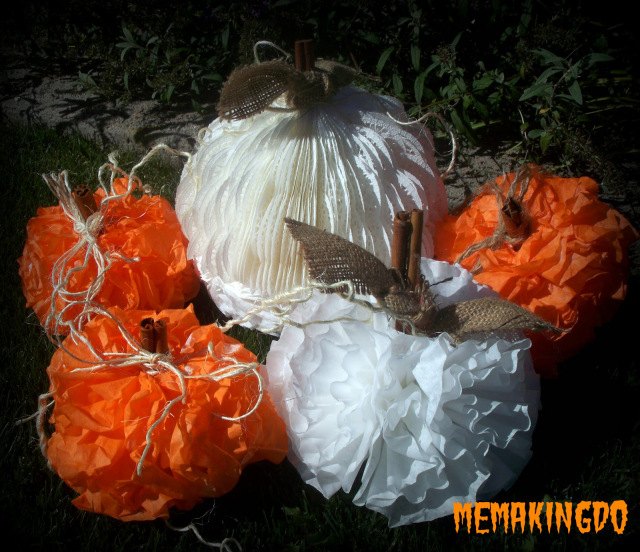
Cute, right?
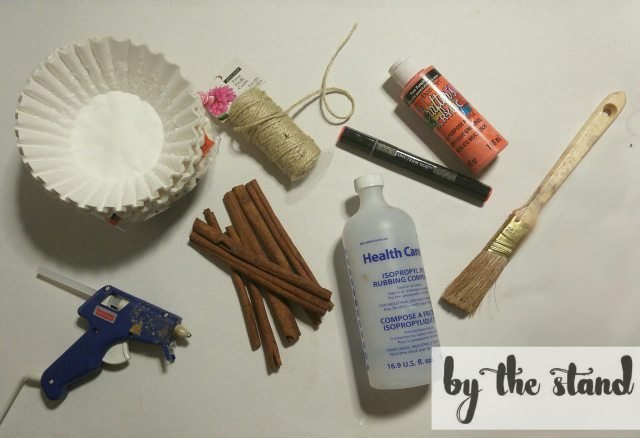
Coffee Filters

Easy so far…
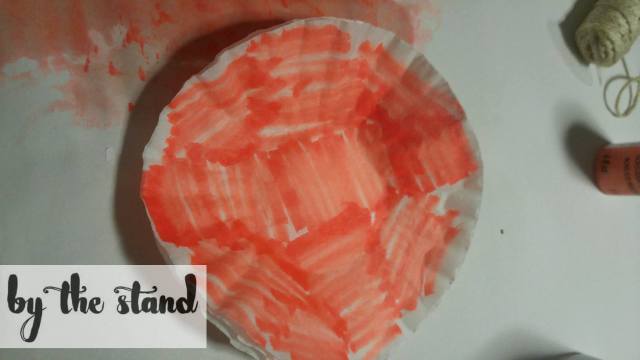
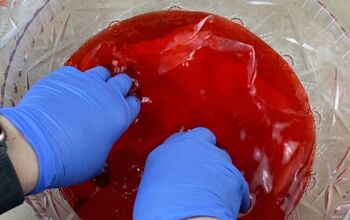
So I colored the coffee filter first, and then I filled a bowl with rubbing alcohol and then submerged the coffee filter in the rubbing alcohol.
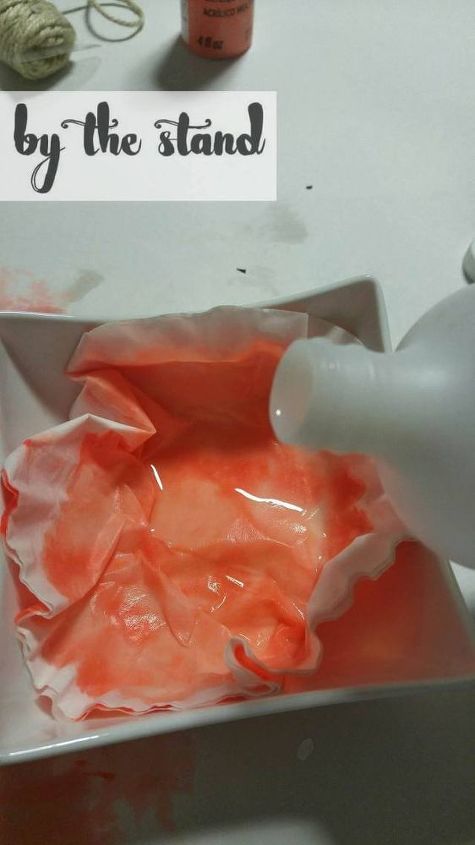
I kept about three coffee filters together to see if I could get the ink to run onto the others.
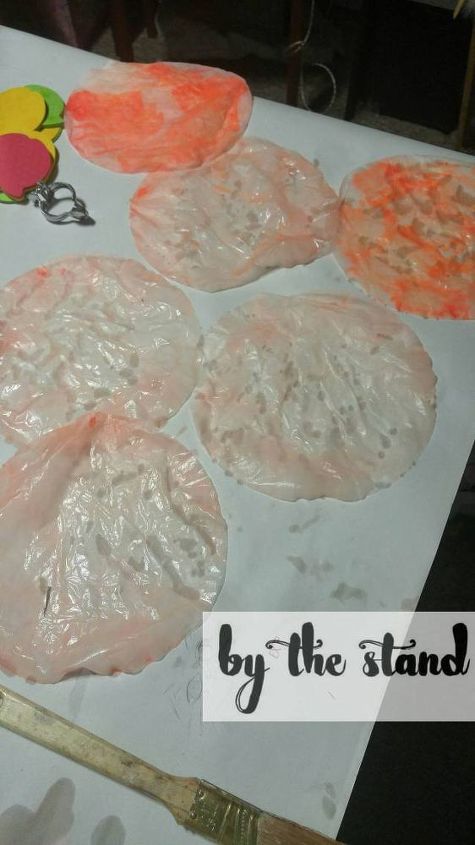
The coffee filters weren’t vibrant enough. Oh, well. Live and learn.
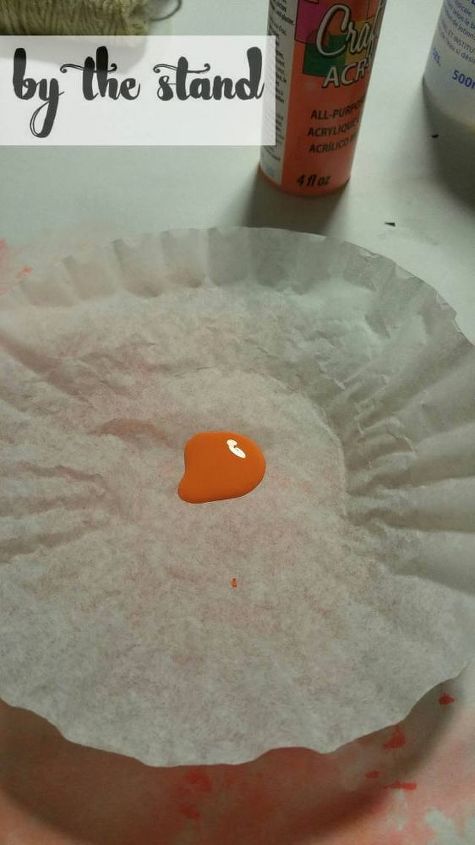
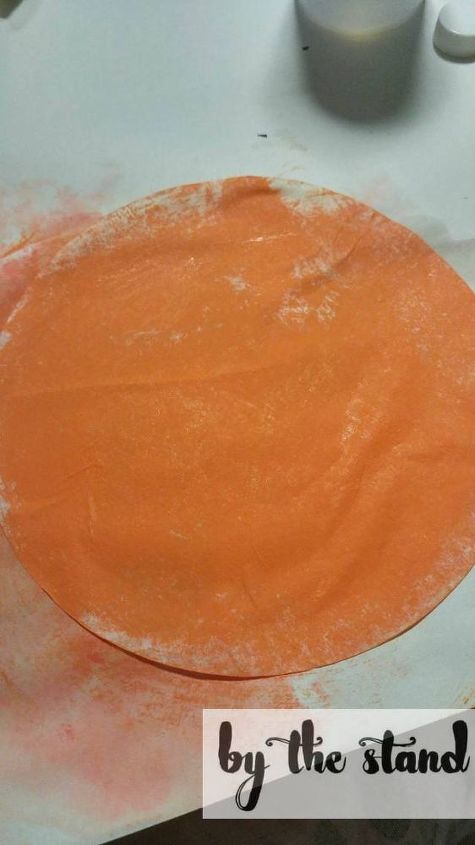
I used a craft acrylic paint in the shade Pure Pumpkin.
Once the coffee filters had dried, I could start putting my pumpkins together. I followed the instructions from Heather’s tutorial. It is super easy! You take your coffee filters and bunch them all up and then taking one filter twist and pinch the middle.
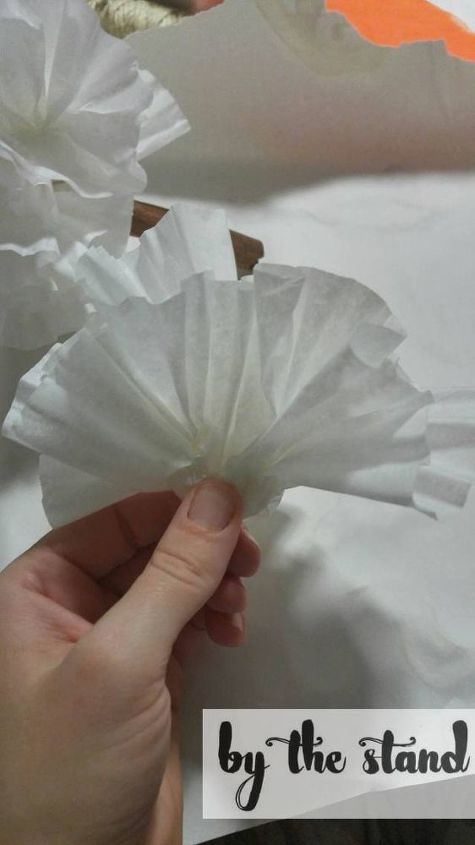
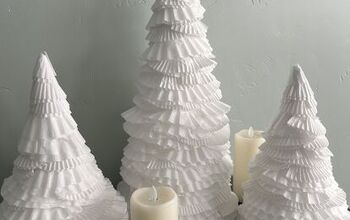
Note that I also made a white one, too. White pumpkins are all the rage!
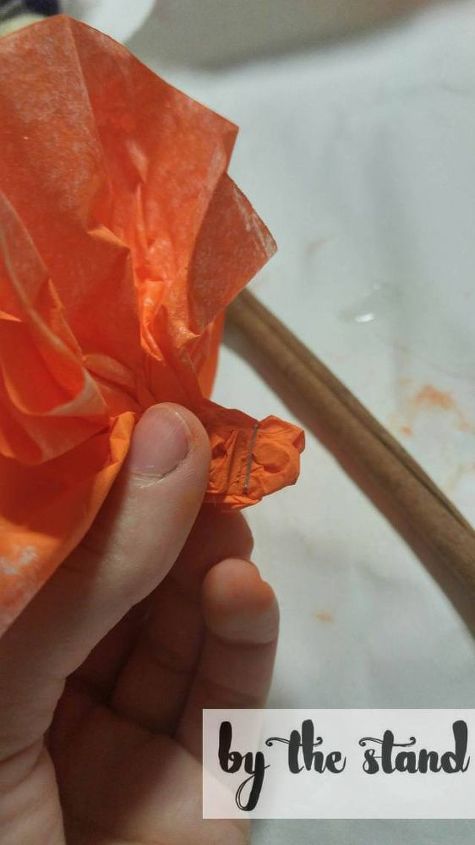
Once I had three stapled together I used my hot glue gun to attach it to my cinnamon stick.
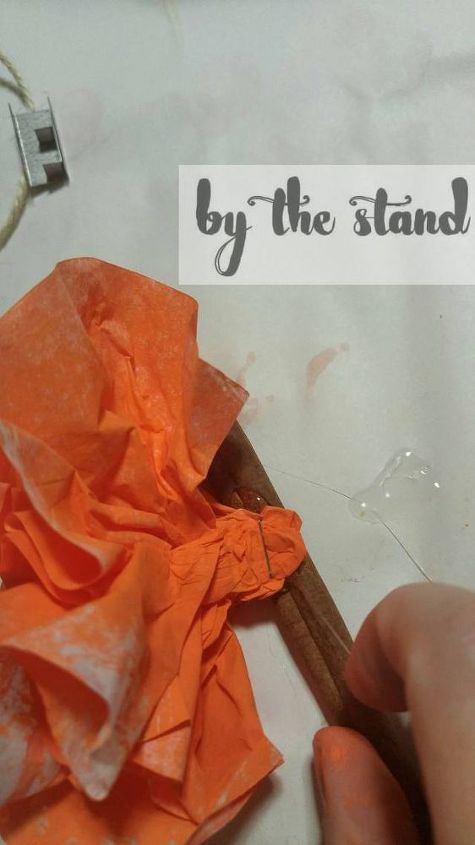
You continue doing this until you have covered your cinnamon stick all the way around, and then also another layer underneath (depending on the length of your cinnamon stick). I used five sets of three coffee filters attached together — same as Heather.

I am in LOVE with my new pumpkins!
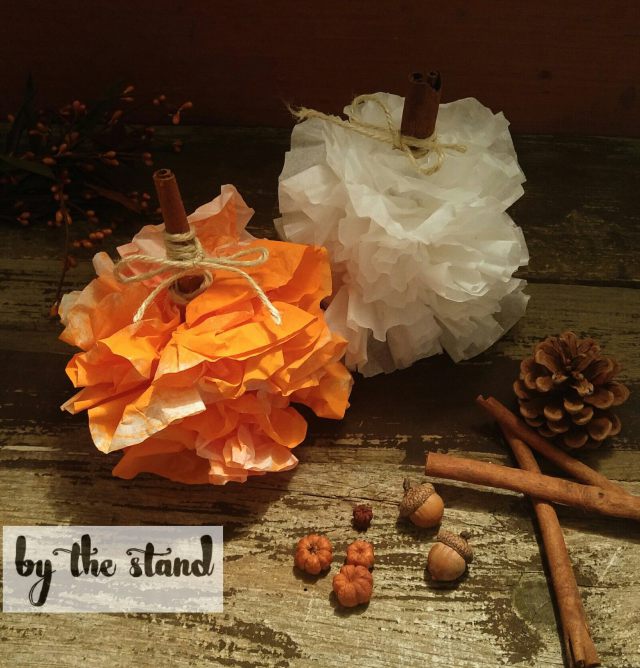
What do you think? Will you try out this project? If you do, please share your pics with me!
Want more details about this and other DIY projects? Check out my blog post!


Frequently asked questions
Have a question about this project?