


The Halloween Candle Holder and the Boo-Hoo-Hoo Stones

by
Gabi Ralea
5 Materials
30 Minutes
Easy
If you are in the mood for creating an easy Halloween decoration on a budget, here’s one great idea that might be useful for you!
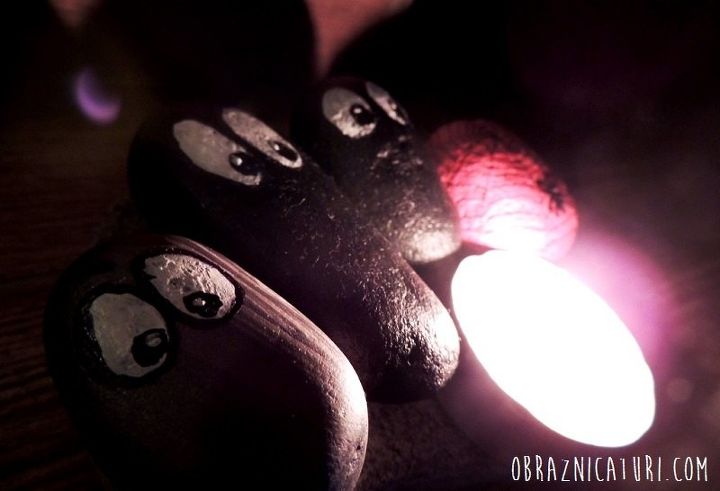
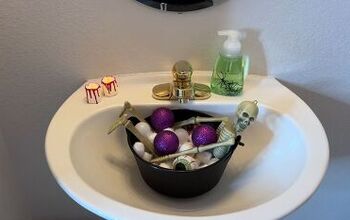
It started with a few rocks, then a tea candle has been added, and I got the funniest Halloween candle holder for free.
It started with a few rocks, then a tea candle has been added, and I got the funniest Halloween candle holder for free.
First, wash your rocks, then you may paint the rocks, when they are completely dried.
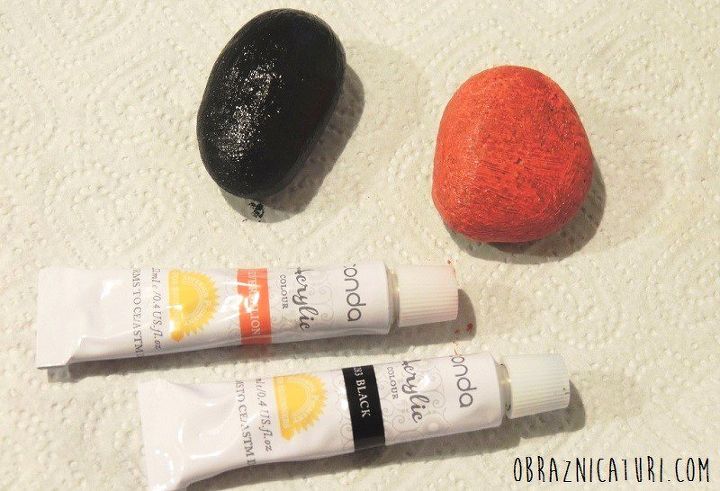
I painted the first rock in orange for a pumpkin. The rest of them have been painted in black and different shades of gray. I did not count the shades, but they were not 50, for sure! :))
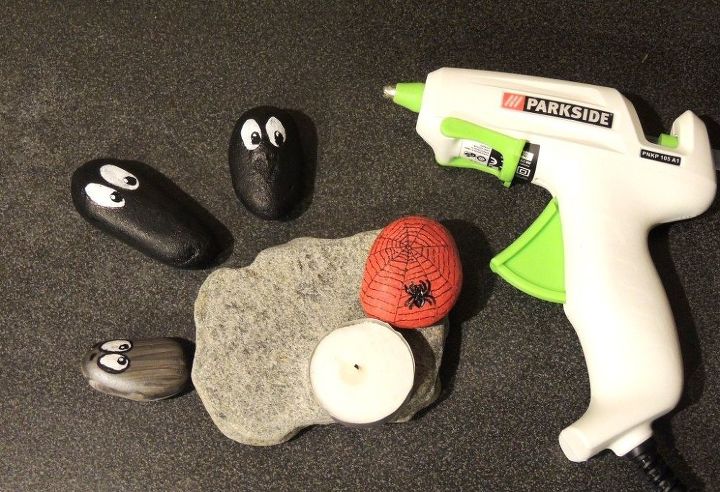
Use another stone as base for the holder, and place the candle and the rocks on top of it, to see how they fit.
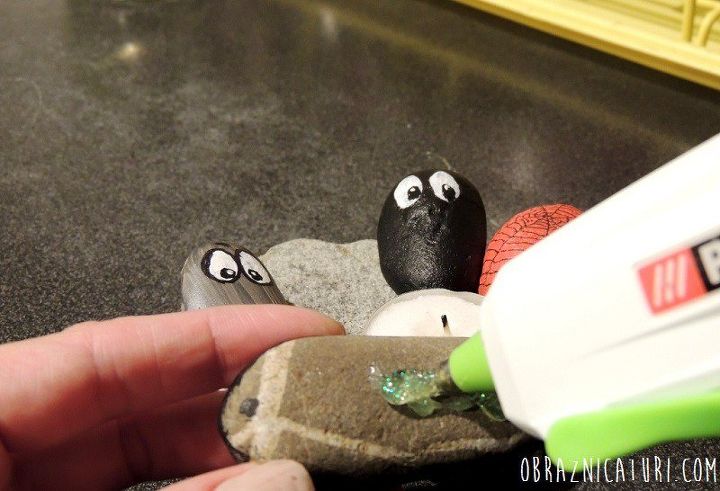
Repeat the operation for each rock, including the pumpkin. Skip the candle when gluing, since you might need to replace it when it’s burned out.
Want more details about this and other DIY projects? Check out my blog post!
Comments
Join the conversation
2 of 4 comments
-
Thank you!
-
so cute!:)


Frequently asked questions
Have a question about this project?