


The Power of Trim - Installing Trim at The Cabin
2 Materials
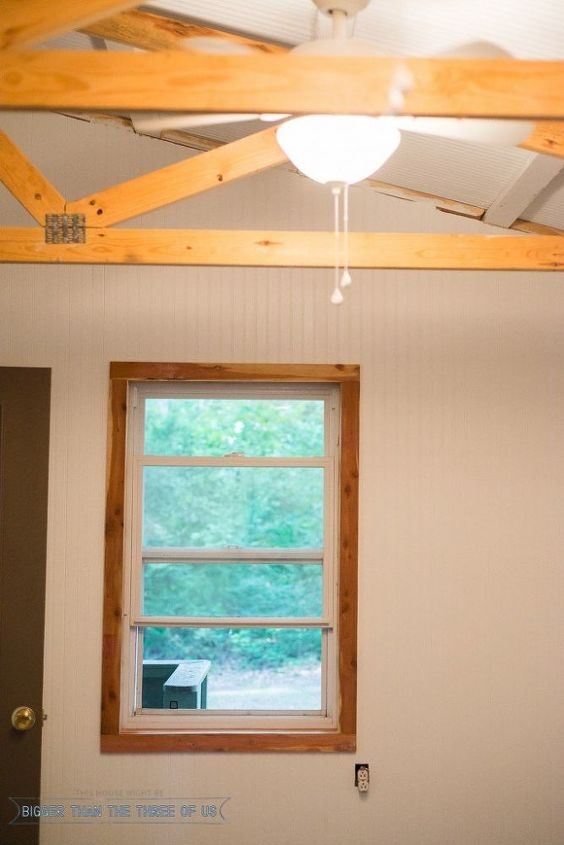
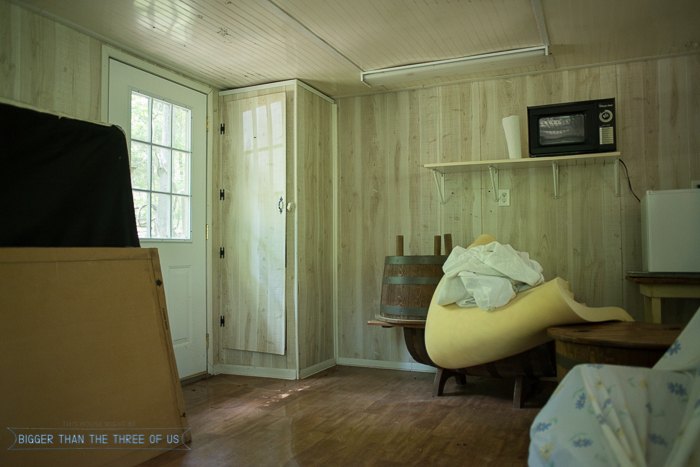
Adding trim whether it be rough-cut cedar (like most of the trim in this cabin) or crisp painted white trim.... it all adds to a space. Not only does it hide imperfections with your flooring/wall seams but it also adds charm whether that be rustic or chic.
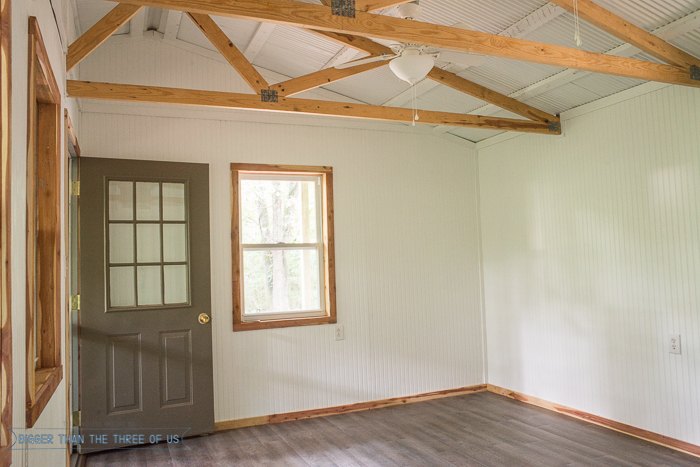
The backstory of the cabin is that it's my dad's cabin but not the one that he stays in. He wanted help renovating it so that my family would have a place to stay. So, all the finish choices (paint, flooring, paneling, lights, etc.) were a decision between him and I. All of that is to say that he really wanted to use rough-cut cedar (that he already had) as some of the trim in the cabin. I of course, wanted all white trim. We compromised as you can see. =)

There are lots of great tutorials out there for doing window trim - you can see my how-to for installing window trim in our kitchen here. For this project, since we were using non-standard rough-cut cedar... we just kinda went for it.
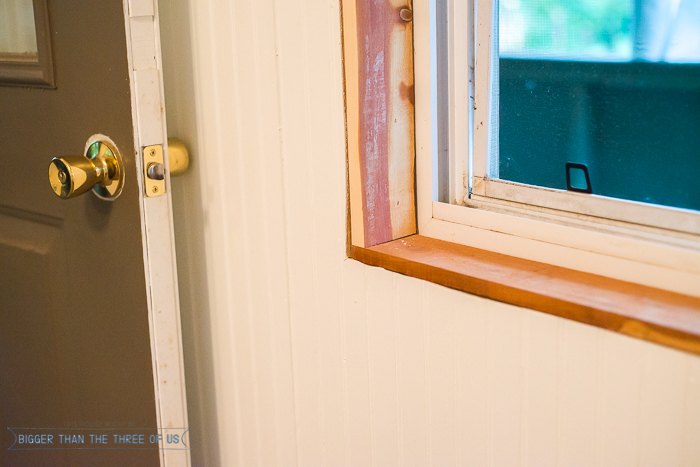
The first step was to measure the inside of the window (top/bottom and both sides). Our window frames weren't exactly square and your's may not be either. I started on the top. Measure the inside top and nailed it in. Then, I went to the bottom. Measured the bottom and nailed it in. Then, I did the same thing with each side.
Once the inside was done, we went to the outside. For the outside of the window, I did basically the same concept as the inside. Make sure to use a level though to get your top piece of each window straight though! Start with the top and then work your way around.
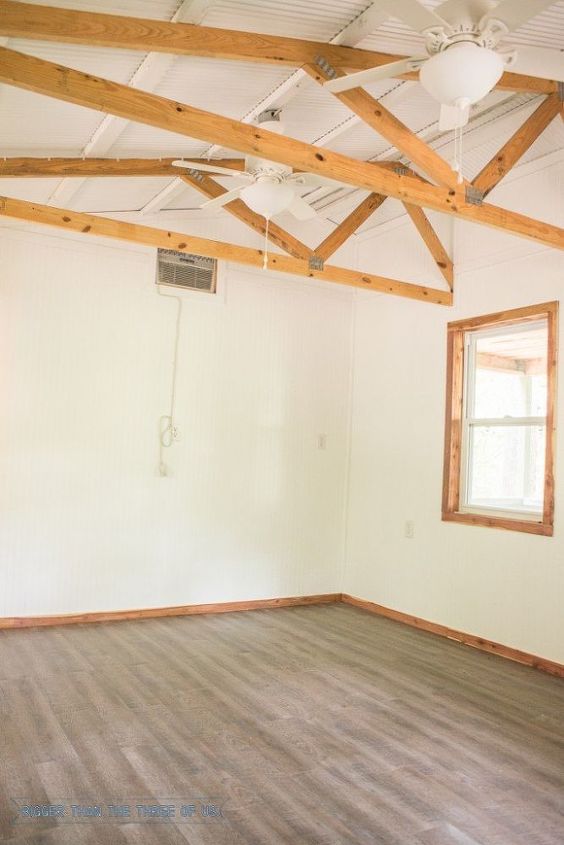
After the windows were finished, we cut baseboard trim, wall edge trim and all the top seams! The windows and baseboards were all done with the rough-cut cedar. The wall seams (at each corner), the seams above the beams (where a new paneling section started) and the ceiling were all done with white painted trim. This helped the space visually. With the white painted trim, your eye doesn't get stuck on the seams. It was a pretty big job but it took the space from updated to looking finished. If you want to see more pictures and get more information - use the link at the bottom of the post to visit my blog!
Can you believe this is the before? Hop over to see the cabin reveal - it's a stunner!


Any price and availability information displayed on [relevant Amazon Site(s), as applicable] at the time of purchase will apply to the purchase of this product.
Hometalk may collect a small share of sales from the links on this page.More info

Want more details about this and other DIY projects? Check out my blog post!
Comments
Join the conversation
2 of 5 comments
-
love the beams, and lovely job!!
-
I'm so glad you decided to go with the rough cut cedar. It works beautifully!


Frequently asked questions
Have a question about this project?