


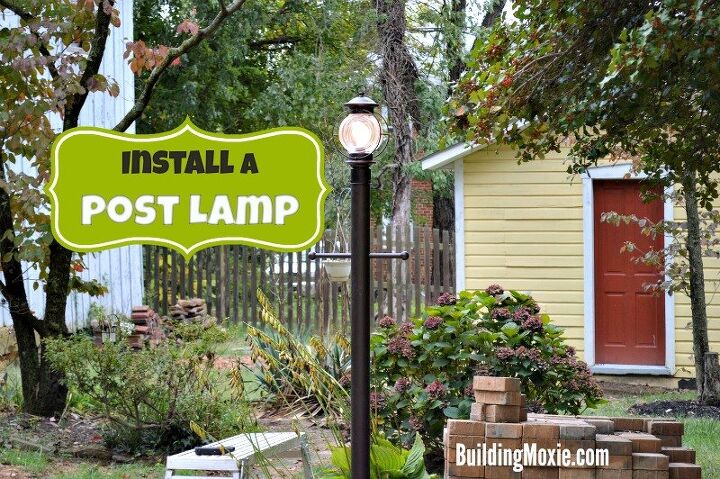
Installing a Post Lamp
1 Material
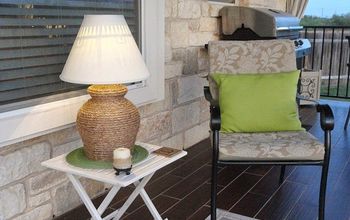
We are working on a series of projects around our patio area. One thing that we really needed was an updated post lamp in that area. I will show you how I did the install with some tips and tricks of what I learned along the way!
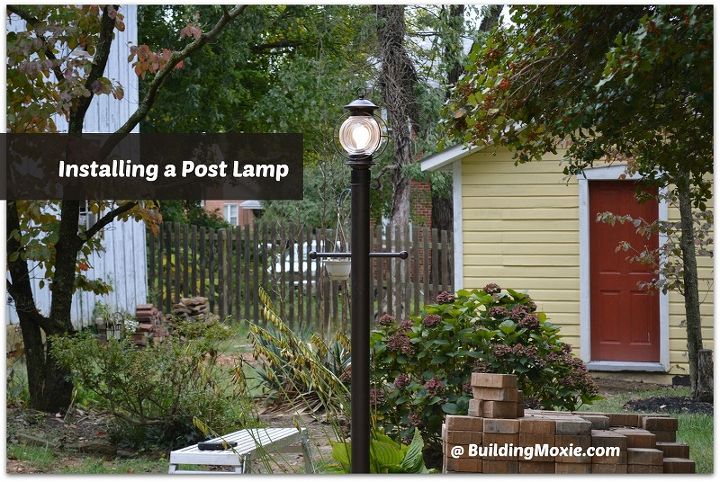
Today I'm sharing how I installed a lamp post for my patio.
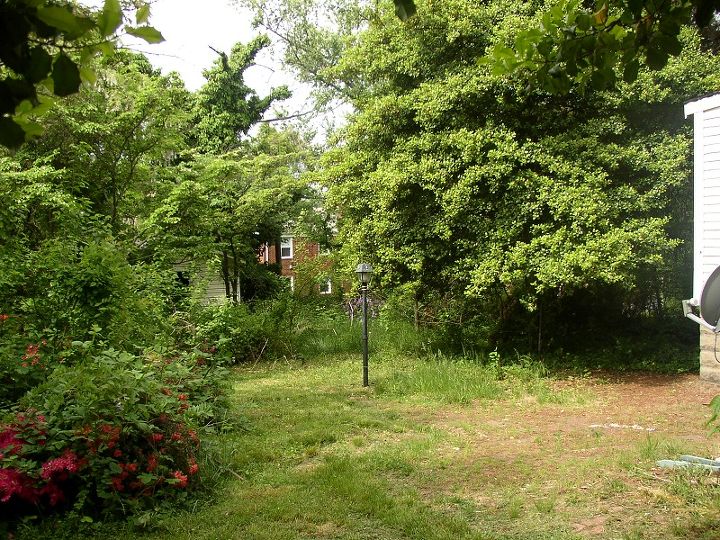
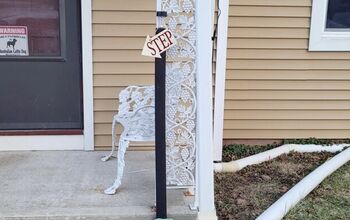
I decided to install it where I already had another lamp, which never worked. As I pulled out the old post, it was so corroded and I could see why it didn't work.
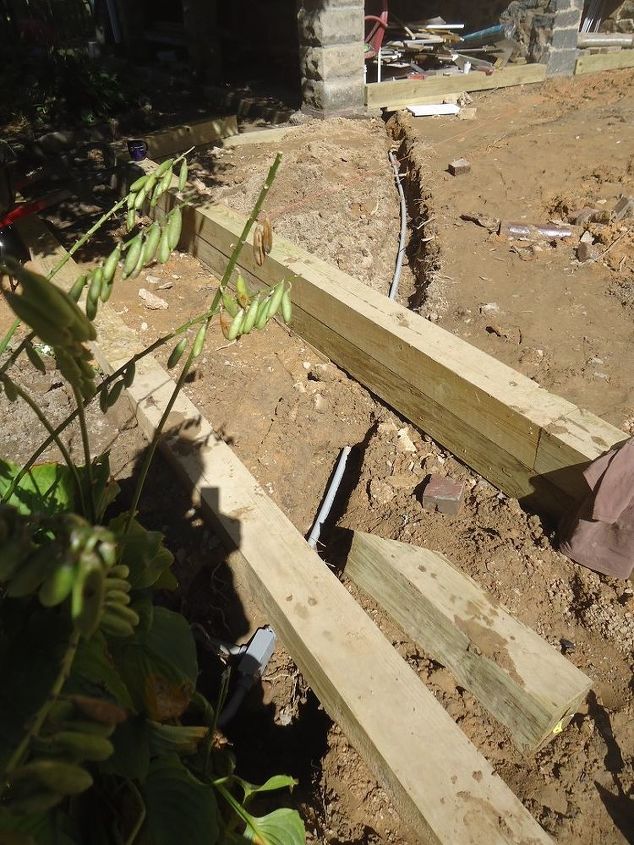
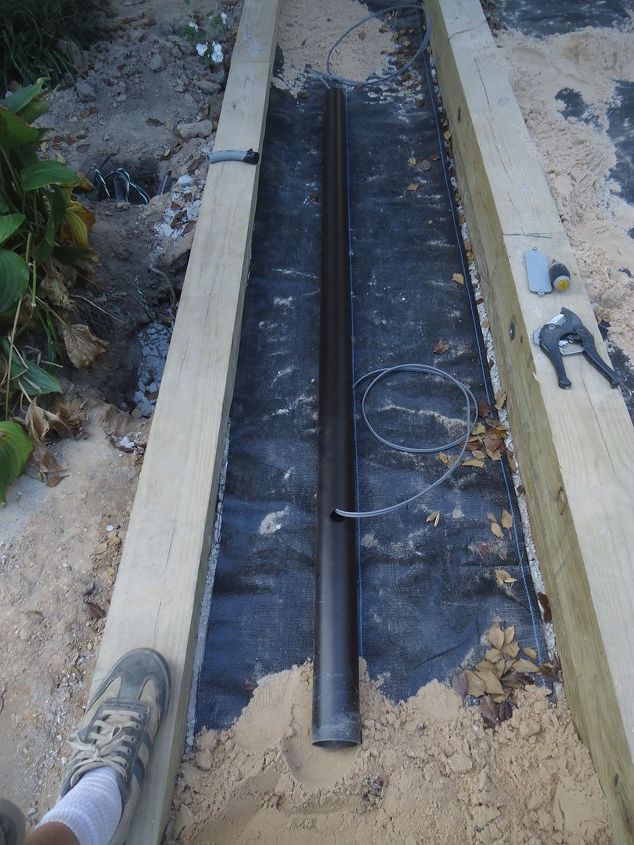
Using my (cheaters) code book, I decided upon a configuration for a post lamp project. I chose a gray PVC conduit buried to a depth of 18".

I trenched by hand using a pick mattock and drain/post spade. I only had to run out about 15 feet, so it was manageable. All of the details are in the post http://www.buildingmoxie.com/2013/10/installing-a-post-lamp-patio/
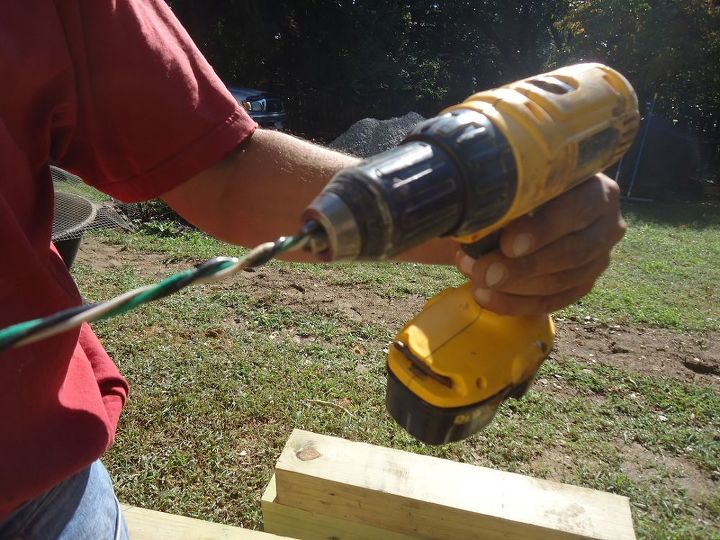
Since I would be using PVC , I selected solid THHN (which stands for “Thermoplastic High Heat-resistant Nylon-coated”). We twisted the THHN wires using a drill driver into one piece for manageability.
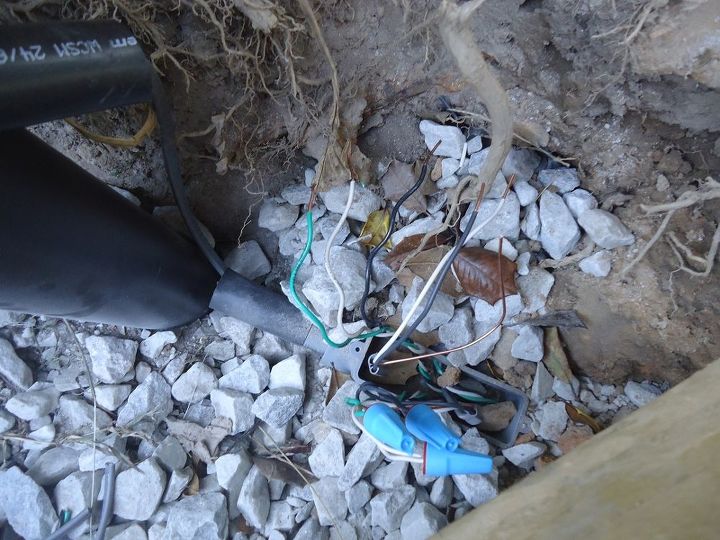
Where the wiring exited, I used a heat shrink tube to protect against water. All of the instructions are in the post...http://www.buildingmoxie.com/2013/10/installing-a-post-lamp-patio/
Once the pole was set and roughly oriented, I added some leftover (from the patio) crush and run (CR6) stone to my hole. I did this as I was routing the wiring into the pole and as I was setting up for final connections.
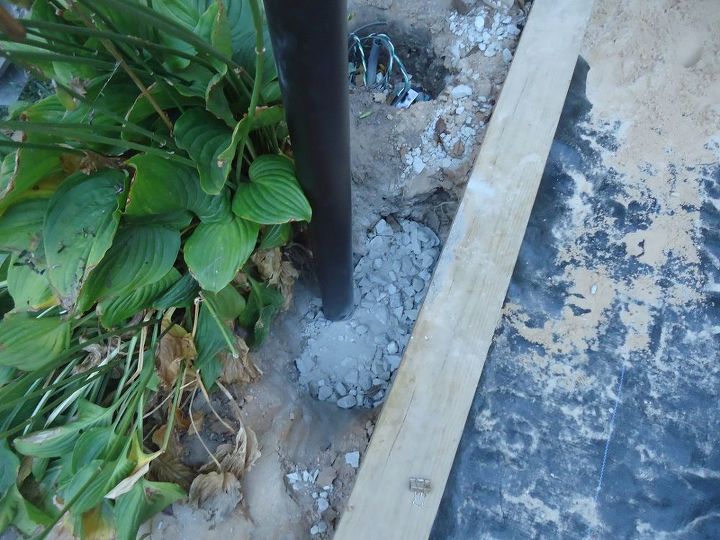
On top of that, another couple of shovels of CR6. Then, in a method typically associated with setting mailbox posts – I filled the hole with Hi-Strength Sakrete, dry. There are some helpful tips on this within the blog post.
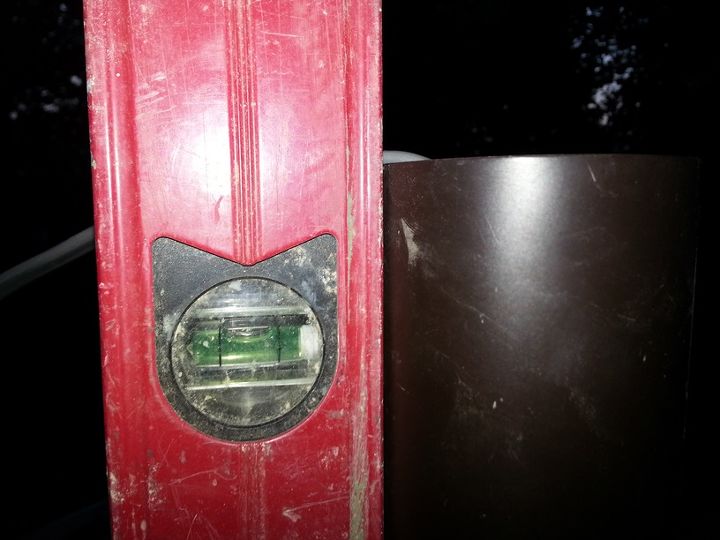
It was at this point, I checked for level on three sides … adjusting as needed.
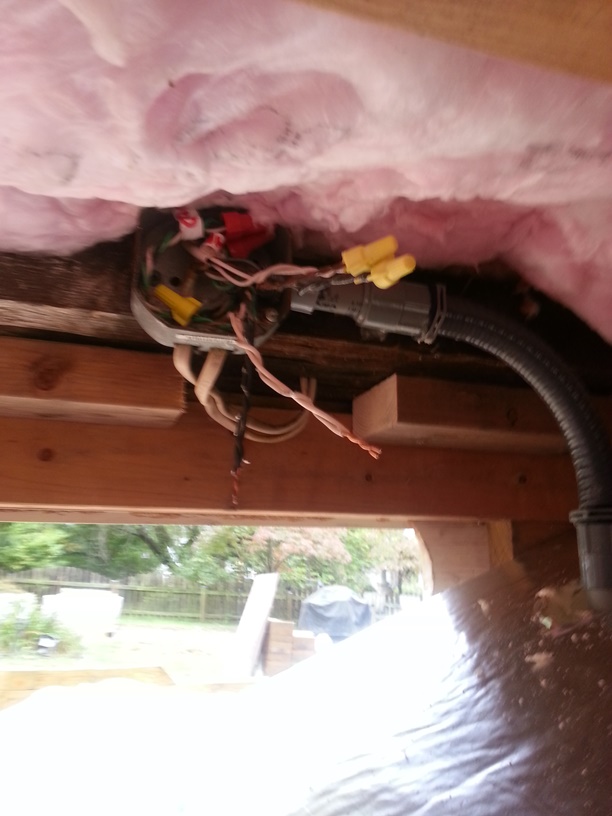
Once the pole was set and I was happy with where it was, I moved to routing PVC fittings back to a junction box I had installed in the “crawl space” under the laundry room. I made the necessary connections there.
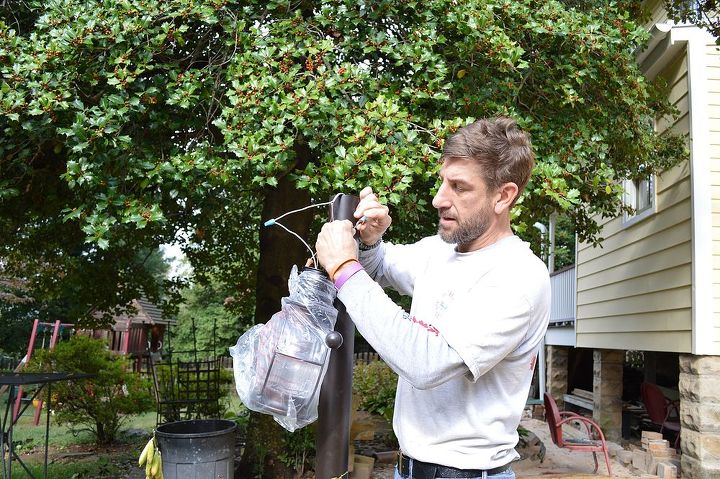
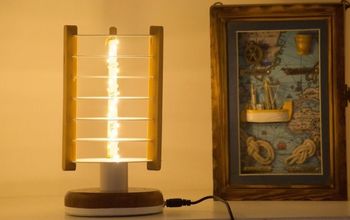
All that was left at that point was to install the post lamp itself, making the connections at the light.For more info, I always recommend referring to the manual that is provided with your light.

This post lamp from Portfolio, a Caliburn, is sold at Lowe’s Home Improvement. For me, it was a great complement in both style and finish to several of the exterior elements around our house. And…it did not break the bank costing $120.

Want more details about this and other DIY projects? Check out my blog post!
Comments
Join the conversation
3 comments
-
Fantastic tutorial! Thank you for sharing!
-
We need to replace ours too. Thank you so much for the tutorial.


Frequently asked questions
Have a question about this project?