


RePointing Brick...a Porch Foundation Repair
1 Material
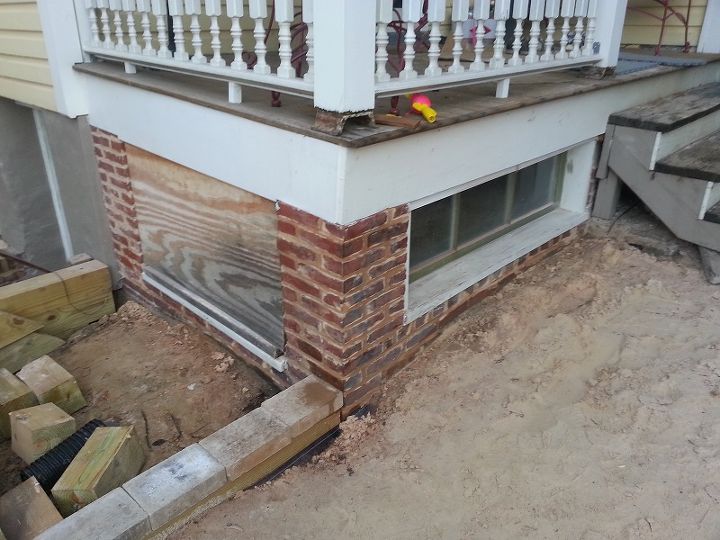
We are continuing work on our patio and today I will be sharing how we repaired a small section of brick, about a 15-30 foot area, at our side porch foundation.
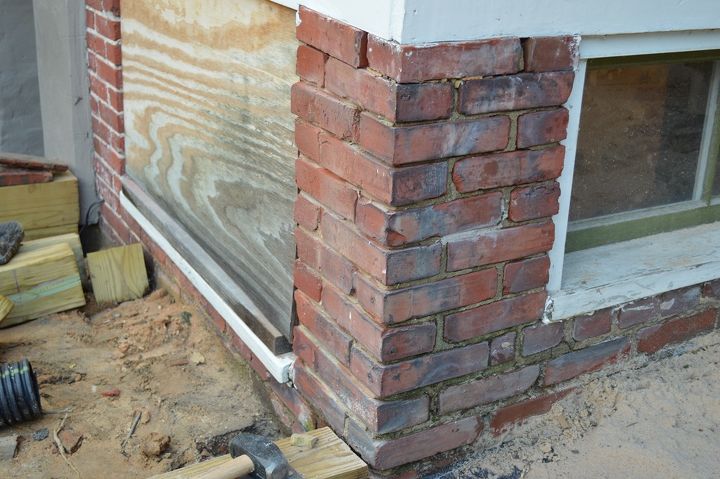
Part of the problem with this brick, due to the weight of two porches, a roof, and 120 years pushing down on it- it had
sagged. The mortar had popped out and the bricks compressed.
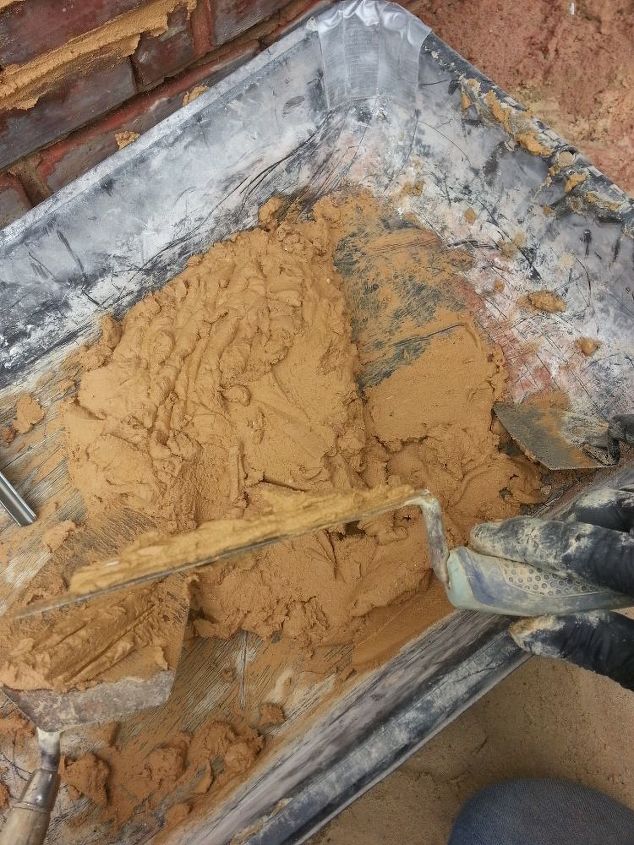
his is probably about the most important aspect of the entire process … mixing your mortar up right. You do not want your mortar to be too dry or too wet. Visit the post for all of the fine details.
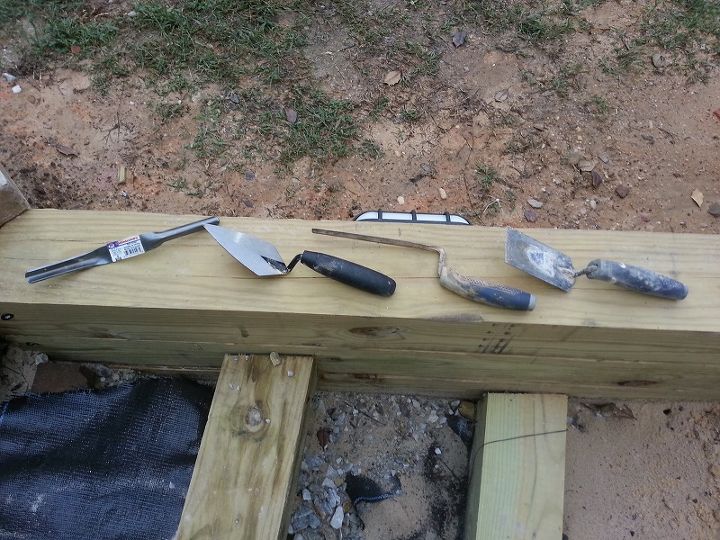
Pictured are tools that will be needed for the project.
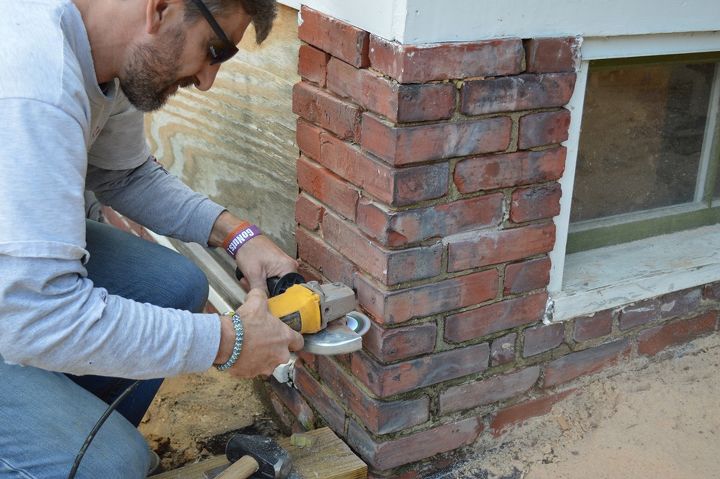
To prep the brick, I purchased a tuck pointing blade – a fat diamond blade for my angle grinder. I ran it through all the mortar joints, to about a depth of ½” or 5/8”.
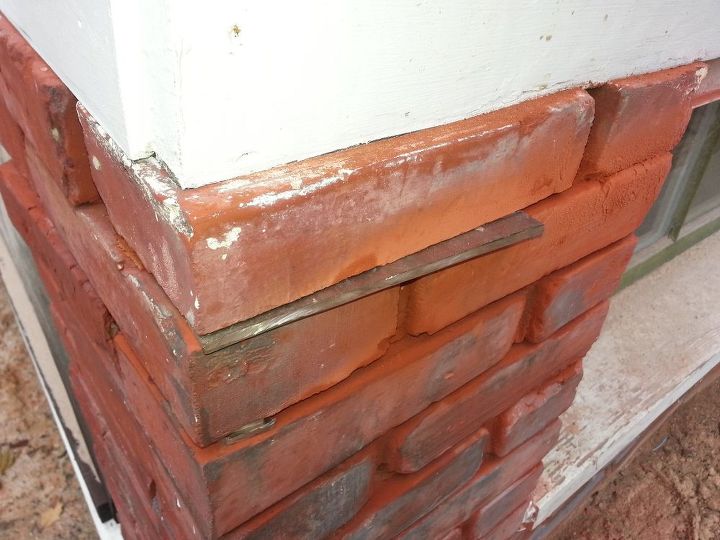
I used the same blade to cut long, thin notches in the bottom edge of the top most courses of brick. This created not only a line to which I could apply mortar, it also allowed me to slip long steel shims in.
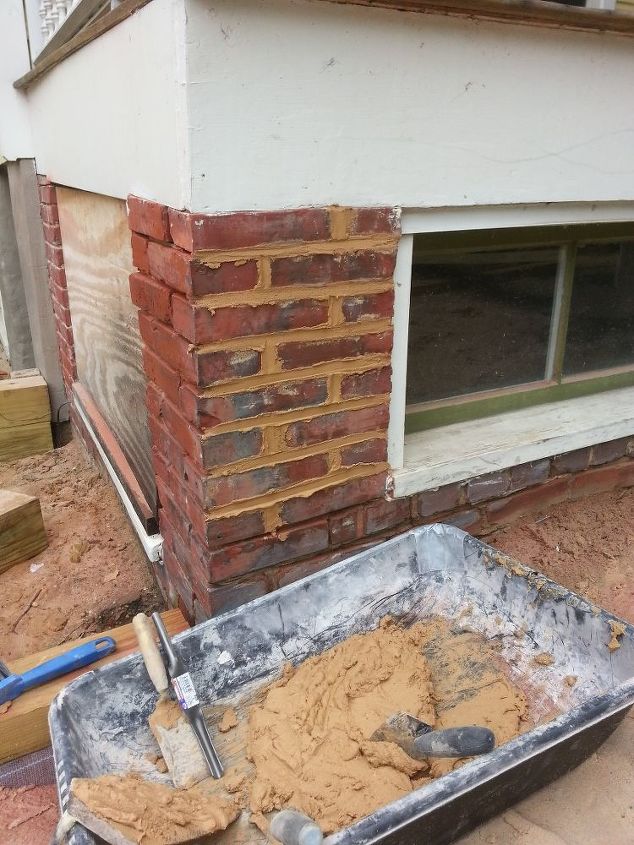
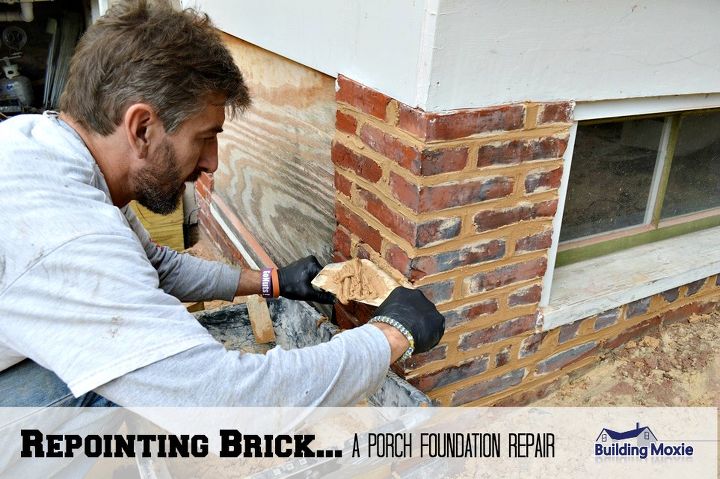
Using my mortar pan/trough and setting it under where I was working, I loaded up the back side of a large mason’s trowel. I took a tuck pointer and I worked to fill up the cavity in my brick, fully.
I did around 4-5 courses at a time, using a simple brush finish. I ended with a quick “strike” (being conscious of straight lines) of the tuck pointer.

This post is meant less as a tutorial, say, and more as a – This is What I Did.

Want more details about this and other DIY projects? Check out my blog post!


Frequently asked questions
Have a question about this project?