


Give Your Battery Operated Candles a Fall Makeover!
3 Materials
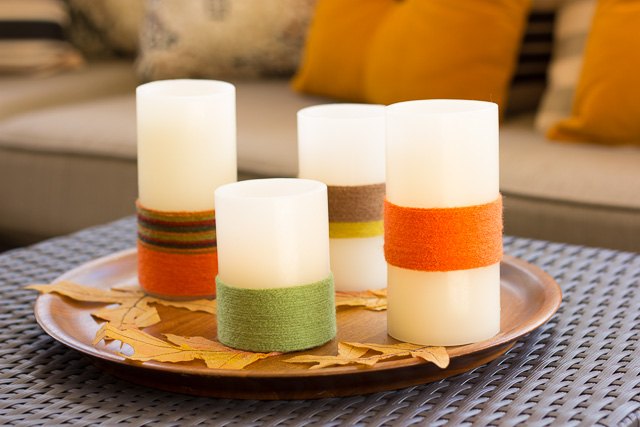
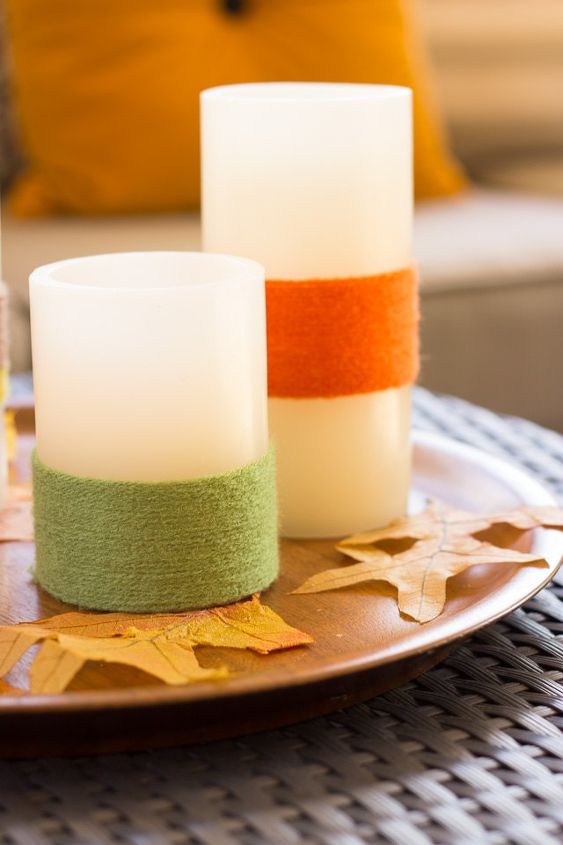
I love using battery operated LED candles - especially if they have timers! I have them on my living room mantel and in my foyer and especially love using them over the holidays. However they can be a little plain on their own, so I decided to give mine a fall makeover - with YARN! The yarn adds an unexpected dose of color and texture to these candles. The best part is, you don't have to worry about fire risk like you would with real candles!
If you like these fall candles, then don't miss my yarn wrapped Christmas candles!
If you like these fall candles, then don't miss my yarn wrapped Christmas candles!
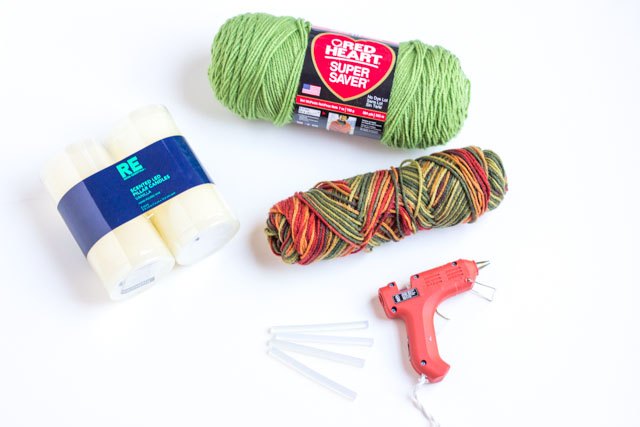
All you need to make these are battery operated candles, yarn in your favorite colors (I love using variegated yarn!), a hot glue gun, and scissors!
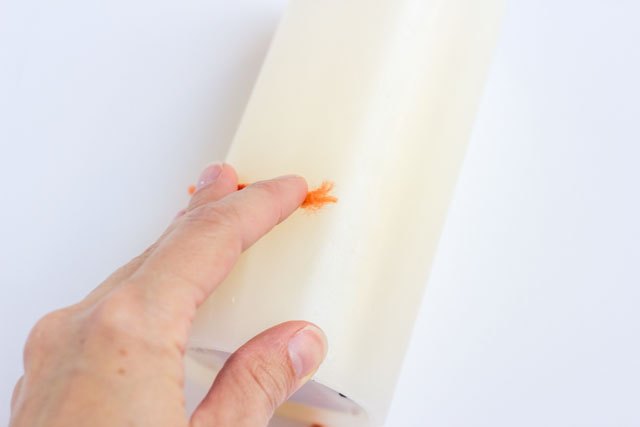
Step 1: Start at the bottom 1/2 or 1/3 of the candle by adhering the start of your yarn with a dab of hot glue.
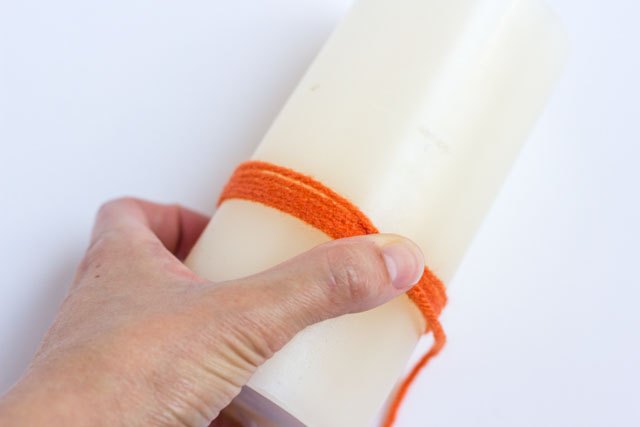
Step 2: Start wrapping the yarn around, pulling taut as you wrap the yarn so there are no gaps between the rows.
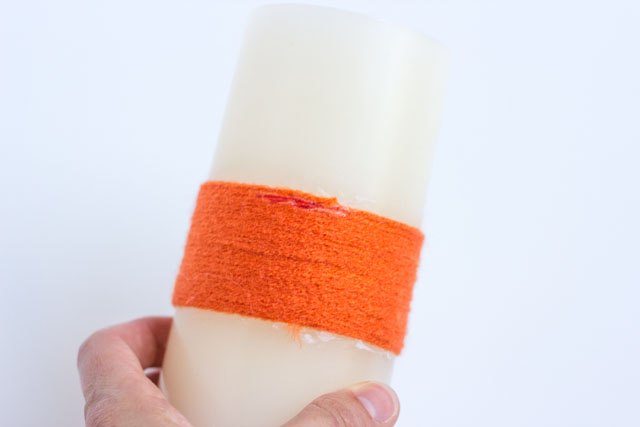
Step 3: Continue wrapping and once you have as much yarn on the candle as you want, trim with scissors and adhere with another dab of hot glue. You can add a second color of yarn above this in the same manner if you want.
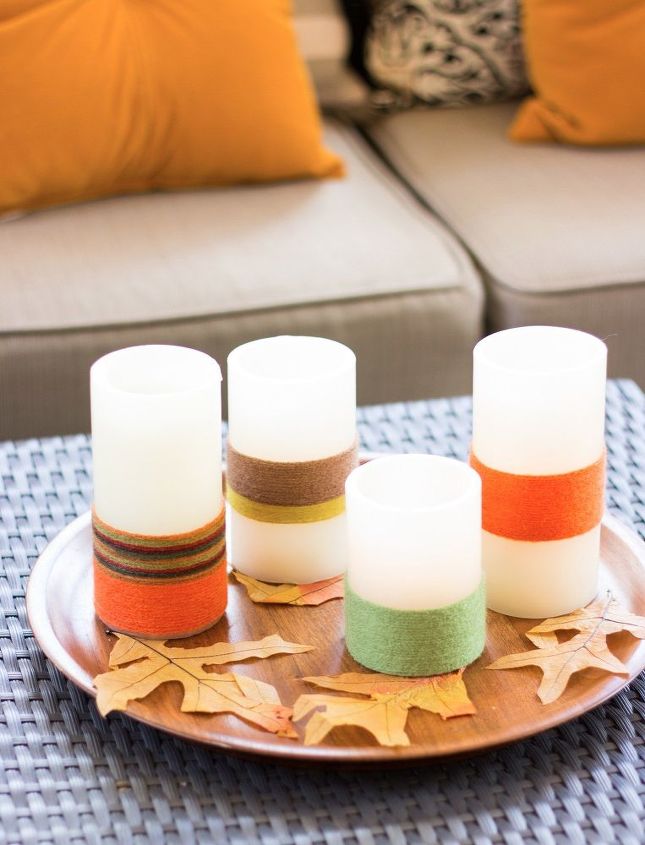
These candles look so pretty together in a little fall vignette! You only want to cover part of the candle with yarn, not the full candle, so that the candle still gives off plenty of light.
You can easily peel off the yarn if you want to switch up the look of the candles.

Find lots more simple fall craft ideas that you can do in under an hour here on Design Improvised

Want more details about this and other DIY projects? Check out my blog post!
Comments
Join the conversation
3 of 31 comments
-
So pretty, clever and somewhat simple to make. I love these!
-
I have these candles holder, it’s marble looks like stone, I put them on OfferUp for sale, I have all different shapes, I will try to make one soon. Thnx


Frequently asked questions
Have a question about this project?