


DIY Embroidery Ornaments

by
Sahana
When I get a craft tool, I would think I should get the most use out of it instead of just one or two projects. With that said, I always think about various uses for the wood burning tool I have. Today, I have come up with another idea of using embroidery and wood burning together to make DIY embroidery ornaments. Let's see how.
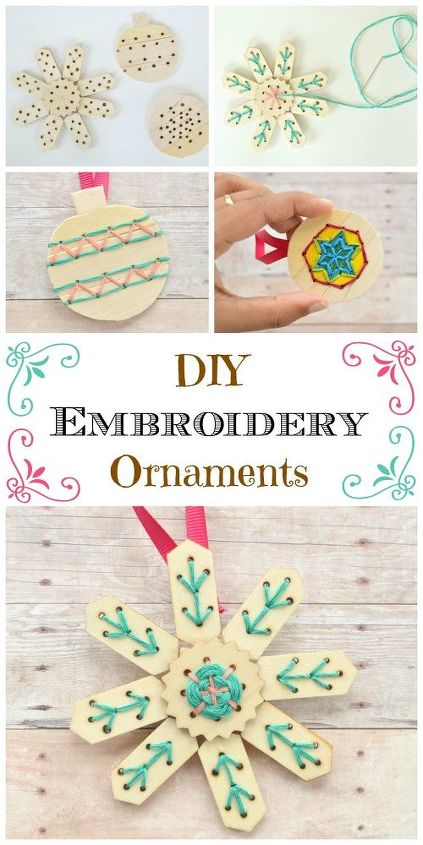
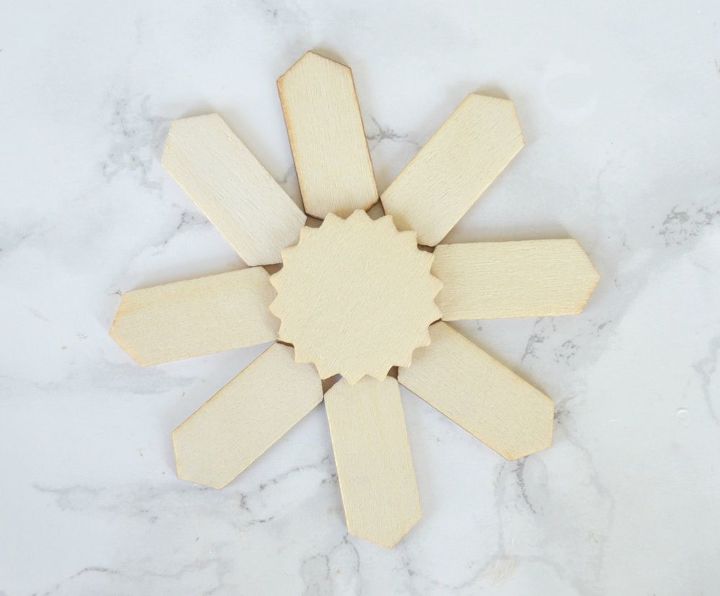
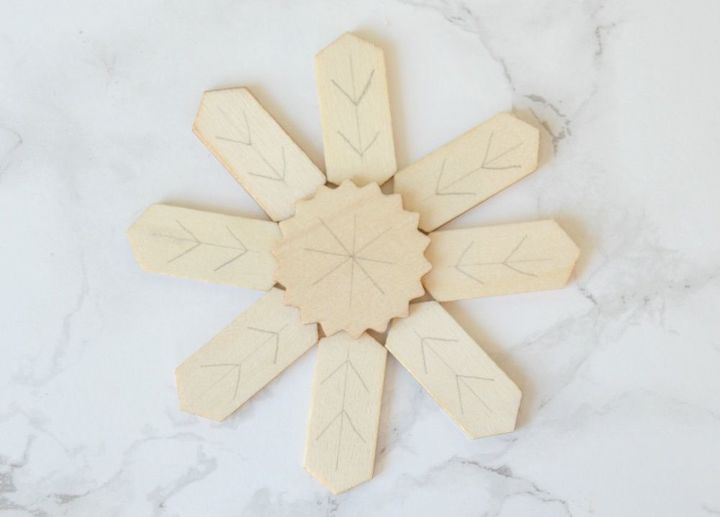
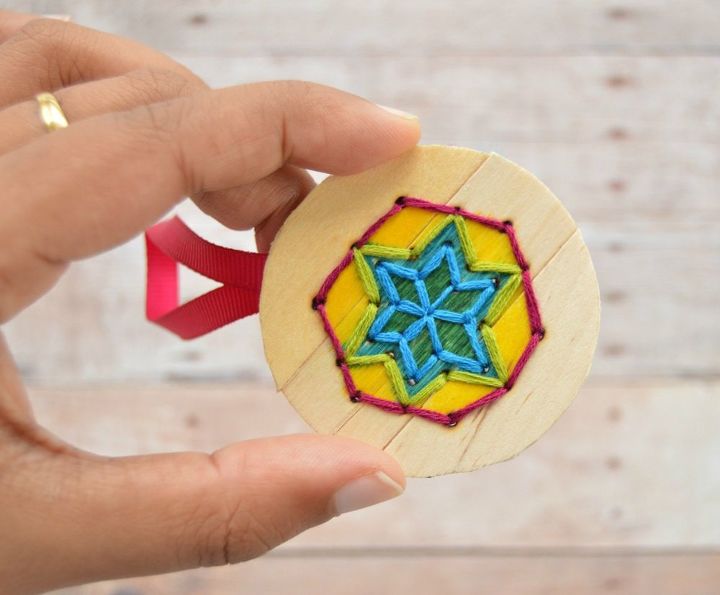
Use die cut wood pieces and form a snowflake. I had this hexagon dies cut pieces and design circle pieces, I used tacky glue to stick the pieces together and formed a snowflake. You can buy readymade die cut wood pieces or made your own like this
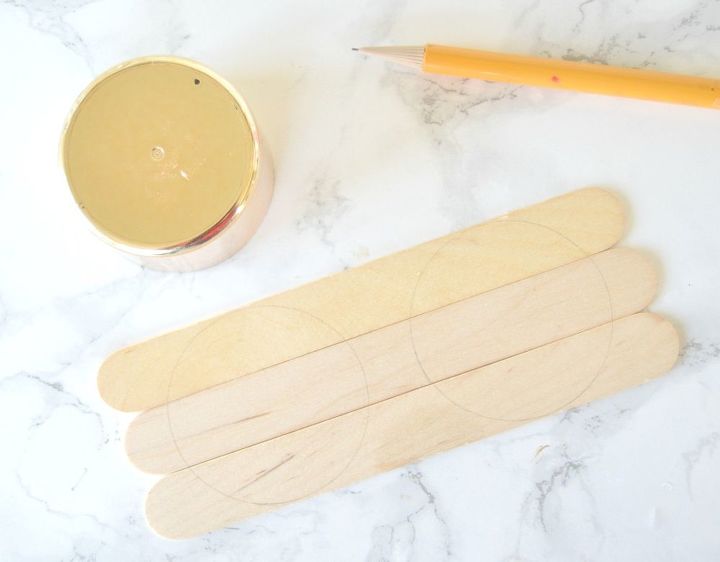
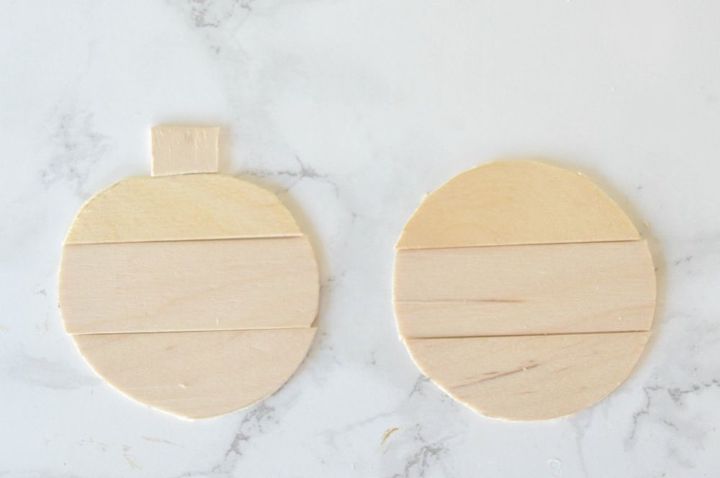
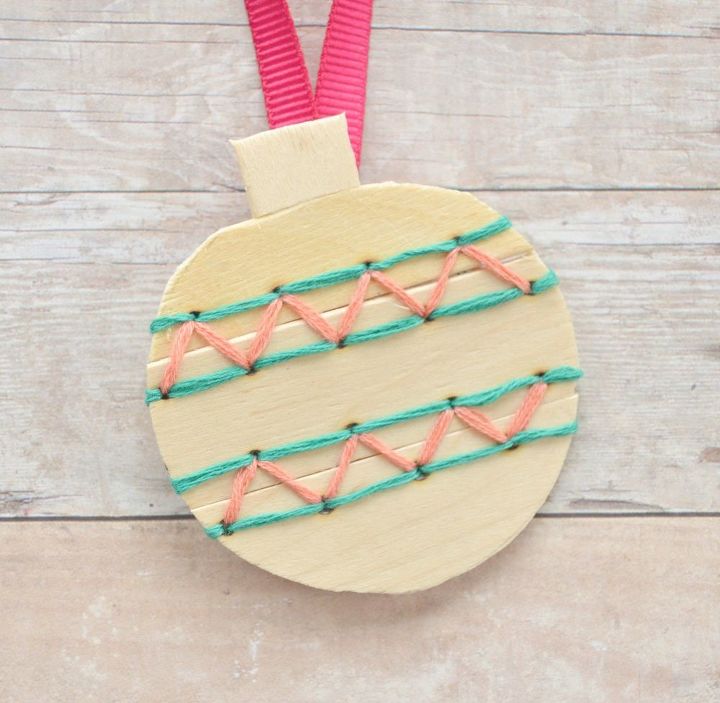
Another option to make these ornaments are, you can glue three jumbo popsicle sticks together and use any round object to cut out two round shapes from it. Use can glue a small rectangle wood piece to the top of the round shape to make it is as an ornament shape.
Draw the design you want to embroider on the wood shape using the pencil.
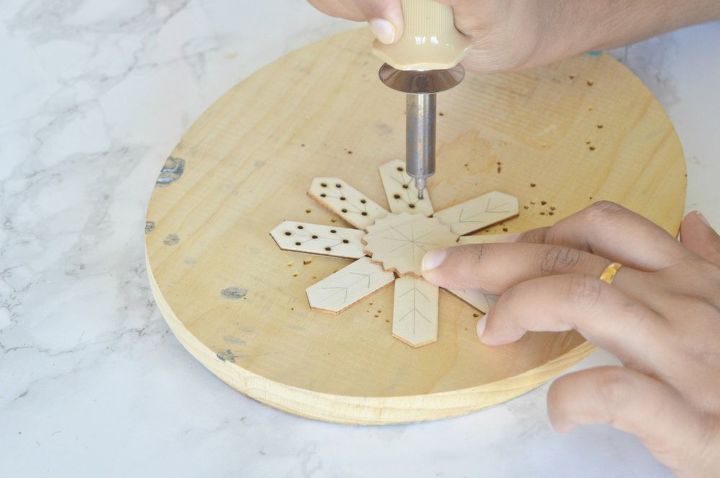
Use the wood burning tool to make holes on the edges of the drawn design. Hold the tool straight and make a hole. Practice making holes in a scrap wood before doing it on your main design. You need to give a little push while holding it straight to make the hole. Make sure you have the scrap below while doing this.
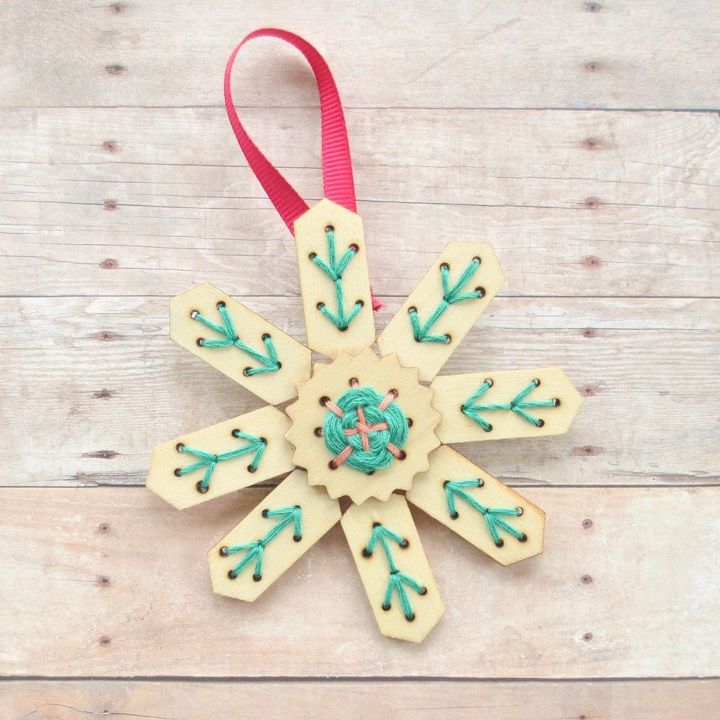
To know how I completed the ornament , visit DIY Embroidery Ornaments on my blog.
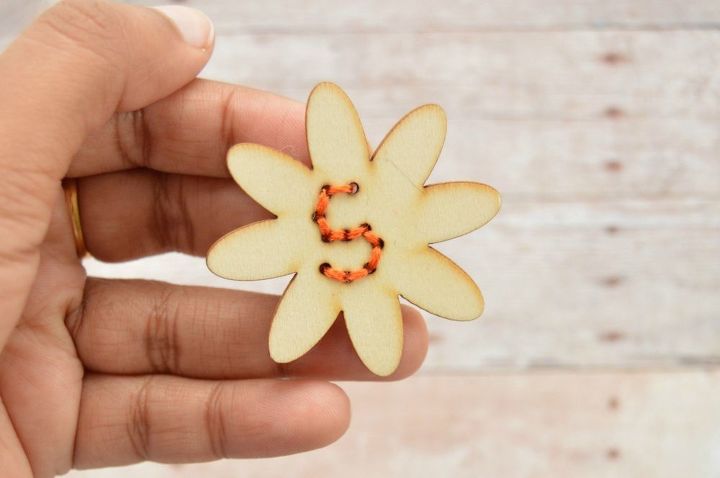
The options to making these ornaments are limitless. You can bring a lot of variations as desired. You can also implement this technique in making name tags, zipper pulls, add-ons for key rings or as a keepsake wall art if it is done in a bigger size. Here is a simple laser cut flower design piece in which I tried this technique at first with a simple "S" embroidered with the back stitch.
Want more details about this and other DIY projects? Check out my blog post!
Comments
Join the conversation
2 of 17 comments
-
For the designs that have a great deal of empty background space (such as the snowflake pattern, ball, or initial letter, I would recommend painting the wood with a contrasting or sparkly color first. This will highlight the yarn stitches, and give a more polished finish to your ornaments.

-
Hi Sahana, (pretty name). These are adorable. The unfinished wood gives a homespun feeling to them. Staining could also be done to the wood before embroidering them. Thank you for sharing your lovely project :)


Frequently asked questions
Have a question about this project?