


DIY Christmas Wood Bead Garland
This is an incredibly simple project that looks SO high-end! This wood bead garland is beyond simple to make, and it looks like you spent hours on it. This is perfect for your Christmas mantel, but it would also look great out year-round! You can see the full tutorial with more photos (and an idea for another garland) on my blog!

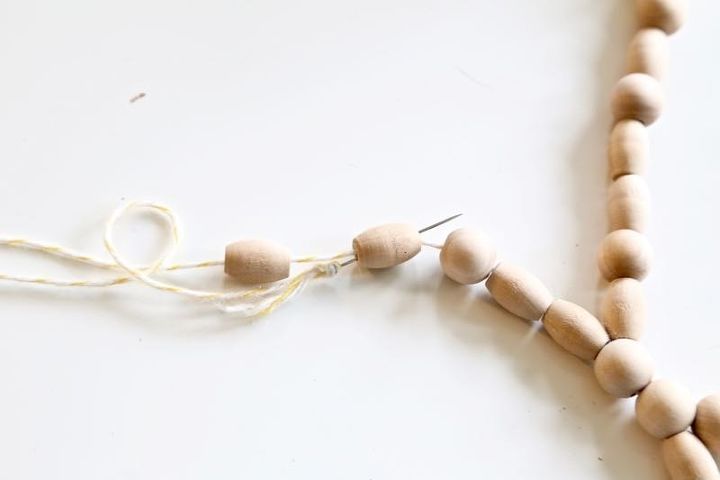
Start with some twine, a needle, and wood beads in varying sizes. Thread your twine through the needle and begin stringing your beads on until it's the length you want. I didn't do a super specific pattern - I went for a more random look.
To make the scallops that drape down, begin stringing your twine back through the beads, beginning with the second to last one (like you see above). Push the needle back through the beads until you're ready to start the scallop. Then, start adding more beads again. Continue until it's the length you want, then bring it back up to the main garland and begin threading your needle through the beads again. (It's hard to explain fully - click through to the full blog post for more photos and details on this part).
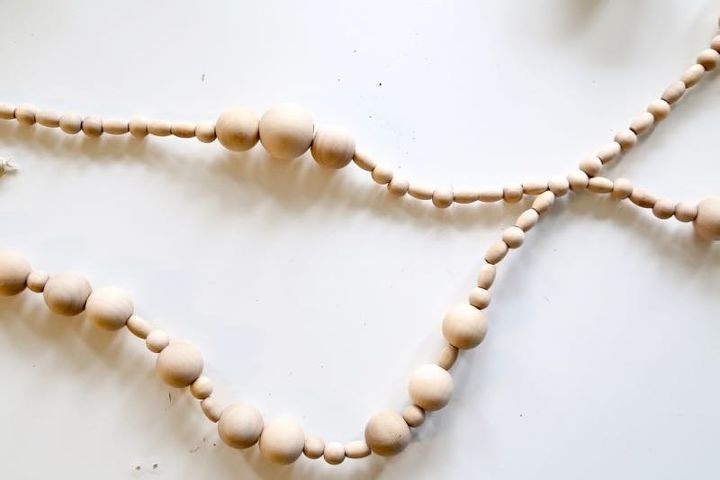
You can make as many scallops as you want - I did two, and they were two beads apart - you can see in the photo above how I brought the needle back through two beads before starting the second scallop. When you get your needle back to the end of the garland, you can wrap the end of the thread around the final bead one time, then tie it off (there's a photo of what this looks like on the blog post).
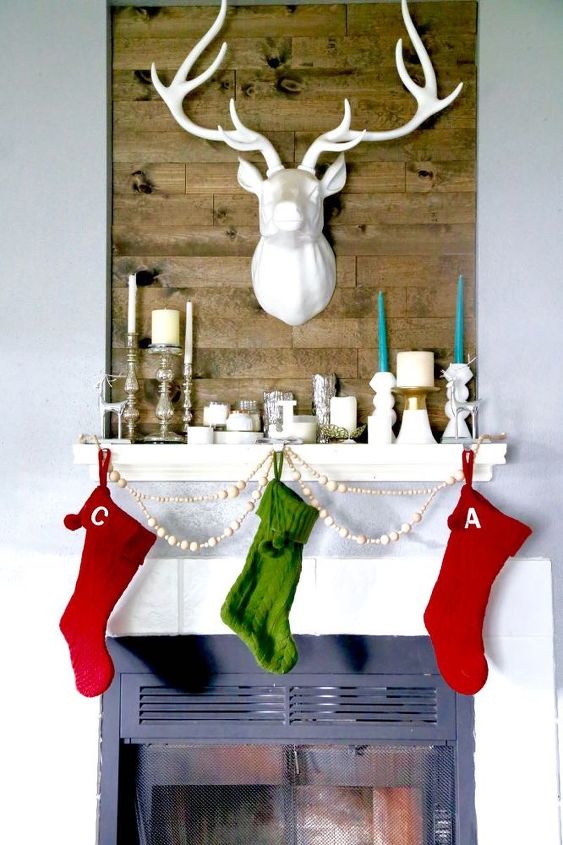
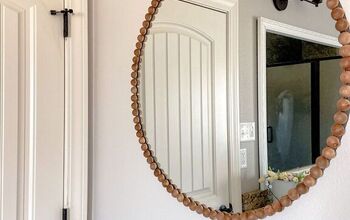
Then, hang it up wherever you'd like! The sky's the limit with how you do this - there are so many different configurations. To see way more photos, along with another idea for a wood bead garland, be sure to click through to the blog post!

Want more details about this and other DIY projects? Check out my blog post!


Frequently asked questions
Have a question about this project?
Where did you get the white deer head?