


Simple Felt Coasters
This is the perfect simple embroidery project for a stack of beautiful craft felt. Have fun!
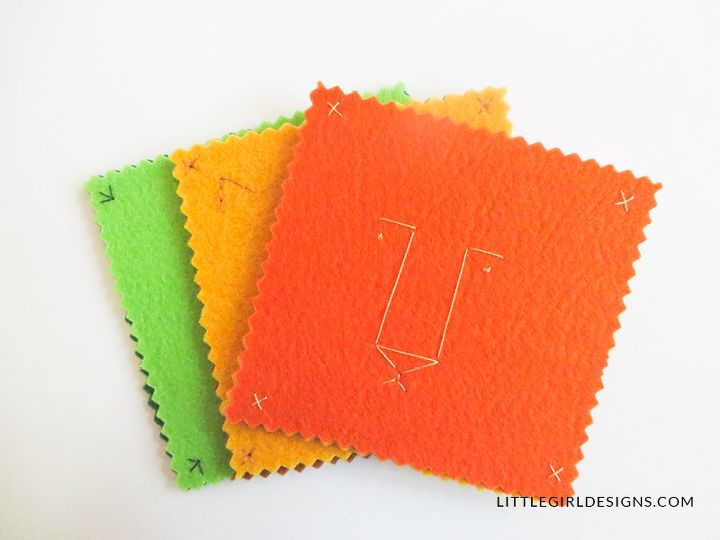
The only skill needed for this project (other than needing to be able to cut fabric) is how to do a simple back stitch. I used this stitch for the entire project so was able to whip these up in an afternoon.
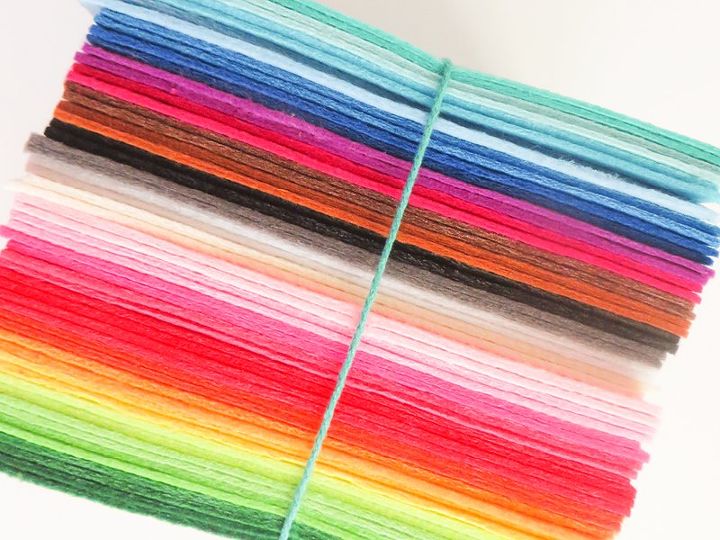
Choose felt that is fairly stiff. You will be using two pieces but you want them to be firm like a coaster would be.
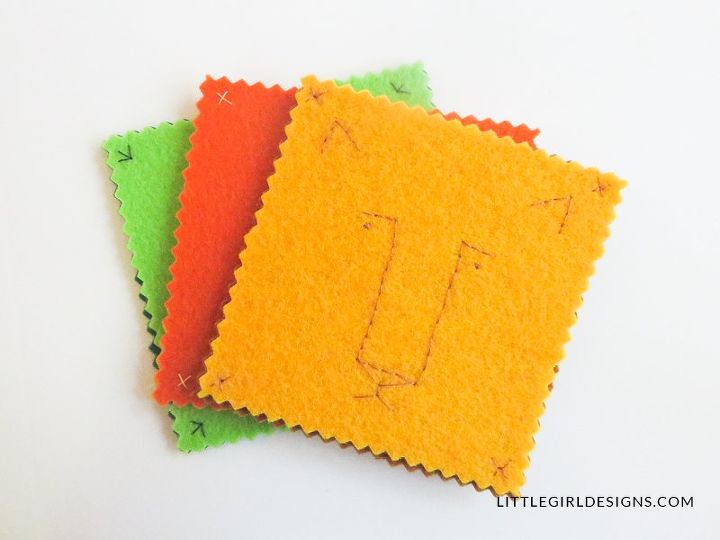
Use an embroidery pen to mark the felt if needed. You'll be able to use a damp cloth at the end to wipe away your tracing marks.
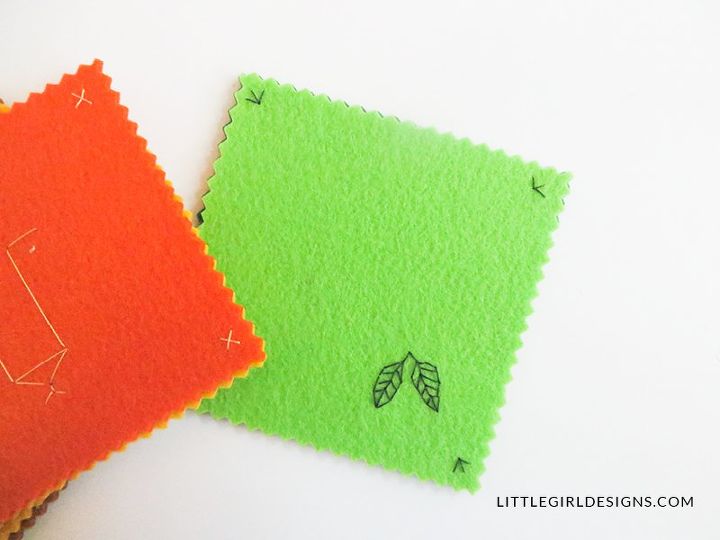
Mix up your designs a little to see which ones you like the most. It's fun to think about the edges of the felt as a part of your design.

Want more details about this and other DIY projects? Check out my blog post!


Frequently asked questions
Have a question about this project?