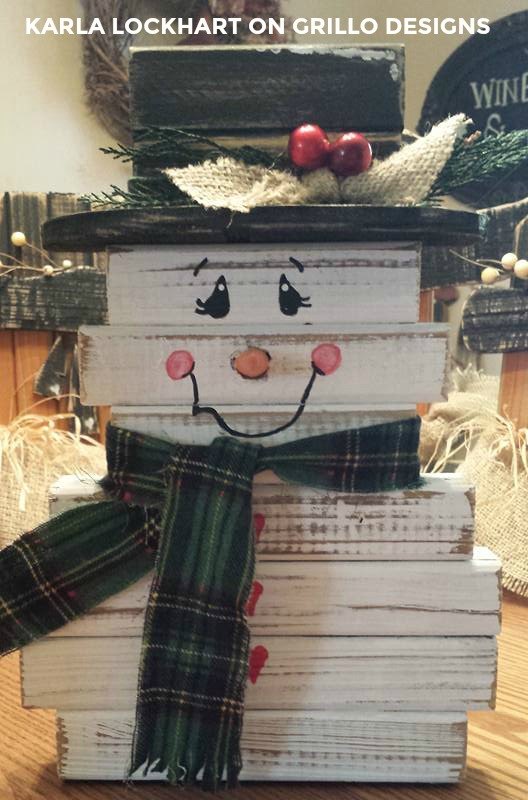
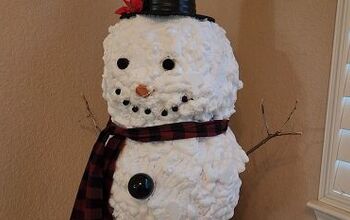
DIY WOODEN SNOWMAN

This DIY wooden snowman was submitted to the Grillo Designs blog by Karla Lockhart from our Home & DIY facebook group ( This rustic snowman is a great crafty project to try this winter especially if you have wooden scraps or left over spindles you need to use up. It can be displayed both indoors or outdoors as beautiful winter decor. Keep reading for Karlas tutorial
TO BUILD :


square spindle (non pressure treated)


scrap piece of plywood (hat brim)


Tape measure


Pencil


Wood Glue


Circular saw,


scroll saw,


pneumatic nail gun,


sandpaper and sander


2 in. and 1 1/4 in. brads for nail gun


Safety glasses, ear protection


TO DECORATE:


Scrap fabric, burlap


Black, white and red craft paint


Various ornamental greenery bushes and berries


Polymer clay nose approximately 1 1/2 in. long


Hot glue gun and glue


HOW TO:


STEP 1:Measure spindle and cut to these exact length sizes (dimensions on the blog - see link below) using a circular saw.


Sand the cut edges of each spindle.
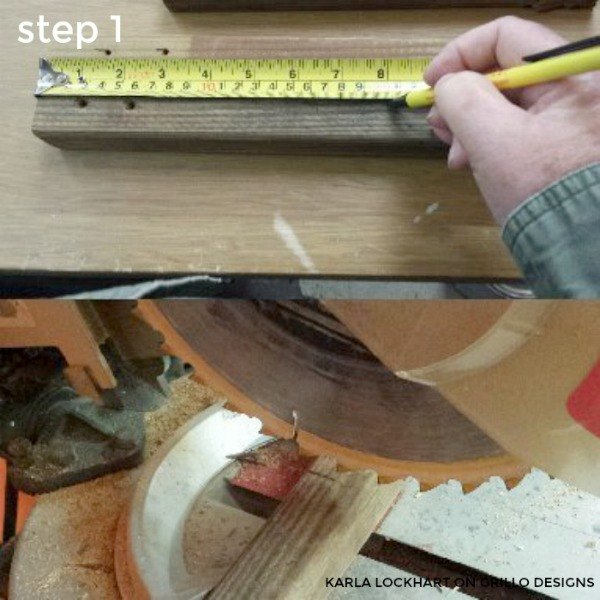
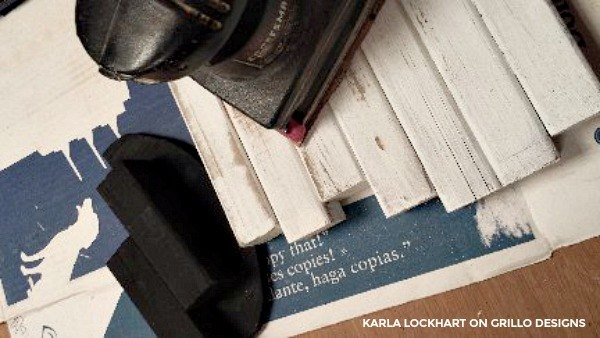
Step 2. Measure the plywod scrap for the hat brim.. Draw on one long side an oval type semi scroll. Use a jigsaw or scroll saw to cut the shape out, Alternatively you can also use large circular shapes of wood and cut in half.
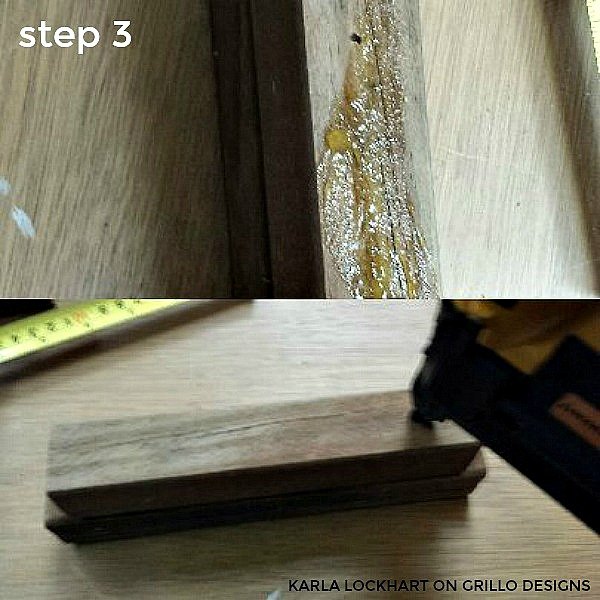
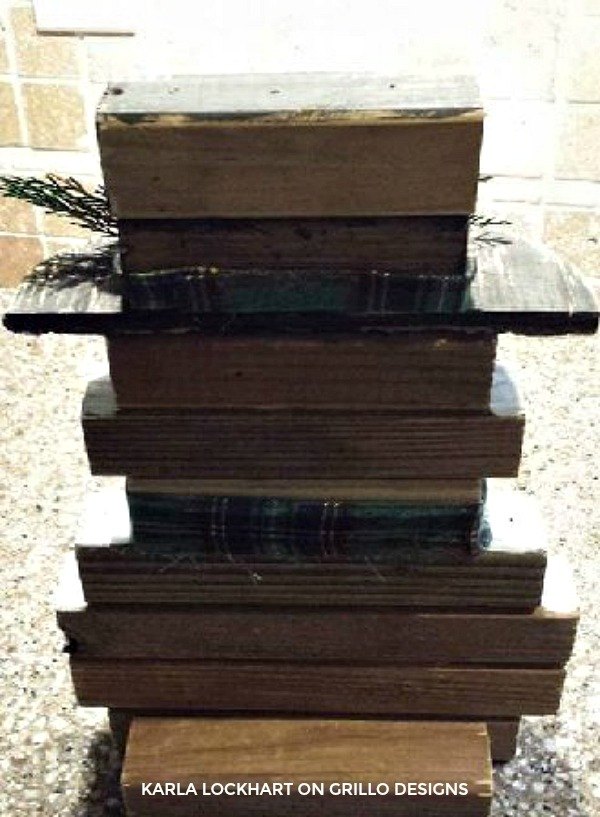
STEP 3: . Assemble the body


To get a similar shape as the wooden snowman shown in my picture you need to assemble the spindles in the following order (assembly order on the blog - see link below)
STEP 4 Paint body white and hat pieces black
STEP 5. Paint face, (if sealing with varnish do so now.) Hot glue on nose, scarf, greenery and berries.


IF YOU LIKED THIS POST, YOU MIGHT ALSO LIKE


HOW TO MAKE A SNOWMAN WREATH BY PEGGY BOND


HOW TO MAKE FAUX METAL LETTERS FROM CARDBOARD
Grillo Designs Members Projects
Want more details about this and other DIY projects? Check out my blog post!
Go
Frequently asked questions
Have a question about this project?
Comments
Join the conversation
Next