


DIY Attic Access
2 Materials
$30
2 Hours
Easy
Do you need access to your attic yet not want to invest in an attic pull-down? Today, I'm sharing a simple, two hour project, that will give you what you need! This project will cost you under $30.
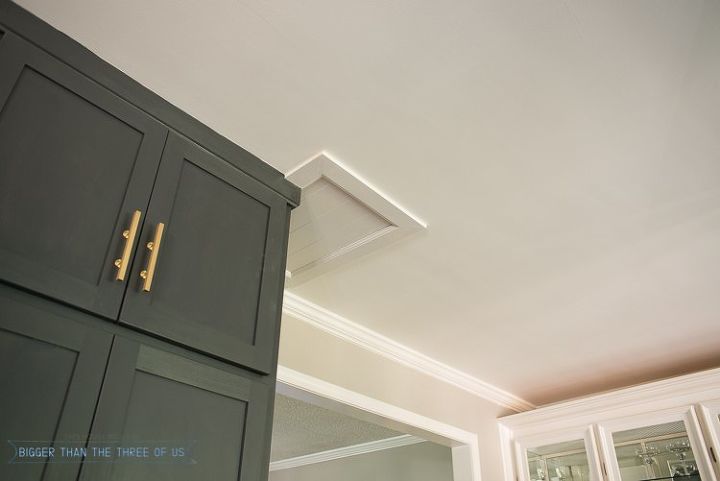
The backstory to this project is that when we were closing on the house, this part of the house (our house is a split-level) did not have attic access. We wanted the inspector to be able to inspect the attic so we had attic access put in. Fast forward a few years, during our kitchen renovation - we had asbestos removed and new drywall ceilings put in. Our attic access got new drywall so we needed to put a new access panel in.
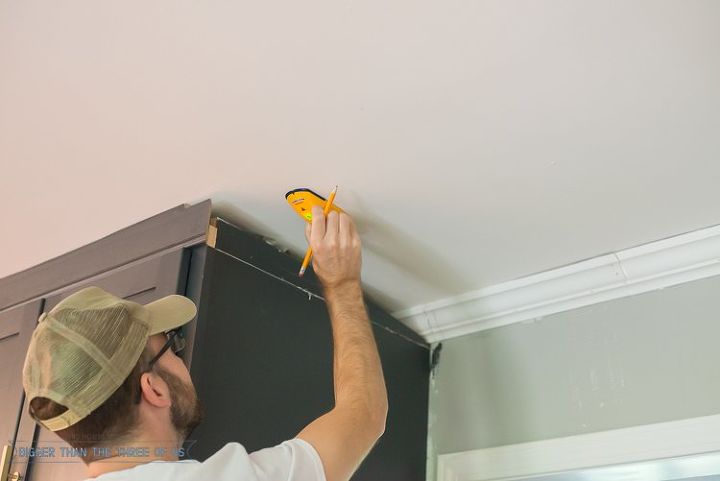
First thing we did was decide where we wanted to access to be. If you are doing this, make sure to consider the slope of the roof. We are about 10 feet from the outside wall which enables us to pull ourself up in the attic without immediately hitting our head. So, decide where you want the access to be. Use a stud finder to mark your studs.
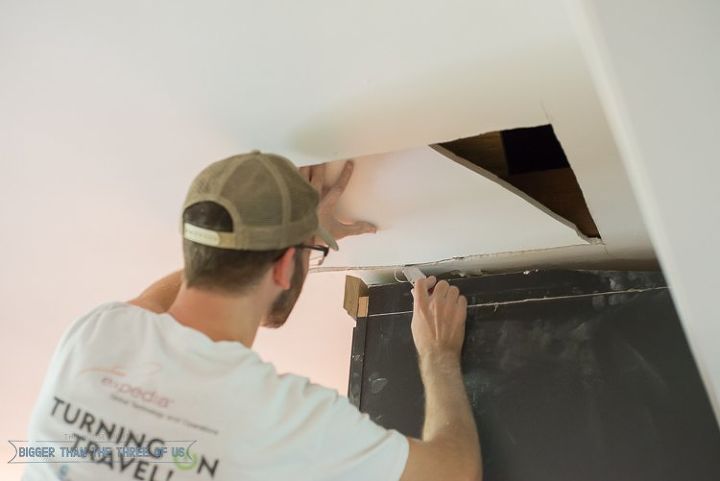
With a drywall saw cut a small box (we went with about 20 x 16 (fits a small person) within your studs. Use a utility knife to score the edges. Pop the drywall out.
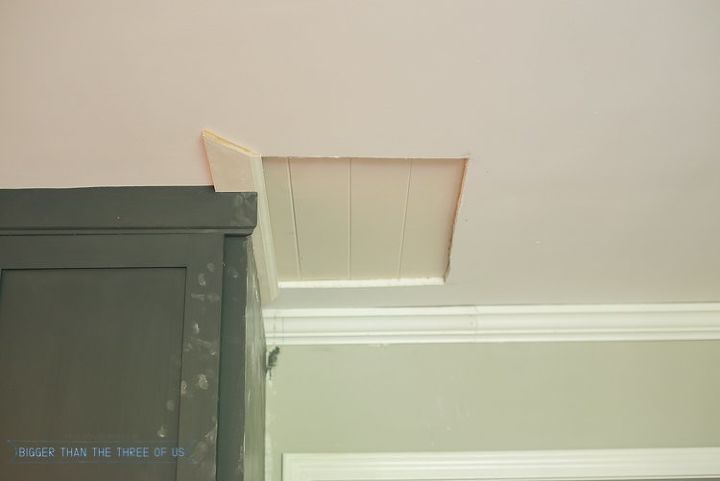
Cut a piece of paneling to slip in from the top. Using a miter saw, cut your trim boards. You will cut the trim boards like you are framing a window (see my tutorial for window trim here. Once you have your boards cut, grab your nail gun with air compressor. Nail the boards in. Fill your nail holes and caulk. After the caulk has dried, paint your trim. See more details and pictures of these steps in my blog post.
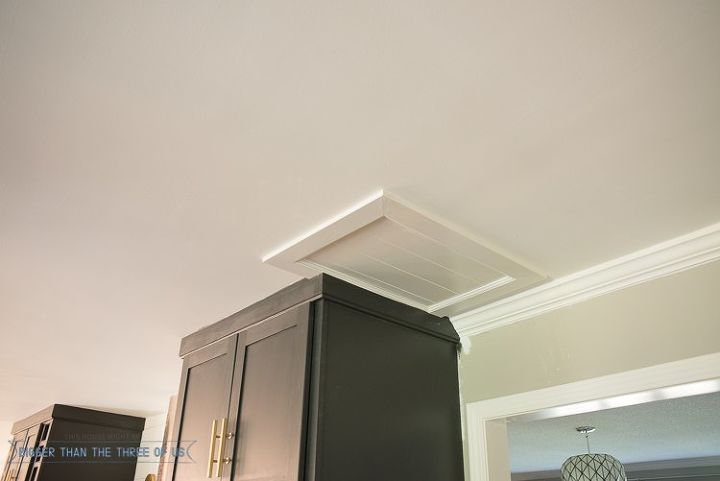
To access the attic, you will need a ladder. We just bring in a ladder when we want to go up there (which isn't very often). This type of access wouldn't be ideal if you are storing stuff in your attic but for a space (like ours) that doesn't store anything... it's perfect.

Want more details about this and other DIY projects? Check out my blog post!
Comments
Join the conversation
2 comments
-
Very good and concise tutorial. Looks great. Great share. I am surprised there was no attic access. As a former home builder, we always put in an attic access, It was code. Depending on the style of the home, either in a closet or in a hall. We used the joist space for support of the access panel. We also added insulation to the panel on the attic side, so there would be no air loss from the home bypassing the panel.


Frequently asked questions
Have a question about this project?