


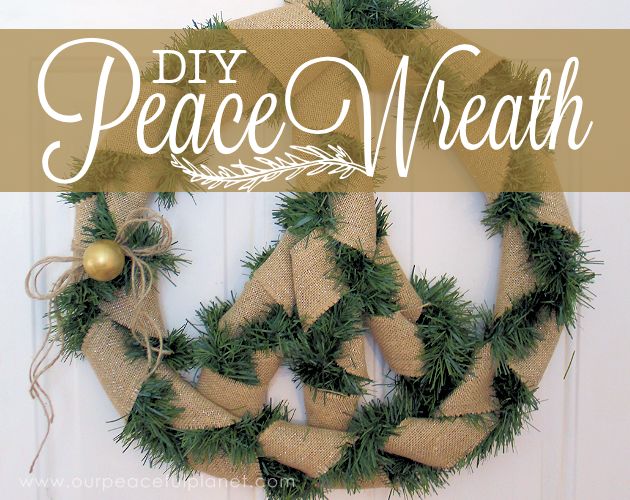
Burlap Peace Wreath
This wreath is inexpensive and super easy to make but has a LOT of photos... TOO MANY TO PLACE HERE (we are allowed 13.) ***CLICK HERE FOR ALL DETAILS, PRINTABLES & PHOTOS***
SUPPLIES NOTES: (Many have links to where we purchased them on our OFFICIAL POST link found on this page)
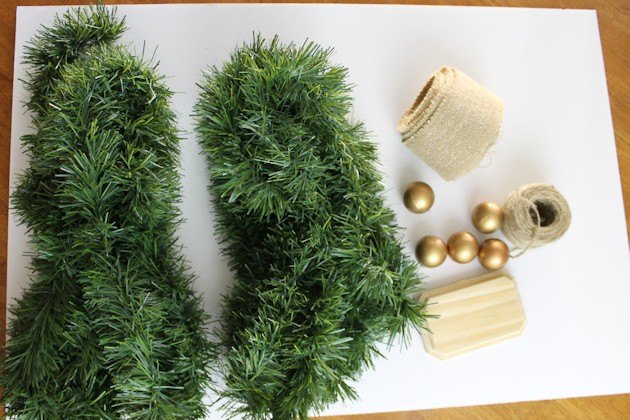
Cardboard can be used in place of foam board. Many items are actual links to where you can buy them if you visit our actual post on our site at www.ourpeacefulplanet.com ⚫Foam Board 20″ x 30″ ⚫ X-acto Knife ⚫Scotch Tape for pattern ⚫ Scissors ⚫ 24 feet green garland This is all Amazon currently had in stock. We purchased a 50 foot batch at Walmart for $8. You can try the Dollar store too. ⚫Burlap 12 plus 2 feet burlap, 2″ to 4″ wide. We used a glittery type similar to this one. ⚫Brown Twine ⚫Hot Glue Gun ⚫ Large Thumb Tacks (I use the large for hanging all my wreaths though regular tacks can work but are less strong. They are an awesome, no-nail way to hang a wreath!) ⚫Tiny Cork I buy a package and use the tiny ones for my wreath storage purposes. They are perfect as you will see on the post on our site. ⚫Small gold or copper Christmas balls – Check out the Dollar Store for these. ⚫Small wood plaque 3.5″x 5″ These sizes were the best fit, however we supplied quotes for a variety of sizes. ⚫ Gold Paint ⚫Mod Podge ⚫Printable quote on our site post ⚫Printable pattern on our site post
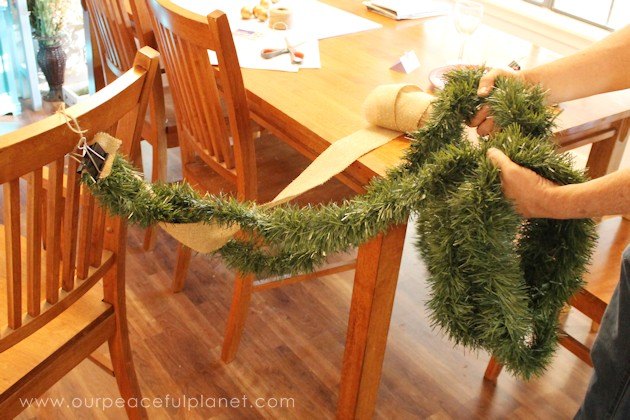
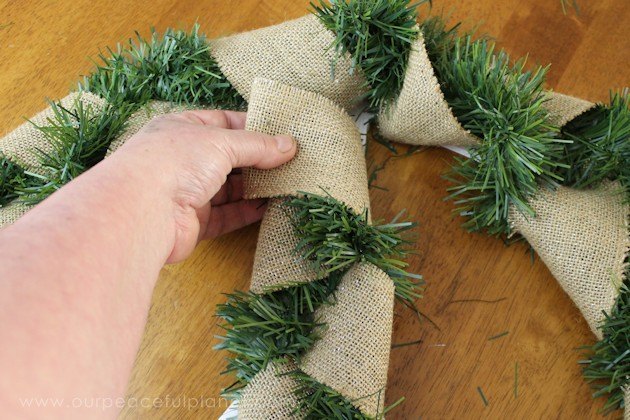
You will need two pieces of 12 foot garland and one piece of 12 foot burlap. They will be braided so you will need to hold them together on one end. I used a binder clip tied to a chair to help out. Because you will be dealing with extra long amounts of items, you can wind them up if needed while you are braiding them. It is, however, very helpful to have one or two other people help you.
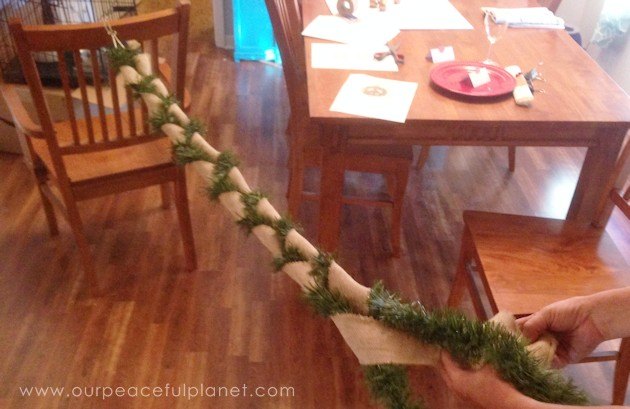
Also, because our burlap was so wide we opted for a different type of braid. I’m not sure what it is called but we took a video of it so you can see how we did it. You can use whatever type of braid you like, just make sure to not make it super tight. ***CLICK HERE TO VISIT OUR POST WHICH HAS A VIDEO SHOWING US BRAIDING IT! ***
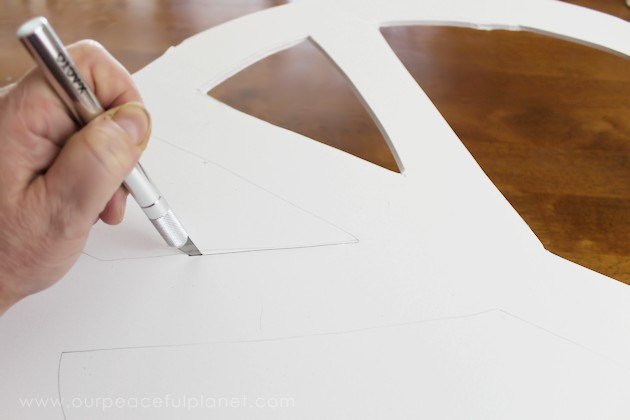
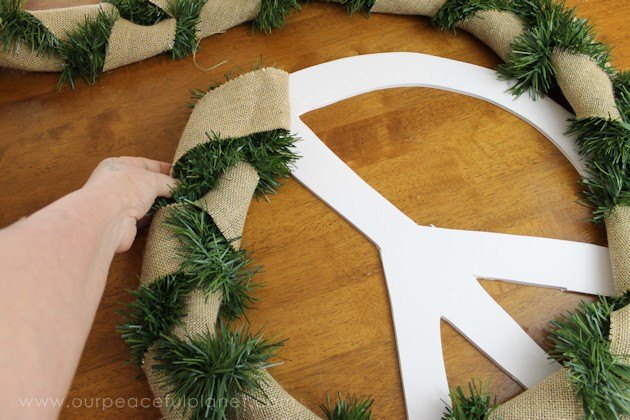
Using our FREE PATTERN FROM OUR SITE trace it onto cardboard or the foam board then cut it out.
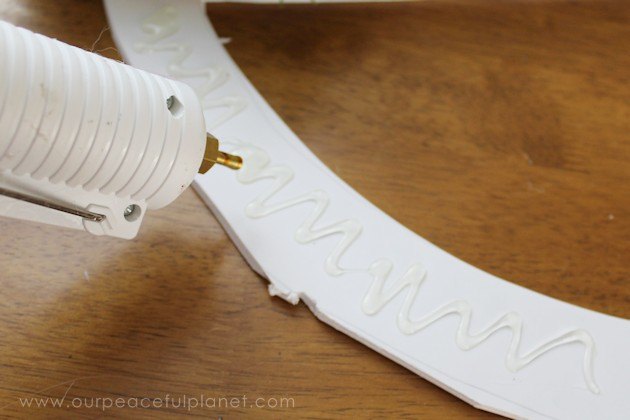
You will start to hot glue your braid onto the foam board.
Make sure it covers the backing frame completely.
Once you have completed the circle you will carefully cut off your braid and tack the end with glue. You will use the remaining parts to make the peace sign feet, gluing them on as you did the circle.
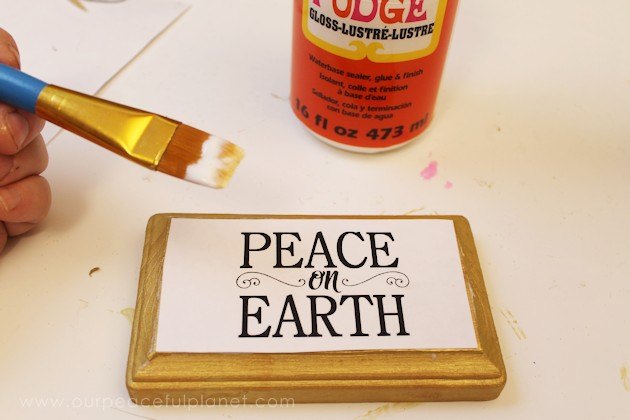
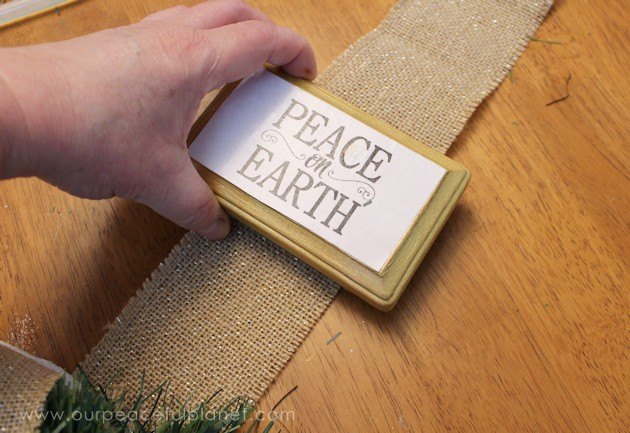
Mod Pode the FREE QUOTE FROM OUR SITE onto your small plaque.
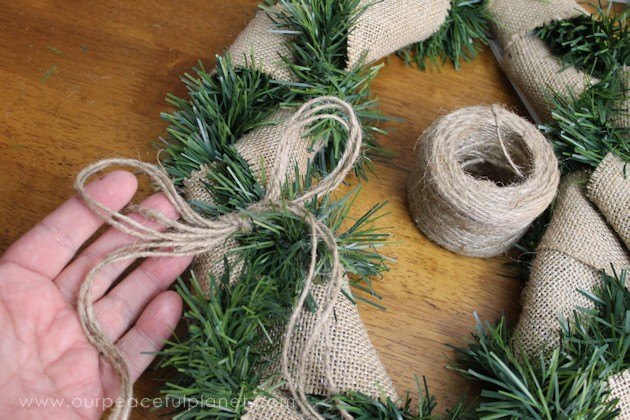
Add brown twine to your wreath and some small balls.
Attach burlap for hanging and blue the plaque onto it.
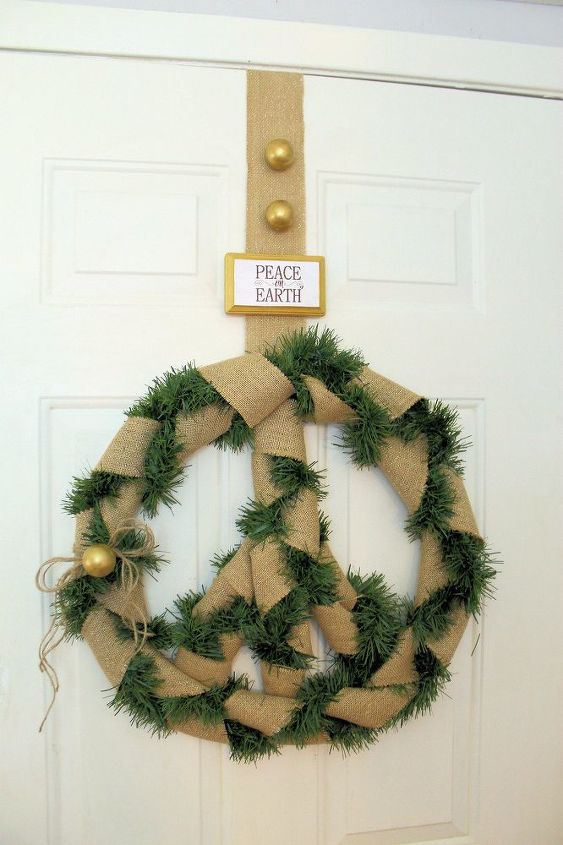
We show you how to hang the wreath with no nails on our post!

Comments
Join the conversation
-
Great idea, looks wonderful.
-
lovely idea!! peace is a good thought


Frequently asked questions
Have a question about this project?