


Rattan Bar Cart DIY

by
Katherine
3 Materials
Get a chic bar cart with this DIY for under $40!
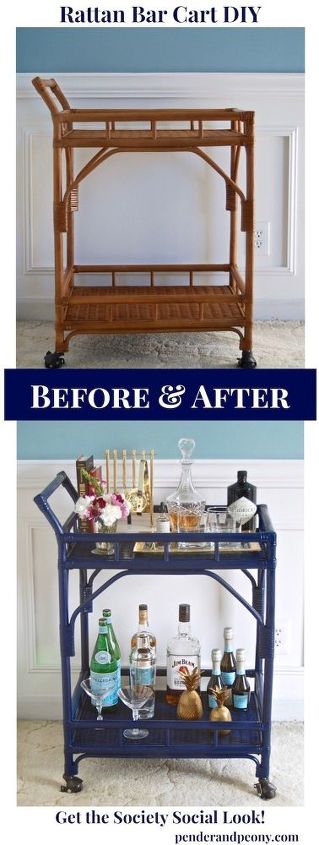
Finding the perfect bar cart for your decor style and budget can be a bit of a challenge. I’ve long loved the look of Society Social’s rattan bar carts, but I just can’t justify their hefty price tag at $700 when S. and I have so many renovation projects on our list. Whenever I go antiquing or thrifting I keep an eye out for a vintage bar cart I could transform.
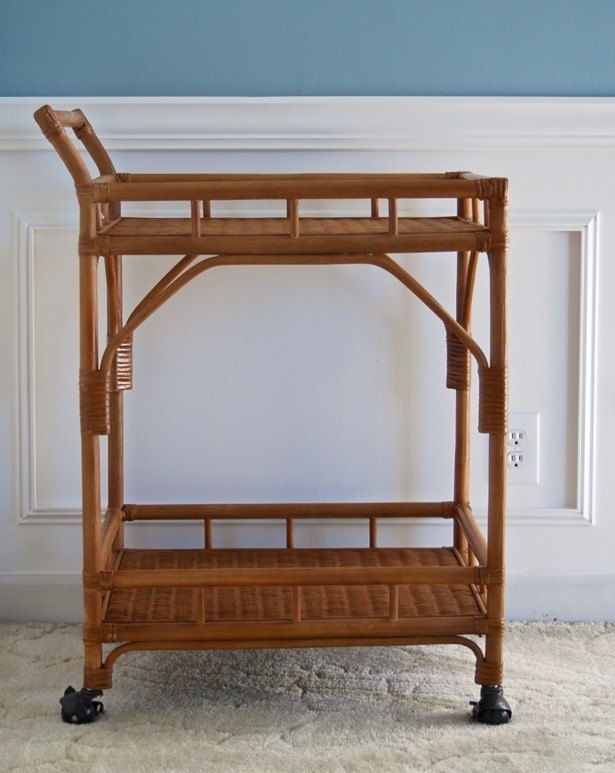
Finally, the other week I got lucky! Tucked away in the back of a consignment shop loaded down with books and other bric-a-brac was this simple rattan bar cart. I sauntered up to it trying to appear casual and not wanting to alert anyone else to this vintage gem. I was nervous to look at the price tag, praying it would be affordable. I flipped the tag over and my heart did a little flip for joy. YES! It was only $30!
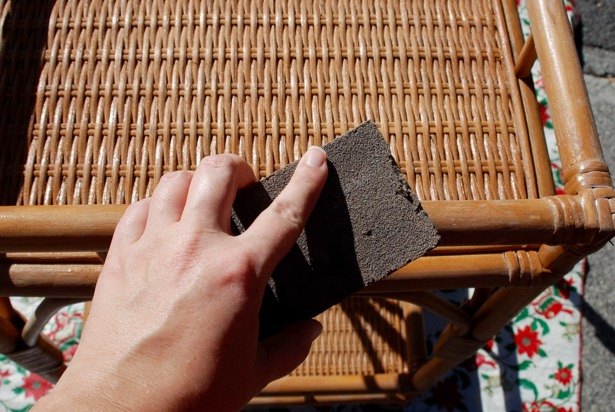
With a little sanding and some spray paint I turned this rattan cart into a chic bar cart perfect for entertaining!
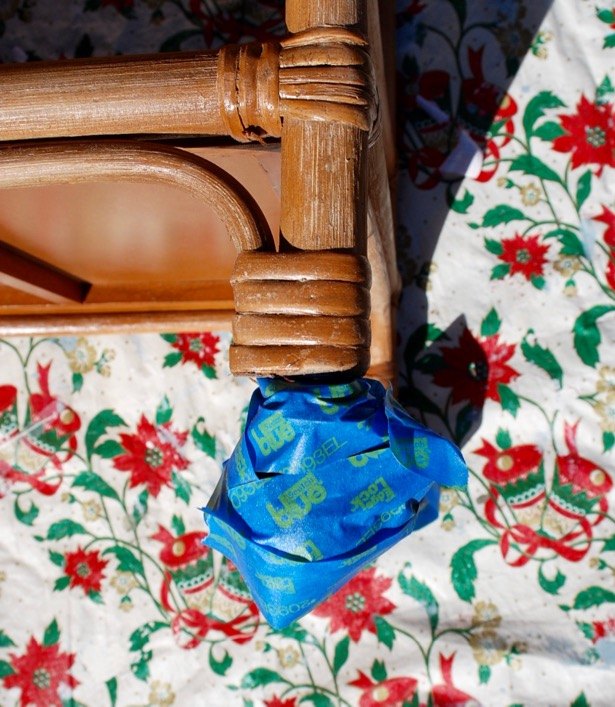
Step 3: Shake spray paint can vigorously and begin to spray rattan. Continuously move spray over surface in broad strokes to avoid excess paint and drips.
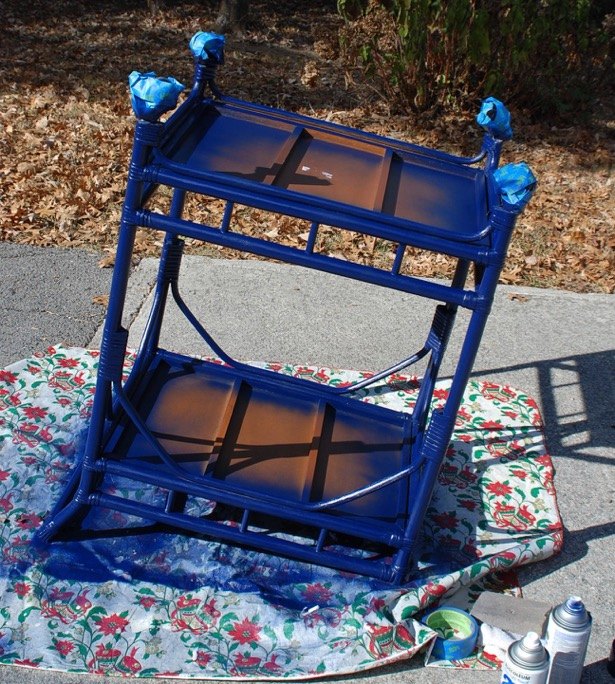
Step 5: Apply second coat of spray paint, turning cart as needed. Expect to use 1 can and 3/4 of second can. Allow to dry 1-2 hours before moving inside.
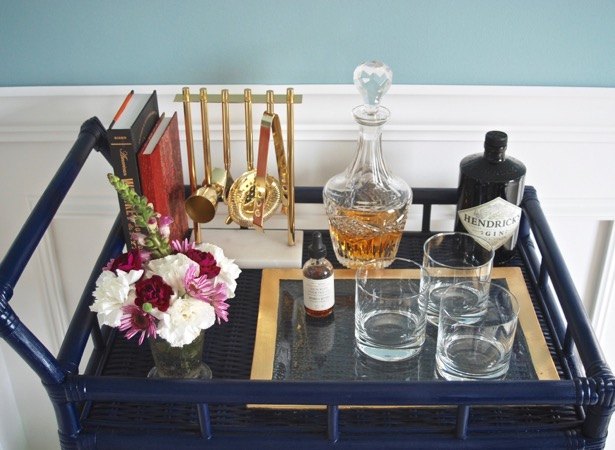
See more photos of how I styled my bar cart over on penderandpeony.com!
Want more details about this and other DIY projects? Check out my blog post!
Comments
Join the conversation
3 comments
-
Amazing what a little paint will do! From drab to fab! Good job!


Frequently asked questions
Have a question about this project?