


Update - Vintage Garden Tool Gate in Situ in the Garden

by
Carole
3 Materials
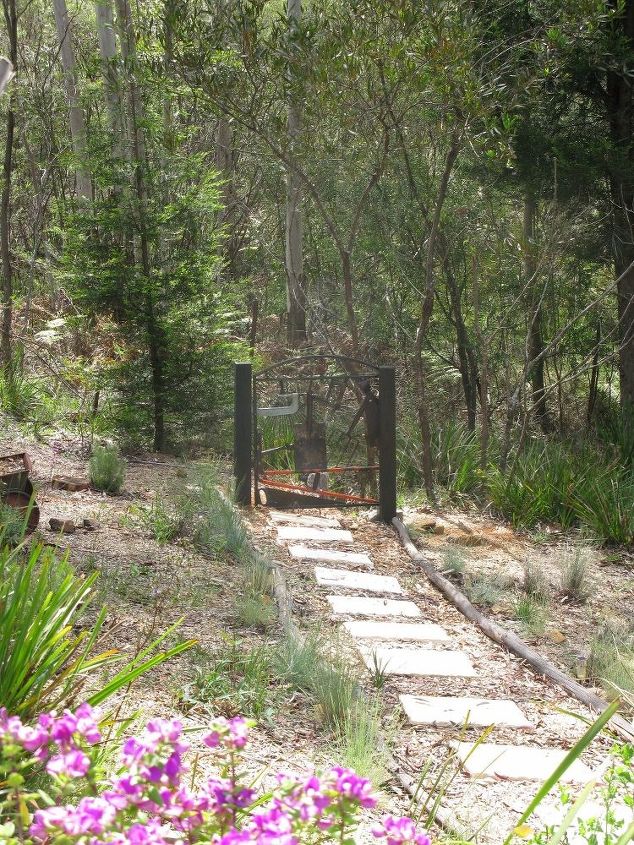
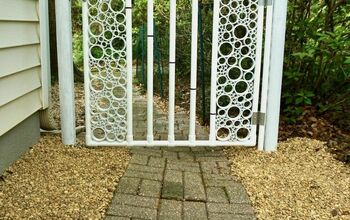
I promised an update once this gate was completely finished and in its permanent home in our back garden. Here it is, located at the end of a path. It draws the eye out across that side of the yard to the perimeter of the garden almost. It is a fake gate - being secured by brackets on the right hand side gate post in the photo.
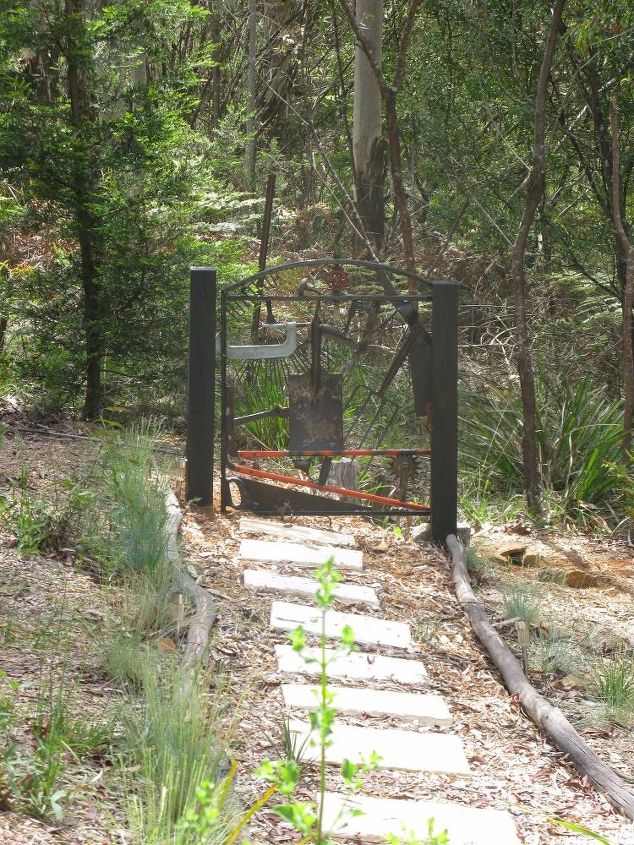
The steppers in this photo have yet to be set in sand to stop them moving underfoot. The path and gate are more of a decorative feature than a functional one.
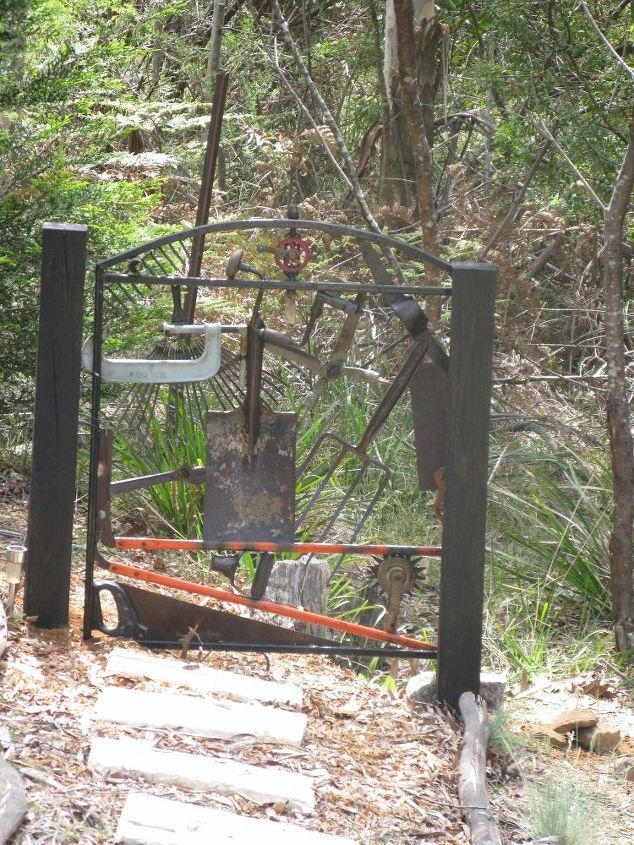
The gate posts are H4 treated pine and I painted them with a grey decking stain that dries black. This tones with the black painted gate frame. I used a double shovel post digger to make the holes which are 40cm and 50cm deep (it is on a slope) The treated pine post was 3 metres in length and the hardware store cut the post in half for me. The posts are set in rammed earth rather than concreted in. Galvanised steel brackets hold the frame of the gate to the posts and are situated at the rear of the posts so they cannot be seen from the front.
Comments
Join the conversation
3 of 12 comments
-
This gate is my all time favorite! SO unique, SO inventive, SO unusual, I am SO jealous! Must have. TY for showing this masterpiece.
-
I just so love this! Absolutely my kinda thing! TY!


Frequently asked questions
Have a question about this project?