


IKEA Desk Hack
2 Materials
$100
2 Days
Easy
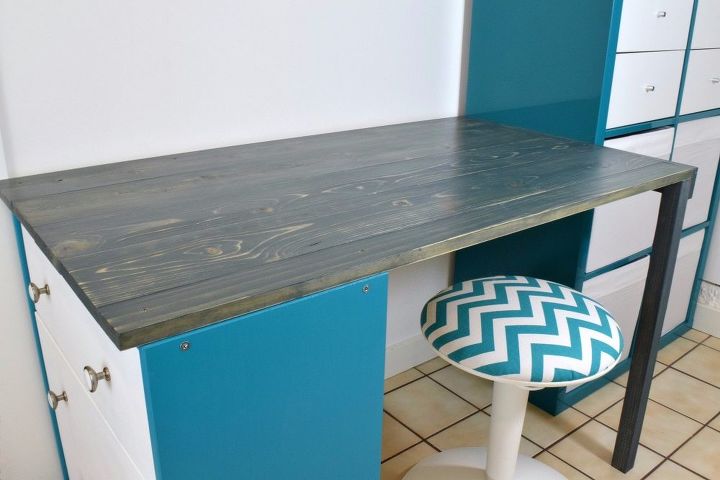
As part of my $100 room makeover challenge, I created a new desk for our basement office space. This desk is really easy to make with IKEA storage furniture and a few pieces of lumber.
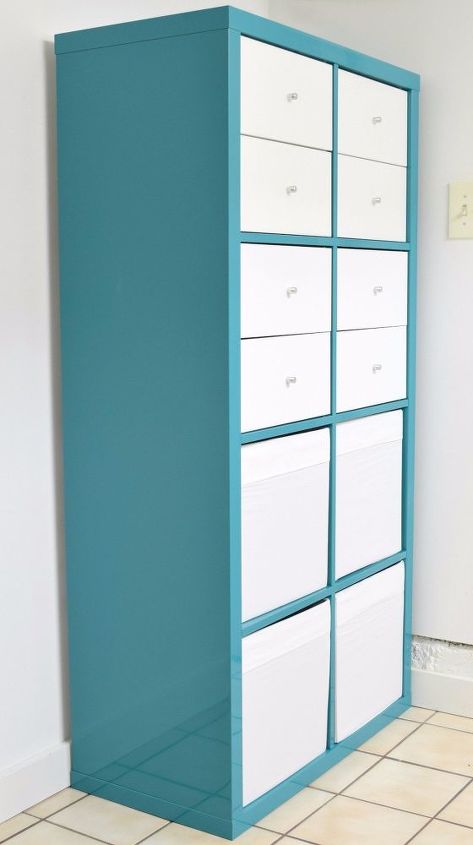
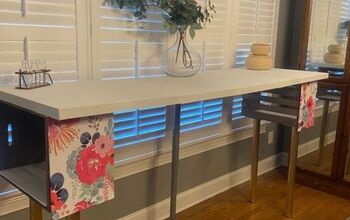
I started with the IKEA Kallax, which is great for storage! This will be one end of the desk.
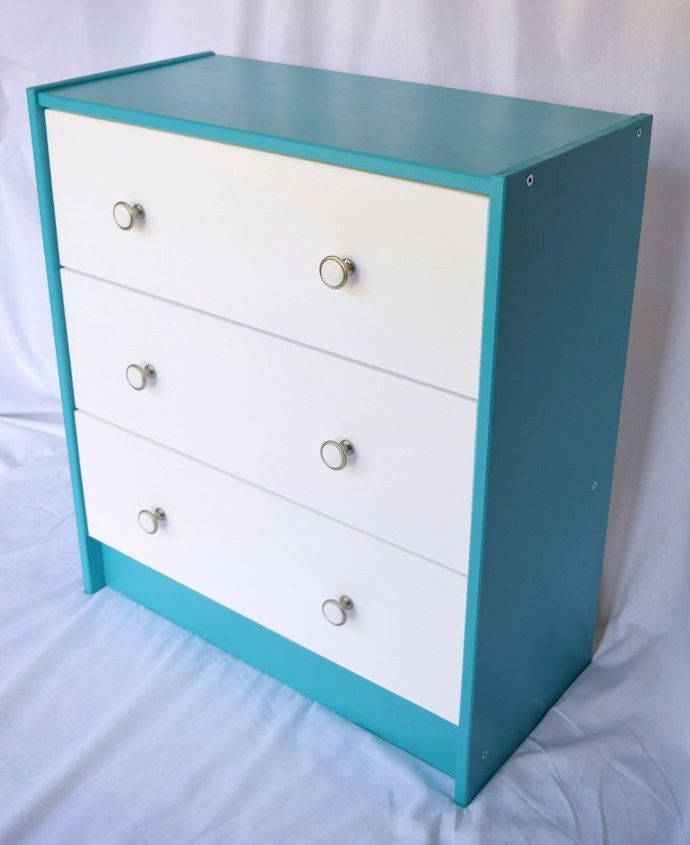
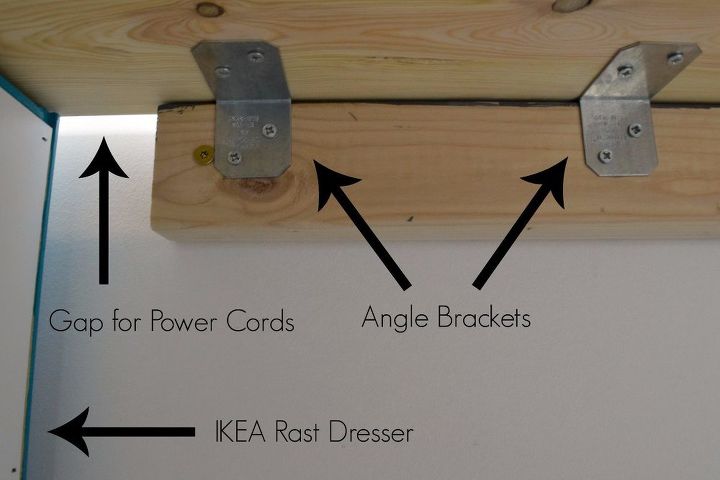
The other end of the desk is the IKEA Rast dresser, which I painted to match the Kallax. You can see how I transformed the dresser on my blog, The Handyman's Daughter, by searching for "Rast dresser."
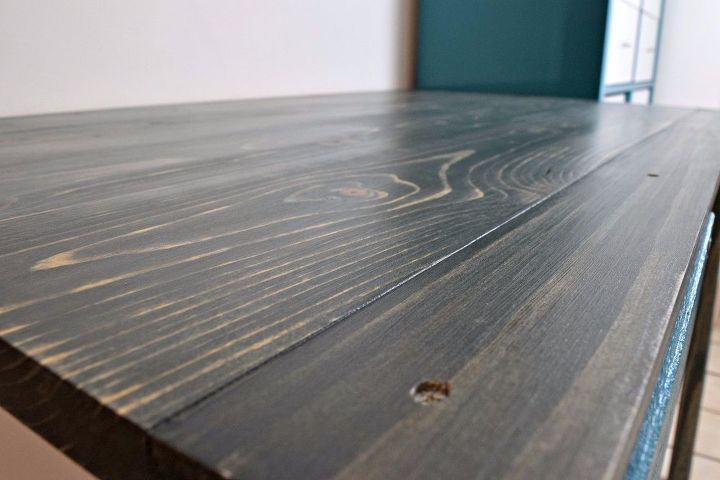
To make the surface of the desk, I planked together 1x6 boards and one 1x3 board with pocket holes.
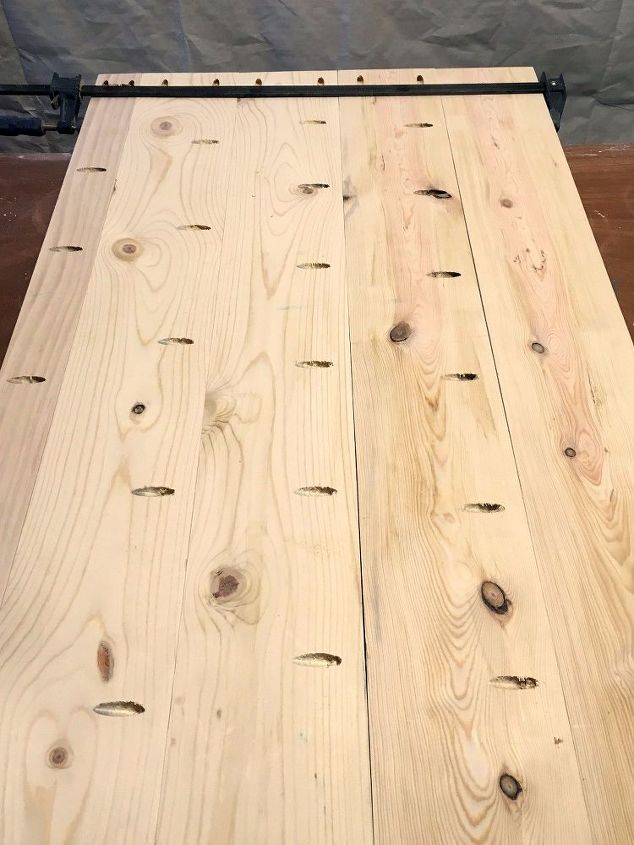
I cut a leftover piece of 1 x 3 to the width of the desk, and attached that to one end. Make sure the end of the 1 x 3 is flush with the surface of the desk. Once the entire piece is assembled, paint or stain it as desired.

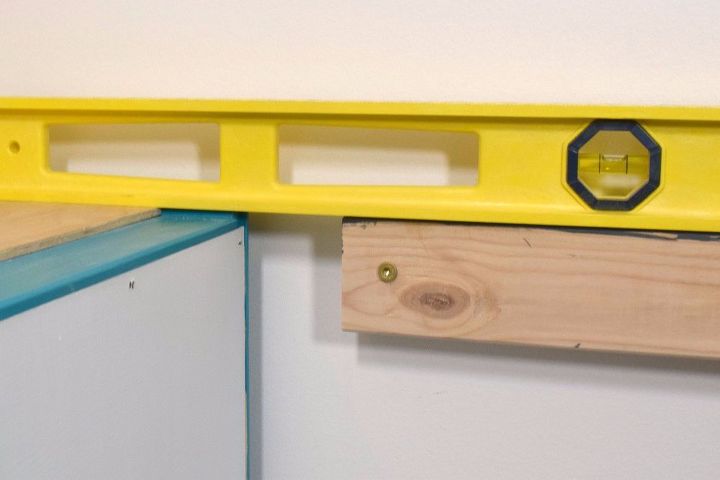
Cut a scrap piece of 2 x 4 a few inches smaller than the distance between the Rast and Kallax. This piece will attach directly to the wall at the studs with 3" screws, and will serve as support for the back of the desk.
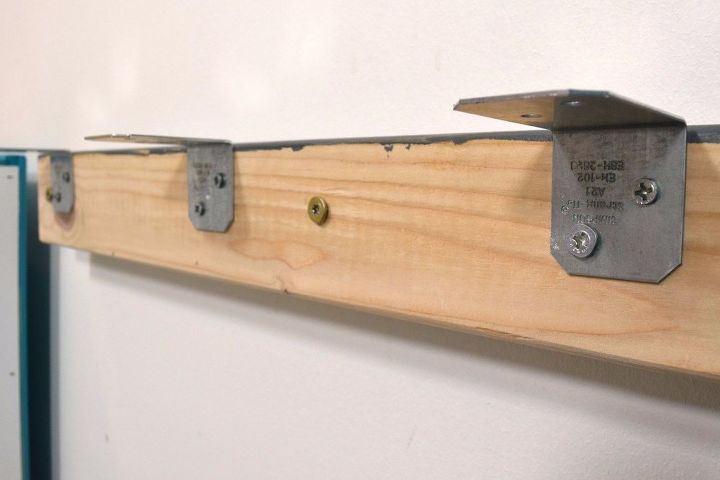
Attach angle brackets to the top of the 2 x 4. These brackets will keep the desk top in place and provide more support.
Now set the desk top across the brackets and Rast dresser, with the lip facing towards the Kallax. Attach the other side of the angle brackets to the underside of the desk top using 5/8" screws.
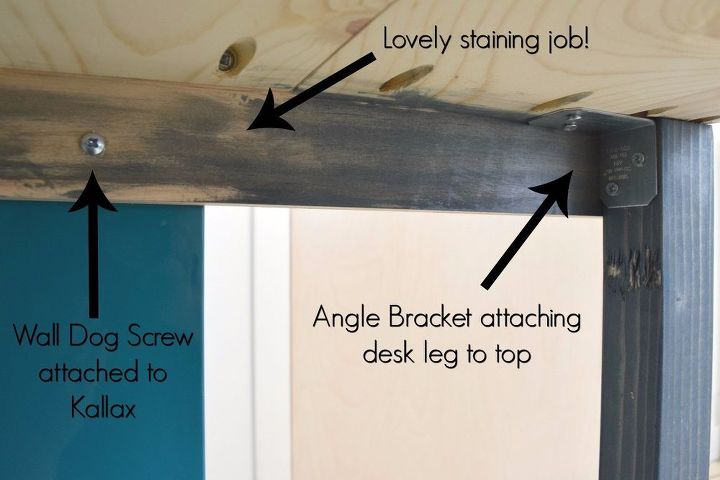
Attach the lip of the desk top to the side of the Kallax. I thought the free hanging corner of the desk looked a bit odd, so I cut a 2 x 2 leg to fit. It's attached to the desk top with another angle bracket.
To connect the Rast to the desk, I just screwed straight through the top with a few 1 1/4" screws.
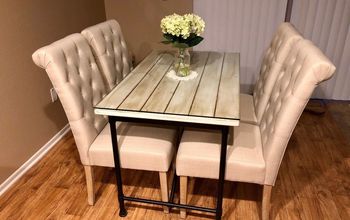
Now we have a sturdy desk that has a ton of storage! I already had the IKEA pieces, so this was a very inexpensive desk to build. If you would like to see more photos of the finished piece, or the supply list, please head over to my blog at The Handyman's Daughter.

Want more details about this and other DIY projects? Check out my blog post!
Comments
Join the conversation
1 comment
-
Great job! Love how you faced the dresser drawers off to the side. The gap for the power cords is genius. Love the color with the wood grain top.


Frequently asked questions
Have a question about this project?