


Recycled Wood Tool Tote

by
Clint
3 Materials
My friend Jack's wedding was coming up and I wanted to make him and the bride something from wood. I knew he wanted to get into woodwork so I thought a tool tote would be perfect. Its made from old floorboards, a hazel rod and sapele dowels, all saved from going to the dump.
{
"id": "3618816",
"alt": "",
"title": "",
"video_link": "https://www.youtube.com/embed/xzGpqFS3-OI",
"youtube_video_id": "xzGpqFS3-OI"
}
{
"width": 634,
"height": 357,
"showRelated": true
}
I didn't have the required sized boards when I started to make the tool tote so I had to glue 2 sets of 2 planks together. This was done simply by clamping the boards together in a vice, planing down both edges to join at the same time and then gluing together. If you have the desired sized boards at hand however, this part of the step can be avoided.
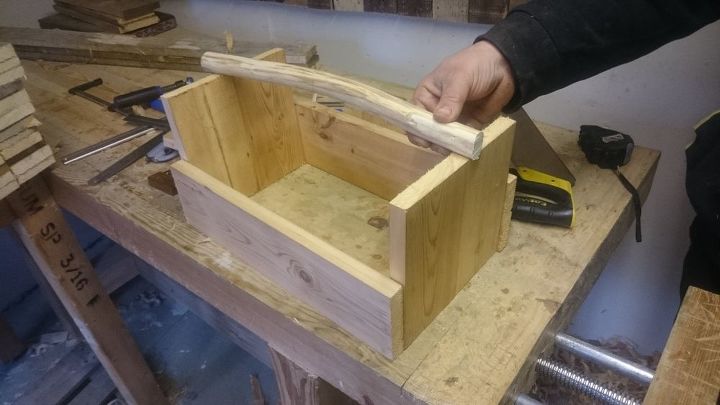
Standing the pieces together (sans base)
Holding the pieces together as with the photo above, you can figure out where the tenons on the handle will begin. It's important to take your time on this step to make sure the tenons fit well.
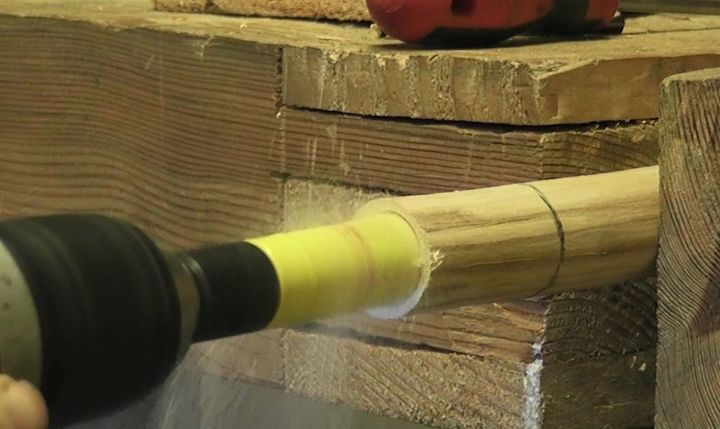
A hole saw making the tenon on the handle
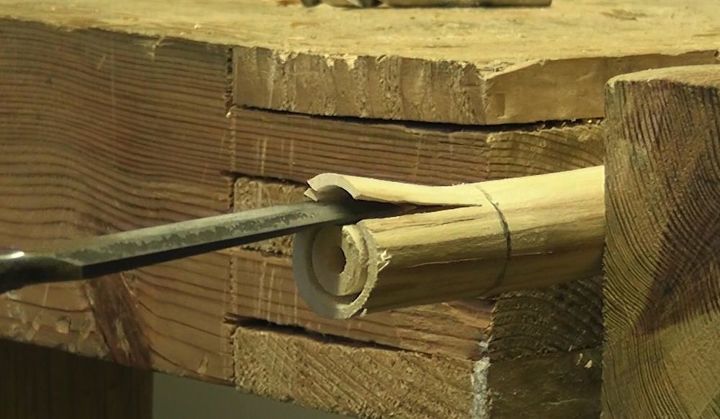
Saw the line, chisel off the waste
With the tenons made you can then cut the holes for the tenons to go into. These holes are in the ends of the tote, the two boards measuring 20cm X 20cm. I made the handle come about 4cm (1 9/16") from the top of the tote. Make sure to drill a hole slightly smaller than the handle's tenon, you can then keep adjusting the tenon very slightly until you get a nice snug fit.
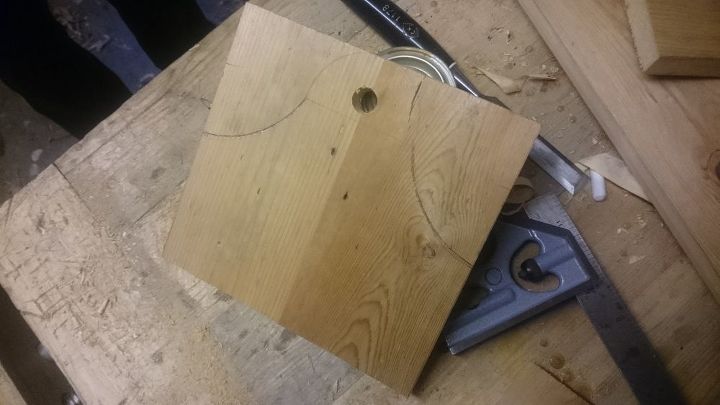
The curve drawn and ready to be sawn
Once the ends are cut out you can glue them altogether. I used a frame clamp to keep the whole thing together whilst it was gluing up and added a few more clamps just to make sure. I left it overnight to dry.
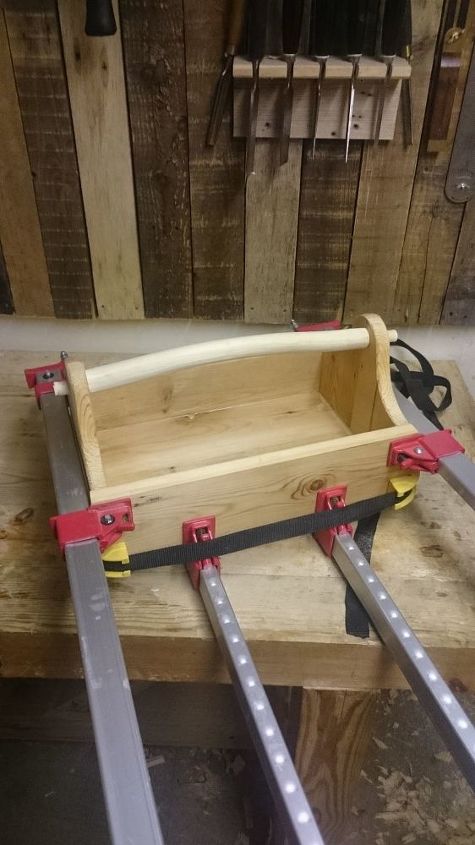
A frame clamp was perfect for this job
The next day you can start thinking about the dowels. The process is quite simple with the right tools. First of all I cut a small chunk of wood about 10cm (3 15/16") in length and then split lots of little billets off with a chisel. I then whittled the billets down into dowel shapes a little bit thicker than the final size of the dowels, I bashed them through a dowel plate and made around 20 of them (I only needed 18 but made 20 in case any broke).
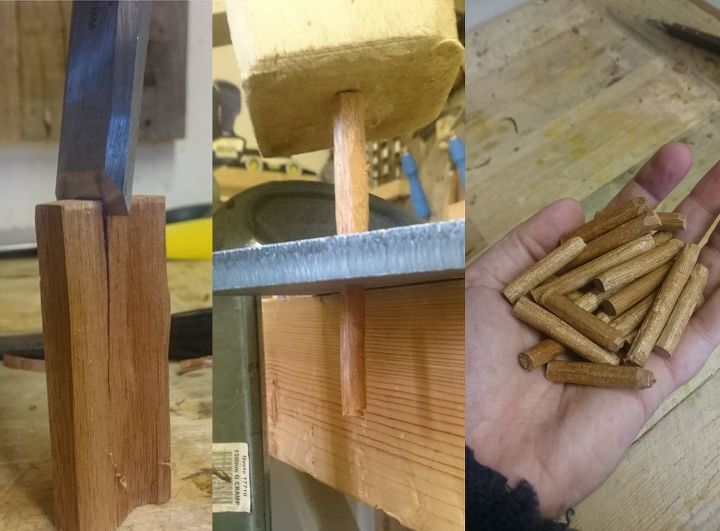
The dark sapele looked great as dowels
After the dowels were all ready I drilled the holes for them to go into. I decided to go for 7 dowels in each side of the tote and 2 dowels in each end. I felt that was sufficiently strong enough to hold some heavy tools (I hope!).
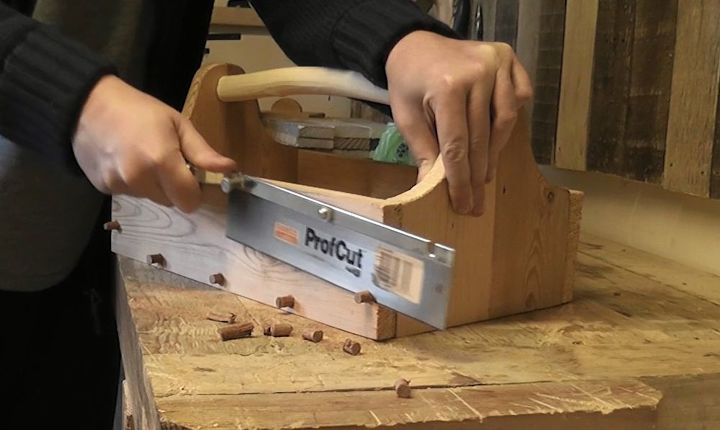
Cutting the dowel ends off
Now it's time for sanding and generally making the tote as smooth and appealing as possible. I used a small block plane to chamfer down the corners and edges of the tote, not only to make it look more polished but also to stop any sharp or frayed corners catching on clothes or skin.
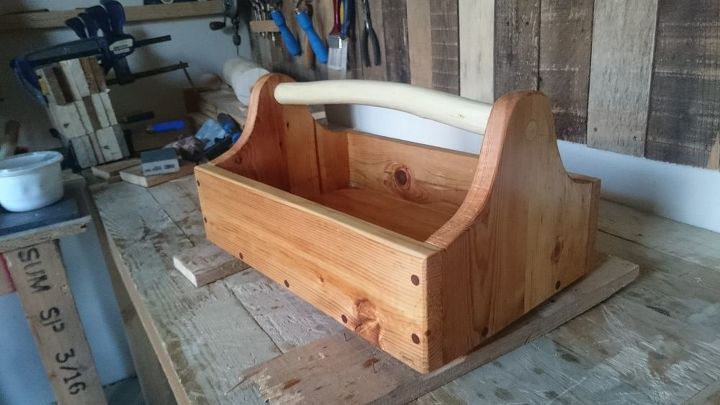
The tool tote finished
You might want to leave it for a couple of days before you start using it, just to make sure any residue of the finish has dried off. It's also a good idea to check it periodically as its drying to make sure you wipe off any wet spots that emerge.
Want more details about this and other DIY projects? Check out my blog post!
Comments
Join the conversation
4 comments
-
I love it! As an avid woodworker, I would cherish it and use it proudly. Great job.
-
Awesome project, and such an amazing post!!!


Frequently asked questions
Have a question about this project?