


DIY Magnetic Chalkboard Frame

by
Rick
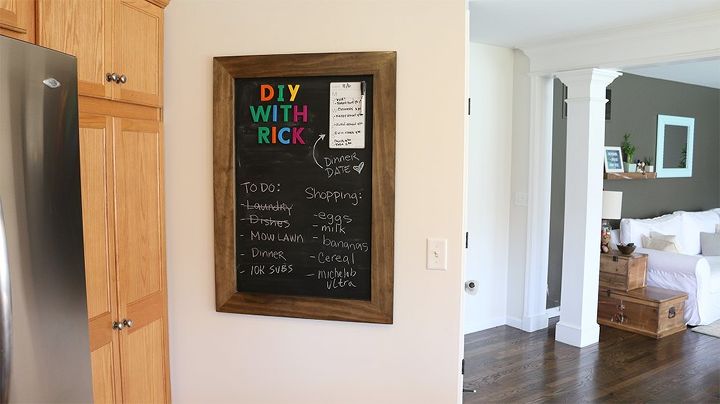
After an unfortunate extended layoff due to CHILDREN (getting me sick), I'm back with some magnetic chalkboard magic. Using 2x3 sheetmetal, 1x4 pine, plywood and Rustoleum chalkboard paint I constructed a magnetic chalkboard to organize the family's activities in the kitchen command-center.
{
"id": "3620528",
"alt": "",
"title": "",
"video_link": "https://www.youtube.com/embed/oN2093PumZE",
"youtube_video_id": "oN2093PumZE"
}
{
"width": 634,
"height": 357,
"showRelated": true
}
Check out the video above to view a moving picture show unlike anything you've ever wanted before in your life. OR! Check out the step by step guide below! I know, not the best of choices but it's all I've got today...
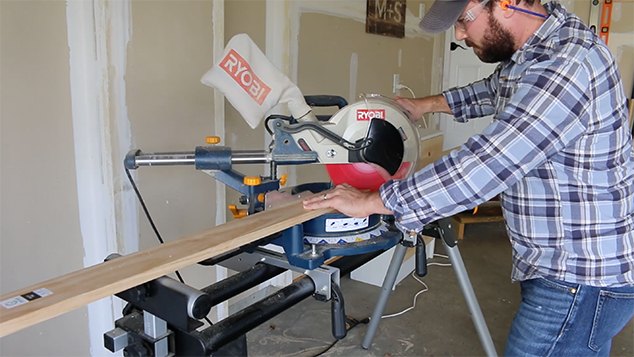
Set your miter saw to 45 degrees and make the following cuts to build the main frame:
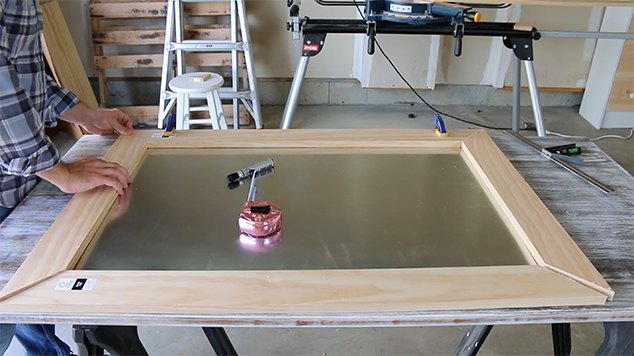
Dry fit the newly cut frame to make sure everything is square. If you need to make any adjustments to your pieces now is the time before they're joined together FOREVER! Like us.
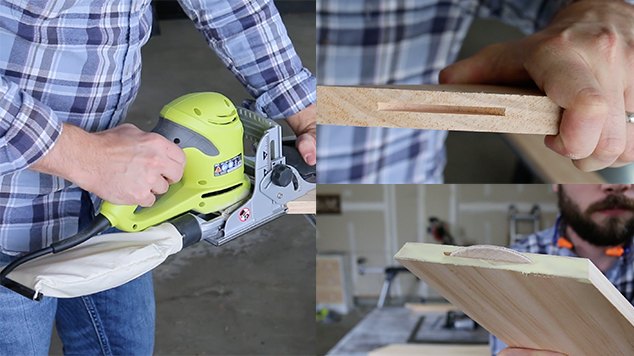
I'll be using biscuits to help with the alignment of my frame. This isn't a necessary step, but if you have one why not? If you DON'T have a biscuit joiner, don't sweat it! I think glue and some hardware will do just fine.
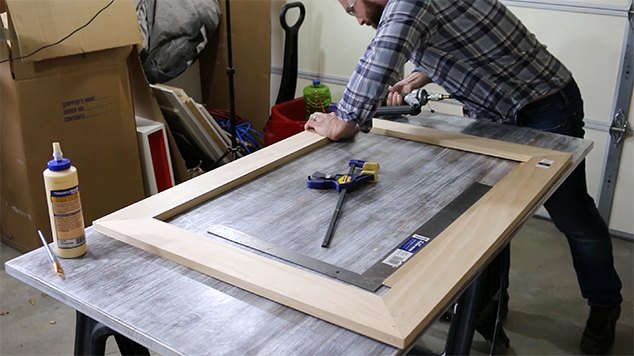
I make my way around the perimeter of the frame putting (2) 1-1/4" brad nails in each side.
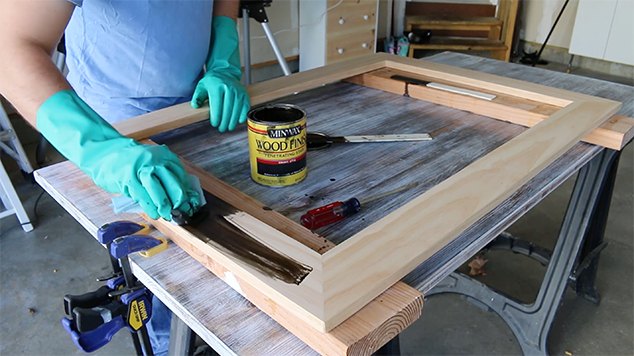
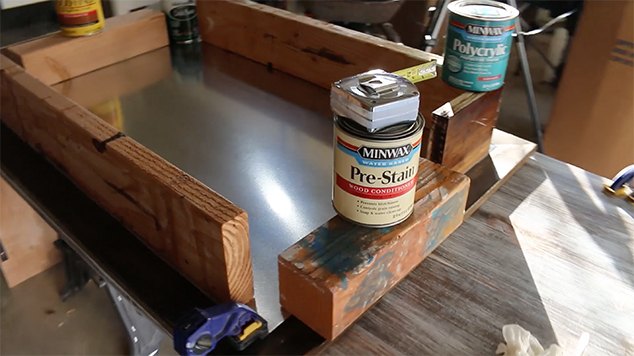
Today I'm using a mixture of Minwax's Dark Walnut and Ebony. YES! You can mix stains! The possibilities are ENDLESS! (actually there are about 26 Minwax wood stains so the possibilities...uh...do end...so yeah. sorry about that.)
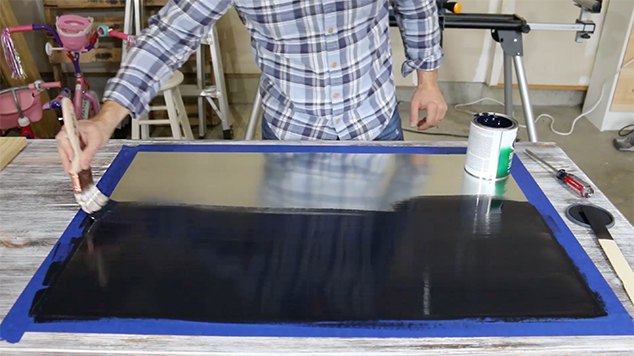
I'll be using (3) coats of Rustoleum's chalkboard paint on my 2x3 sheet metal. The first coat goes on THICK and blue. But don't freak out! It dries black.
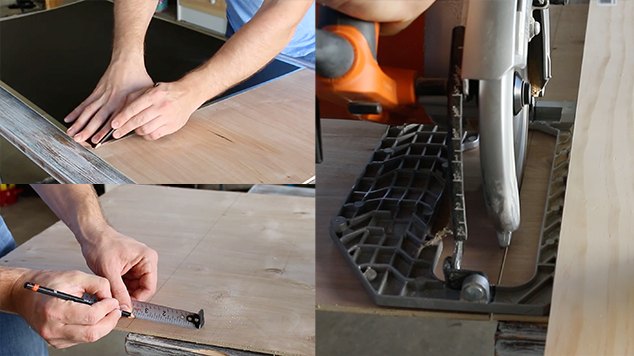
Grab your sheet of 1/4" plywood. Use the sheet metal as a guide and make your cut using a circular saw.
Dry fit your sheet metal on the back of the frame and trace the perimeter.
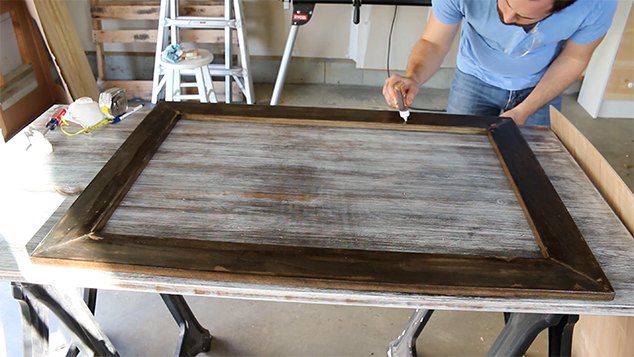
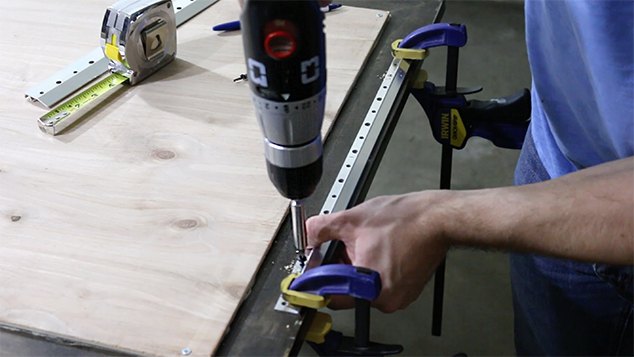
Use your really expensive, professional clamps to keep pressure on the metal and wood we're bonding.
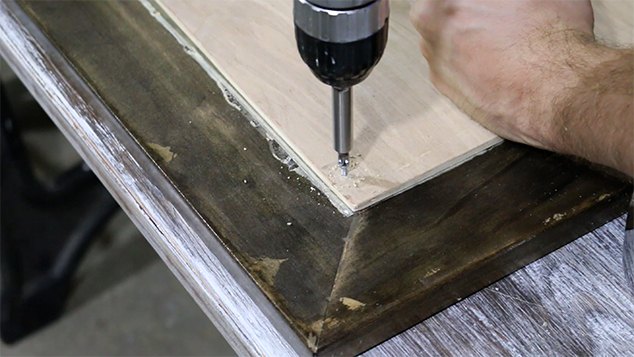
Lay your plywood over the metal and attach it to the frame using 1/2" screws.
I'll be using this $20 mirror, picture and frame hanger. It's a simple cleat system that will hold a good deal of weight once mounted into wall studs.
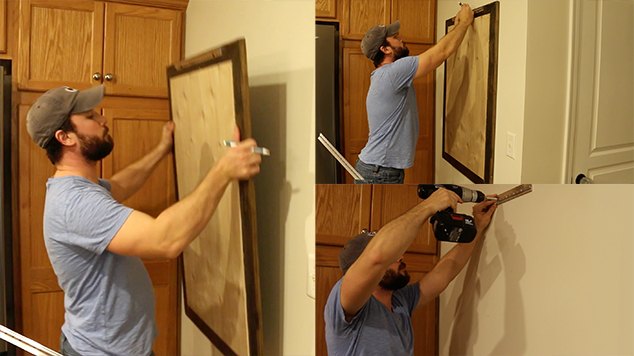
Mark out the location of your wall stud and attach and level the cleat to the wall.
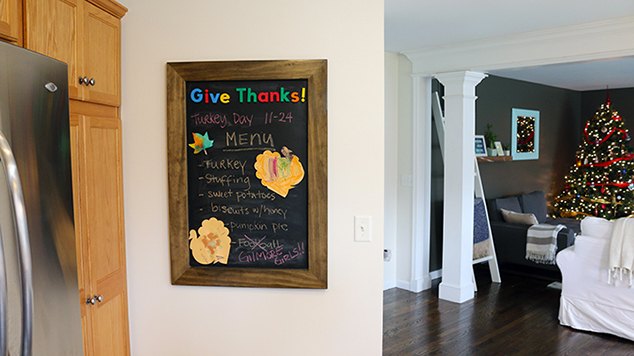
Then hang your frame! And that's a wrap! We did it! Together. Mostly me...but you helped...in spirit.
Thank you for reading!


Frequently asked questions
Have a question about this project?