


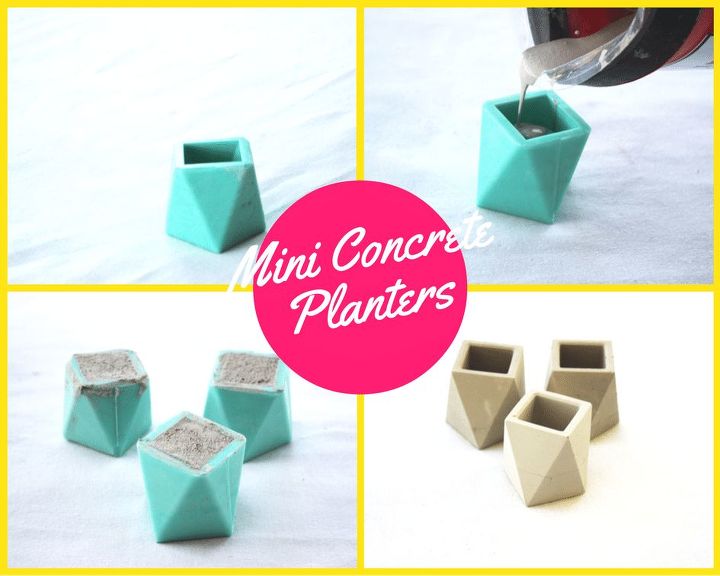
MINI CONCRETE PLANTERS DIY
5 Materials
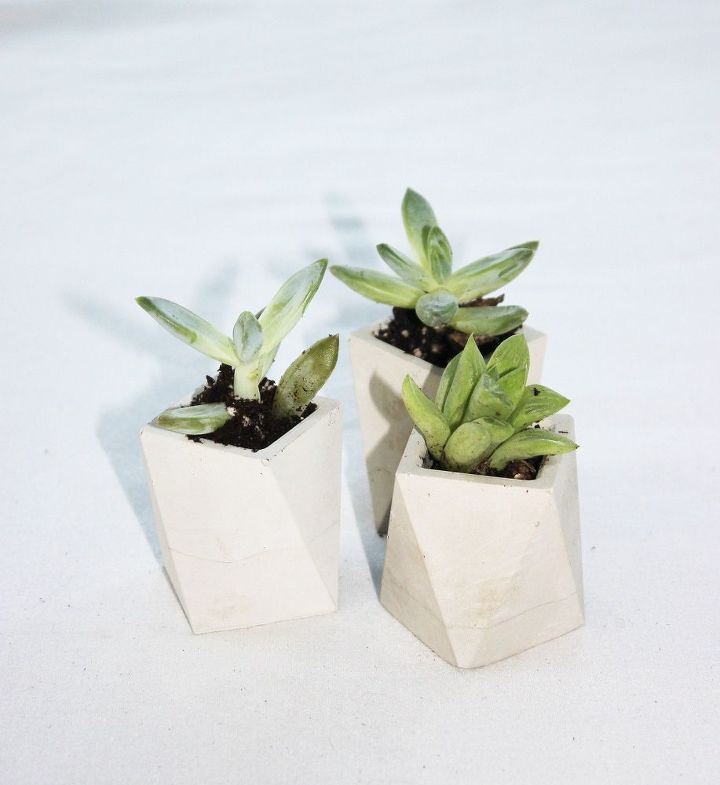
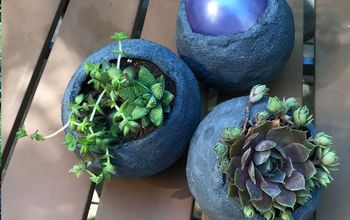
Lately I have been obsessed with succulents. So when I discovered these mini moulds that are for used for making mini concrete planter. I was so excited!
These cute planters are easy to make.
Supplies you will need:
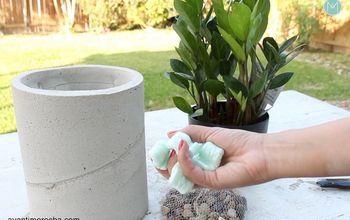
Buddy Artisan Concrete Mix
Silicone Planter Mold
Mixing Stick
Oyster Shell Pigment
Oyster Shell Pigment
1/4 cup of water (mix ratio is 1 part water to 3 parts Artisan Concrete Fast Setting Mix)
These cute planters are easy to make.
Supplies you will need:
Buddy Artisan Concrete Mix
Silicone Planter Mold
Mixing Stick
Oyster Shell Pigment
Oyster Shell Pigment
1/4 cup of water (mix ratio is 1 part water to 3 parts Artisan Concrete Fast Setting Mix)
Step 1: Combine all dry ingredients.
Step 2: Slowly add the water using a mixing stick. The concrete texture should look and feel like thick paint.
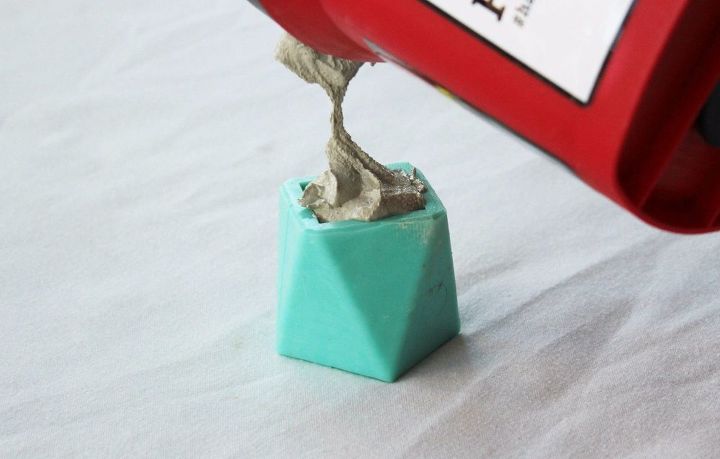
Step 3: Pour concrete into the mold.
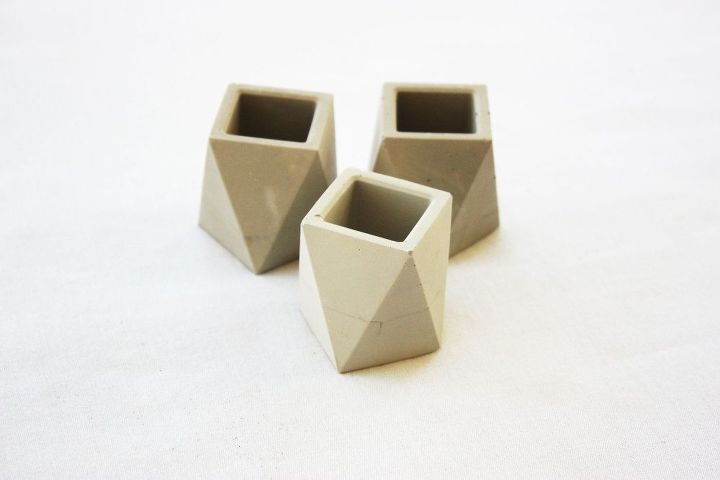
Step 4: Let the concrete harden for about a few hours! The mould will easily slip off the concrete and see how cool the octagon shape planters are. These little planters will look perfect in your bathroom, side table or any small space. Enjoy making these adorable planters

Want more details about this and other DIY projects? Check out my blog post!


Frequently asked questions
Have a question about this project?