


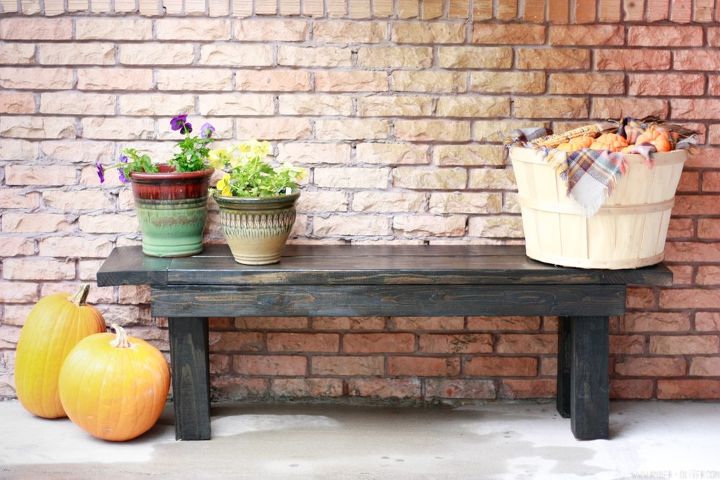
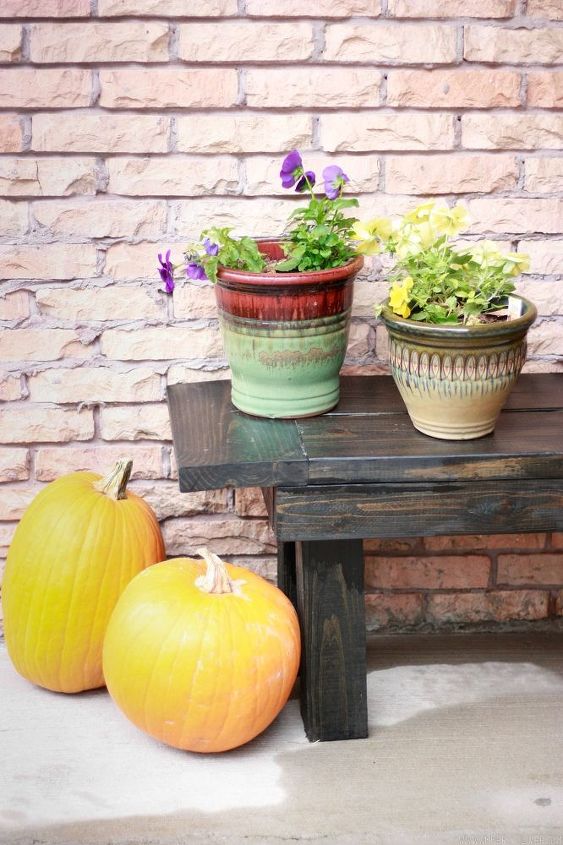
DIY Bench - Extra Seating for Your Home or Porch!

by
Amber Oliver
4 Materials
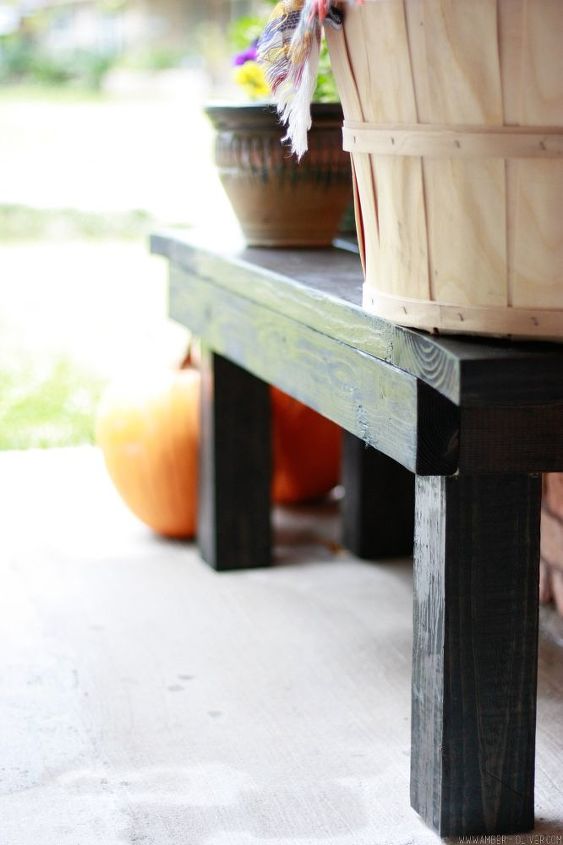
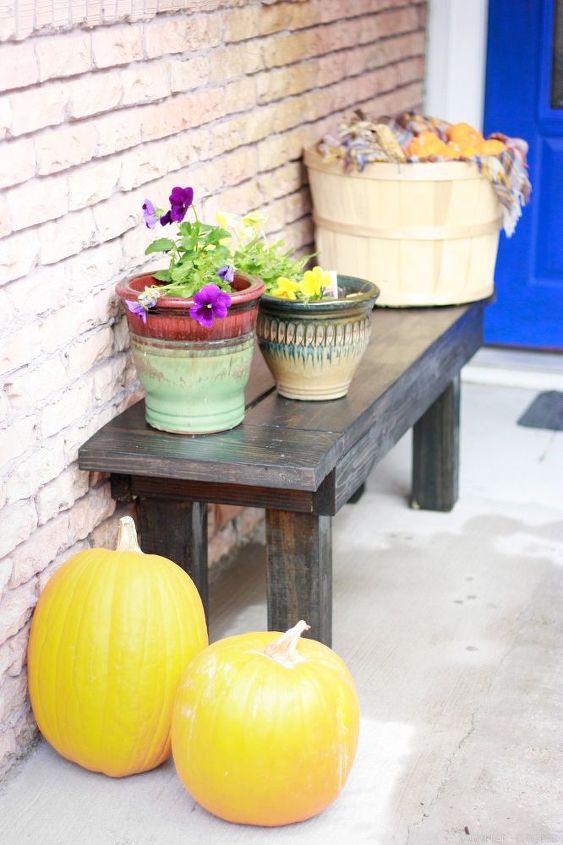
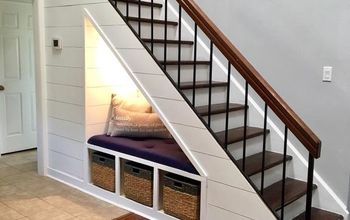
When we built our DIY farmhouse table the original plan was to add benches for seating. But when I found awesome bamboo chairs at IKEA, I grabbed 6 of them for our patio. I went back a few months later to get 2 more and they had DOUBLED in price (womp womp). We have an ever expanding need for seating in our home, so we decided to build a versatile DIY bench. It's new home is on our front porch, but we've used it in our dining room and on our back patio. I modeled the design after our farmhouse table, with a minor change to the legs to make the build a bit simpler.
Step 1: Use a miter saw to make all the cuts in the cut list (link to cut list on amber-oliver.com)
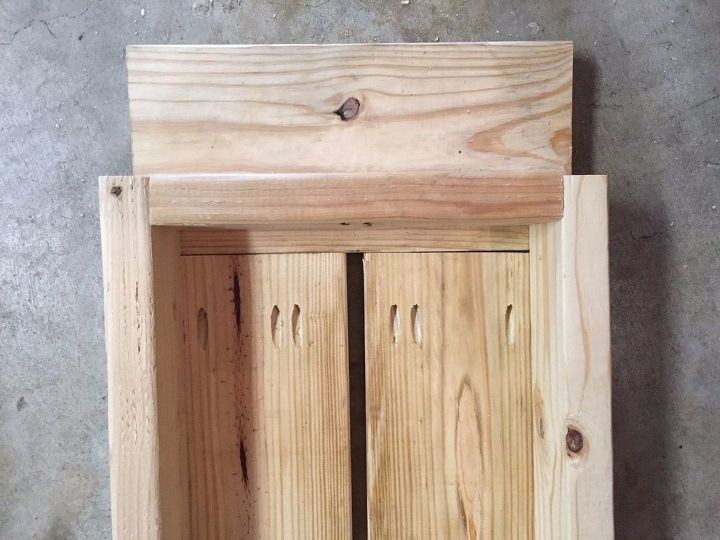
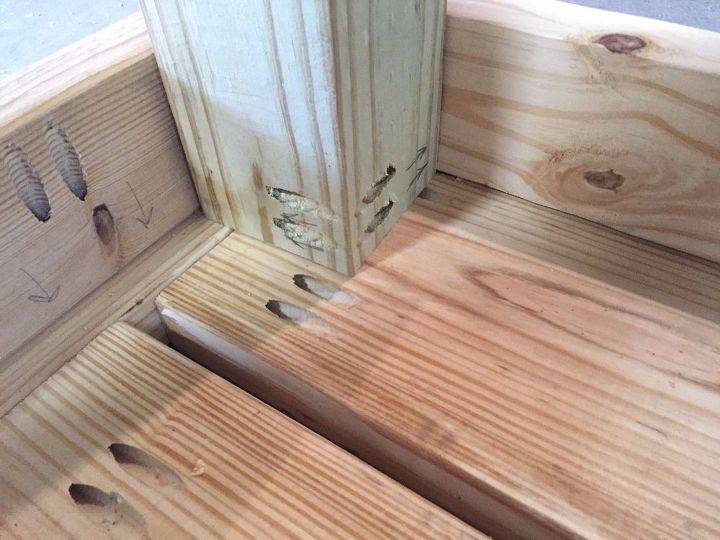
On the apron, add pocket holes on the 12 inch sections, in the middle and on either end. You will use the holes on the end to attach into the 48 inch sections to make a rectangle. You will then use the pocket holes in the middle of the 12 inch sections to attach into the top of the bench.
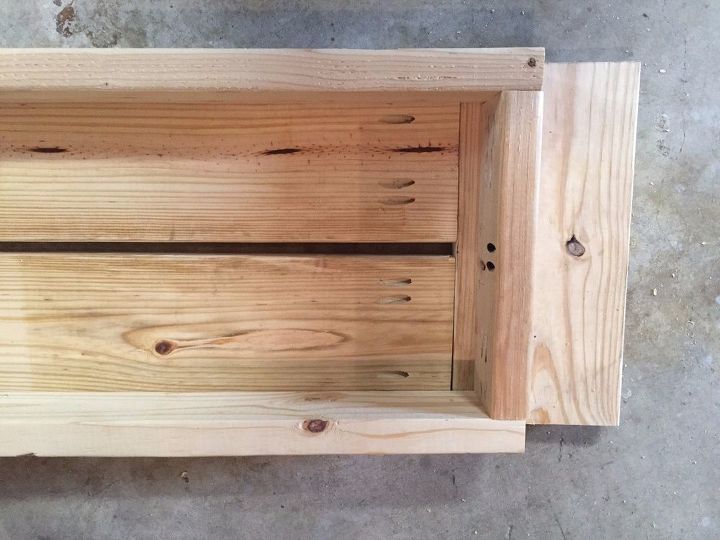
On the 4 x 4 legs, add pocket holes on 2 of the intersecting sides, then insert into the apron.
Step 3: After the bench is assembled, use the electric sander to give it a good sanding.
For a free cut list and tools list please visit http://amber-oliver.com/2016/11/diy-bench/
Want more details about this and other DIY projects? Check out my blog post!
Comments
Join the conversation
2 comments
-
I really need a couple of these, so I guess ill give it a try. Thank you
-
What was the prize, and who won it?


Frequently asked questions
Have a question about this project?